Butcher's Canyon Dungeon Guide - Throne & Liberty
Welcome to the Butcher’s Canyon Dungeon Guide for Throne & Liberty. In this guide, we will explain how to complete the Butcher’s Canyon dungeon in TL, including the mechanics of all bosses and mobs in the dungeon.
The minimum level for Butcher's Canyon is Level 50.
For more guides about a variety of topics in TL, please check our Throne & Liberty Guides Database.
Butcher’s Canyon: First Mobs
At the start of the dungeon, you’ll need to defeat three mobs and loot them to find the key to the lift. The mobs themselves are not difficult and can be dealt with normally. The key is dropped by the Orc Key Administrator.
Once you have the key, you can proceed into the lift to progress to the next part of the dungeon.
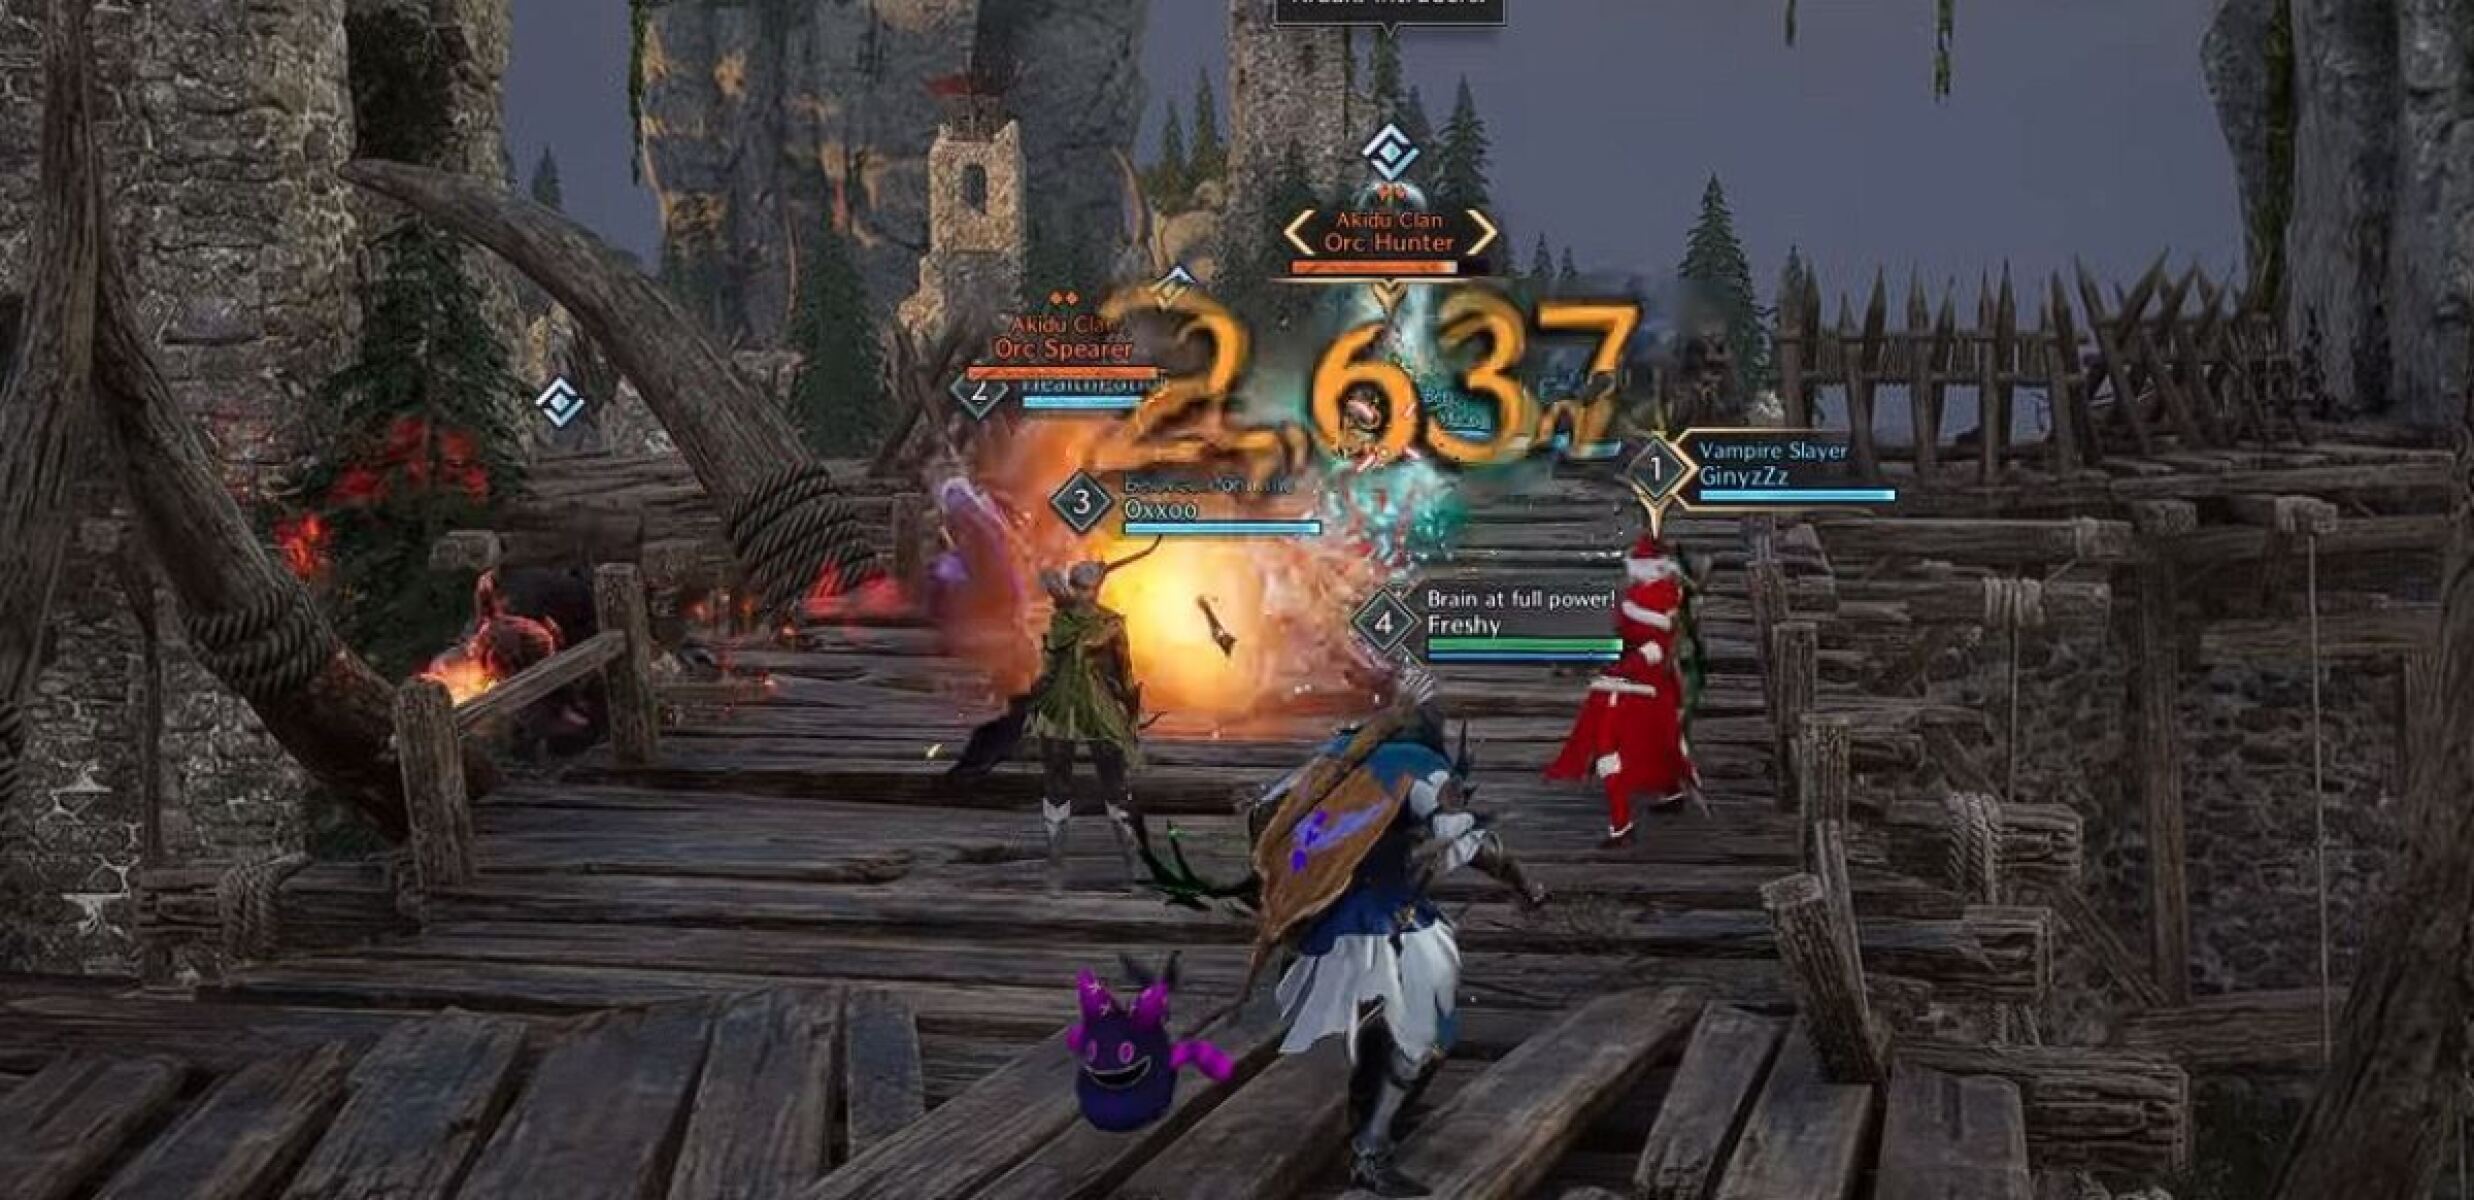
Next, you’ll encounter a wooden bridge. Across the bridge, there are some more mobs. The quickest way to deal with the mobs is to send your tank ahead to aggro them and bring them back to the bridge. The mobs can then be knocked off the bridge with crowd control skills, killing them instantly. Just take care not to fall down yourself.
After clearing this group of mobs, you can advance to the next area and fight the first boss of Butcher’s Canyon.
Butcher’s Canyon: Orc Shadow Elder
The Orc Shadow Elder is the first boss of Butcher’s Canyon. This boss deals out fire attacks to players. It is not too challenging, apart from one mechanic that your team needs to understand.
The boss will summon Shapeshifters to the fight, a special mob that targets a player with a spell, transforming them into an exploding sheep. The transformed player has a few seconds before they explode – before this happens, they need to touch another player to pass the curse onto them, resetting the timer. When the Shapeshifter dies, it leaves a blue area on the ground. Whichever player is still in sheep form needs to enter the blue area to get rid of the spell once and for all.
As long as everyone in your team understands this mechanic, you aren’t likely to encounter any major problems with this boss.
Butcher’s Canyon: Orc Shadowmancer Trio
After defeating the Orc Shadow Elder, you may proceed along the path to the second boss. Along the way, you will encounter some more mobs, and you can use the bridge tactic to quickly get rid of them again.
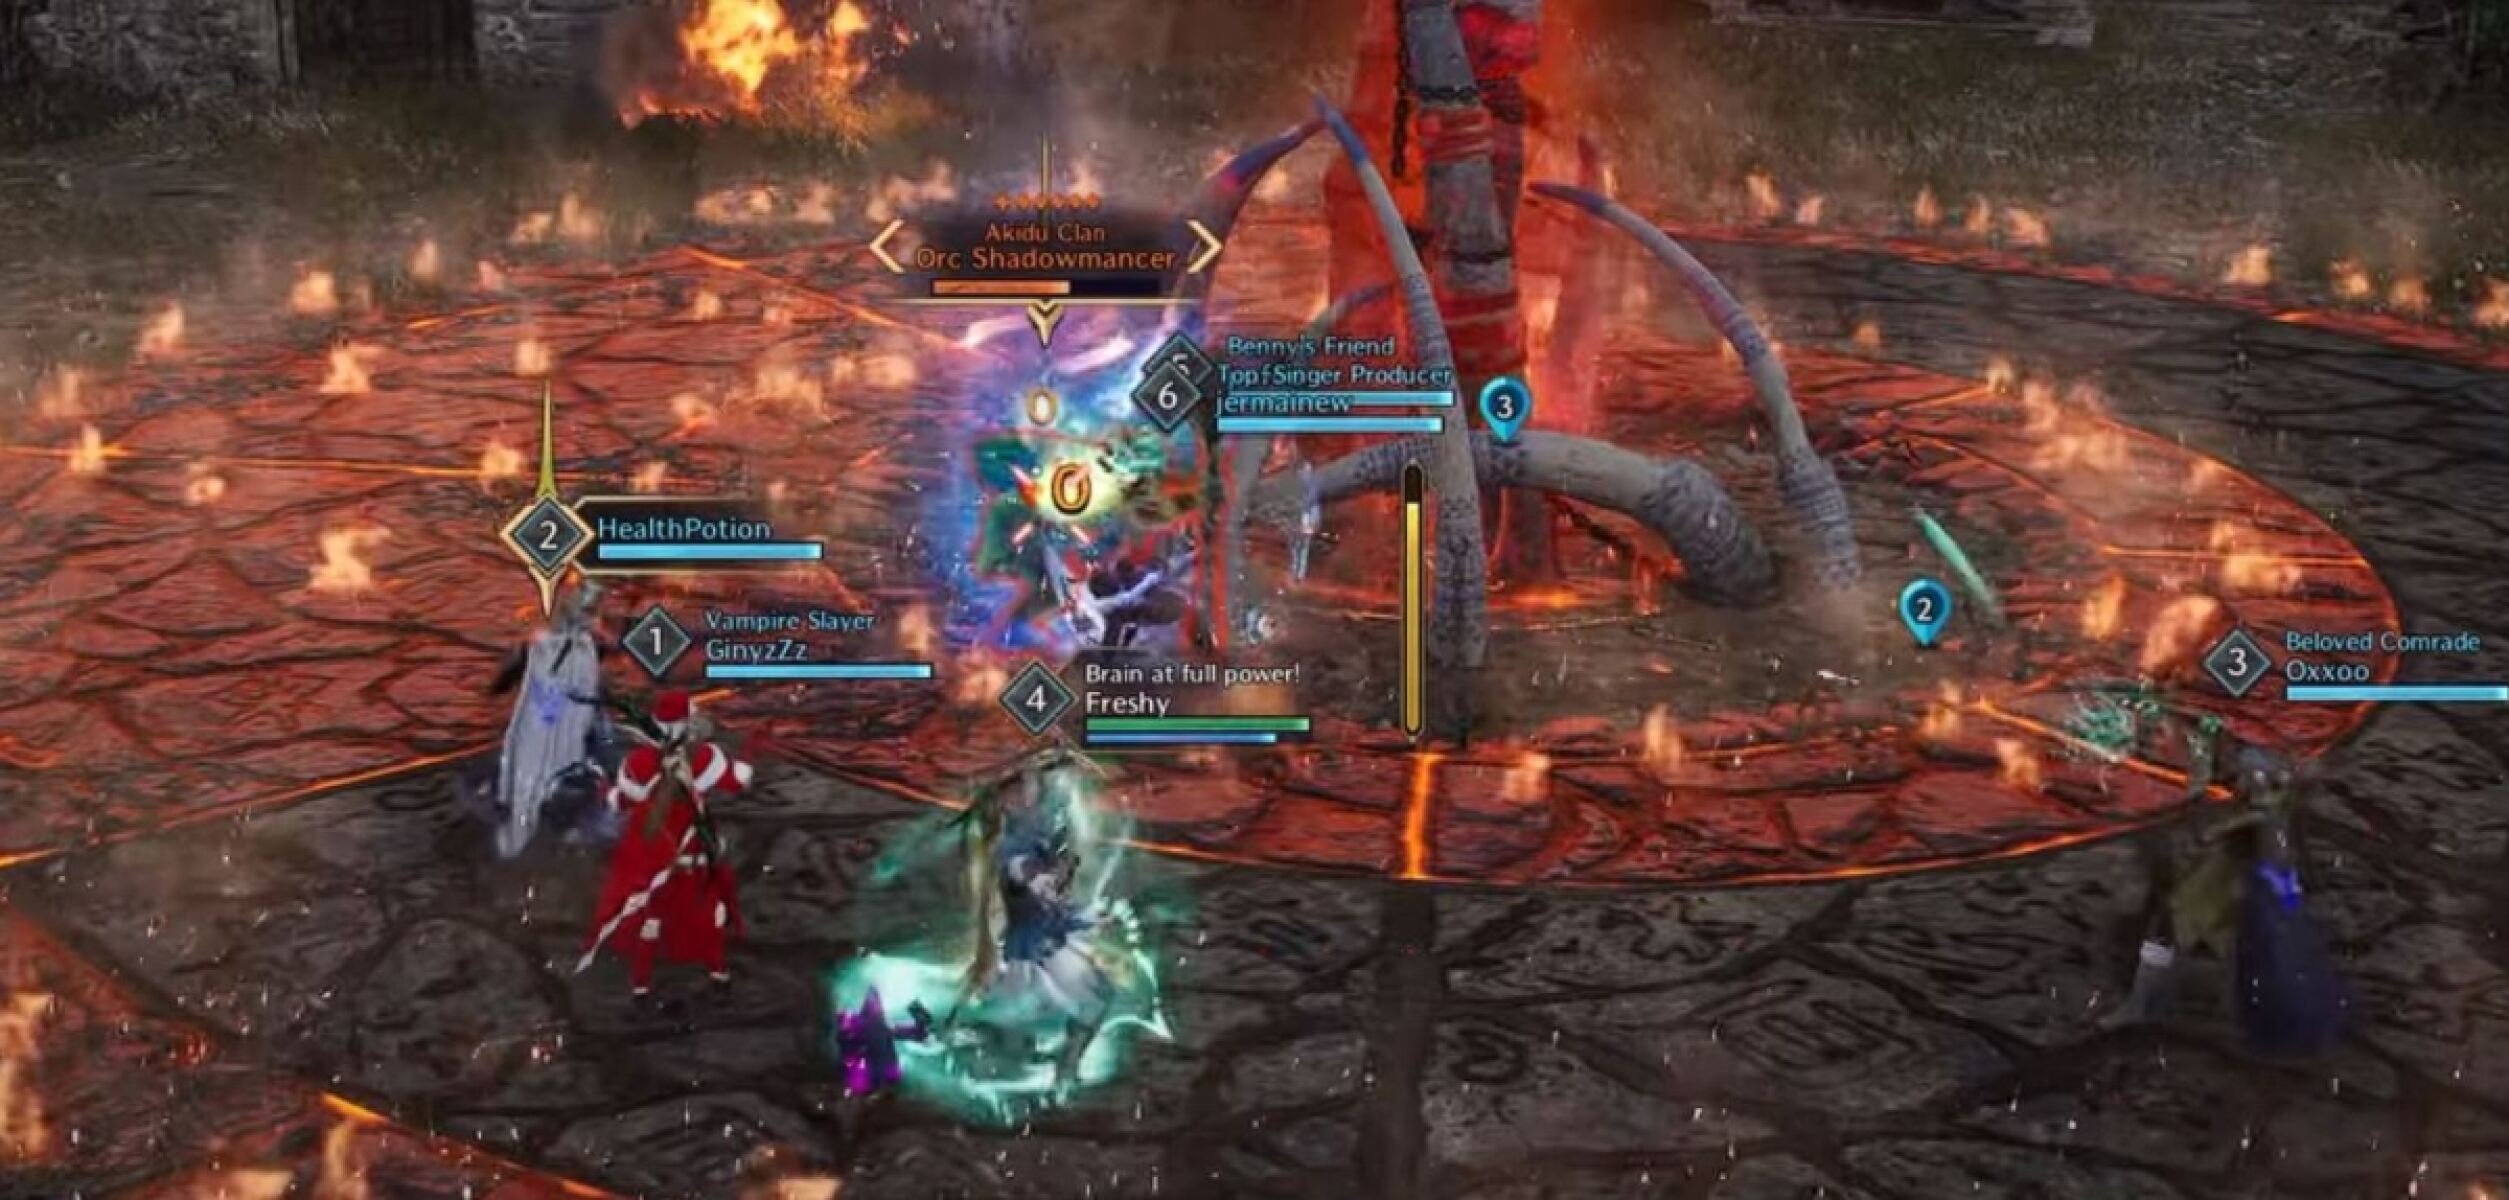
Once you’ve got past all the mobs, you can reach the Orc Shadowmancer Trio, the second boss fight of Butcher’s Canyon.
Again this boss isn’t too difficult, you mainly need to watch out for the fire AOE on the ground. Keep watching your feet and you should be fine with this.
The main problem here is actually damaging the boss (or, more accurately, bosses) since they are all tethered together. While the tether is active, all three Shadowmancers are invulnerable. In order to damage them, the bosses need to be crowd-controlled to prevent them from casting. Your tank can do a lot of this work, but it’s good to have at least one other player to help them too, perhaps a melee DPS player with the Greatsword. Coordination helps here – Crowd Control two of the Shadowmancers simultaneously to bring down the tether and allow your team to push damage.
After defeating the Orc Shadowmancer Trio, you can start on the path to the final boss. This is similar to the previous mob areas, and there is another bridge that you can use to speed things up if you want.
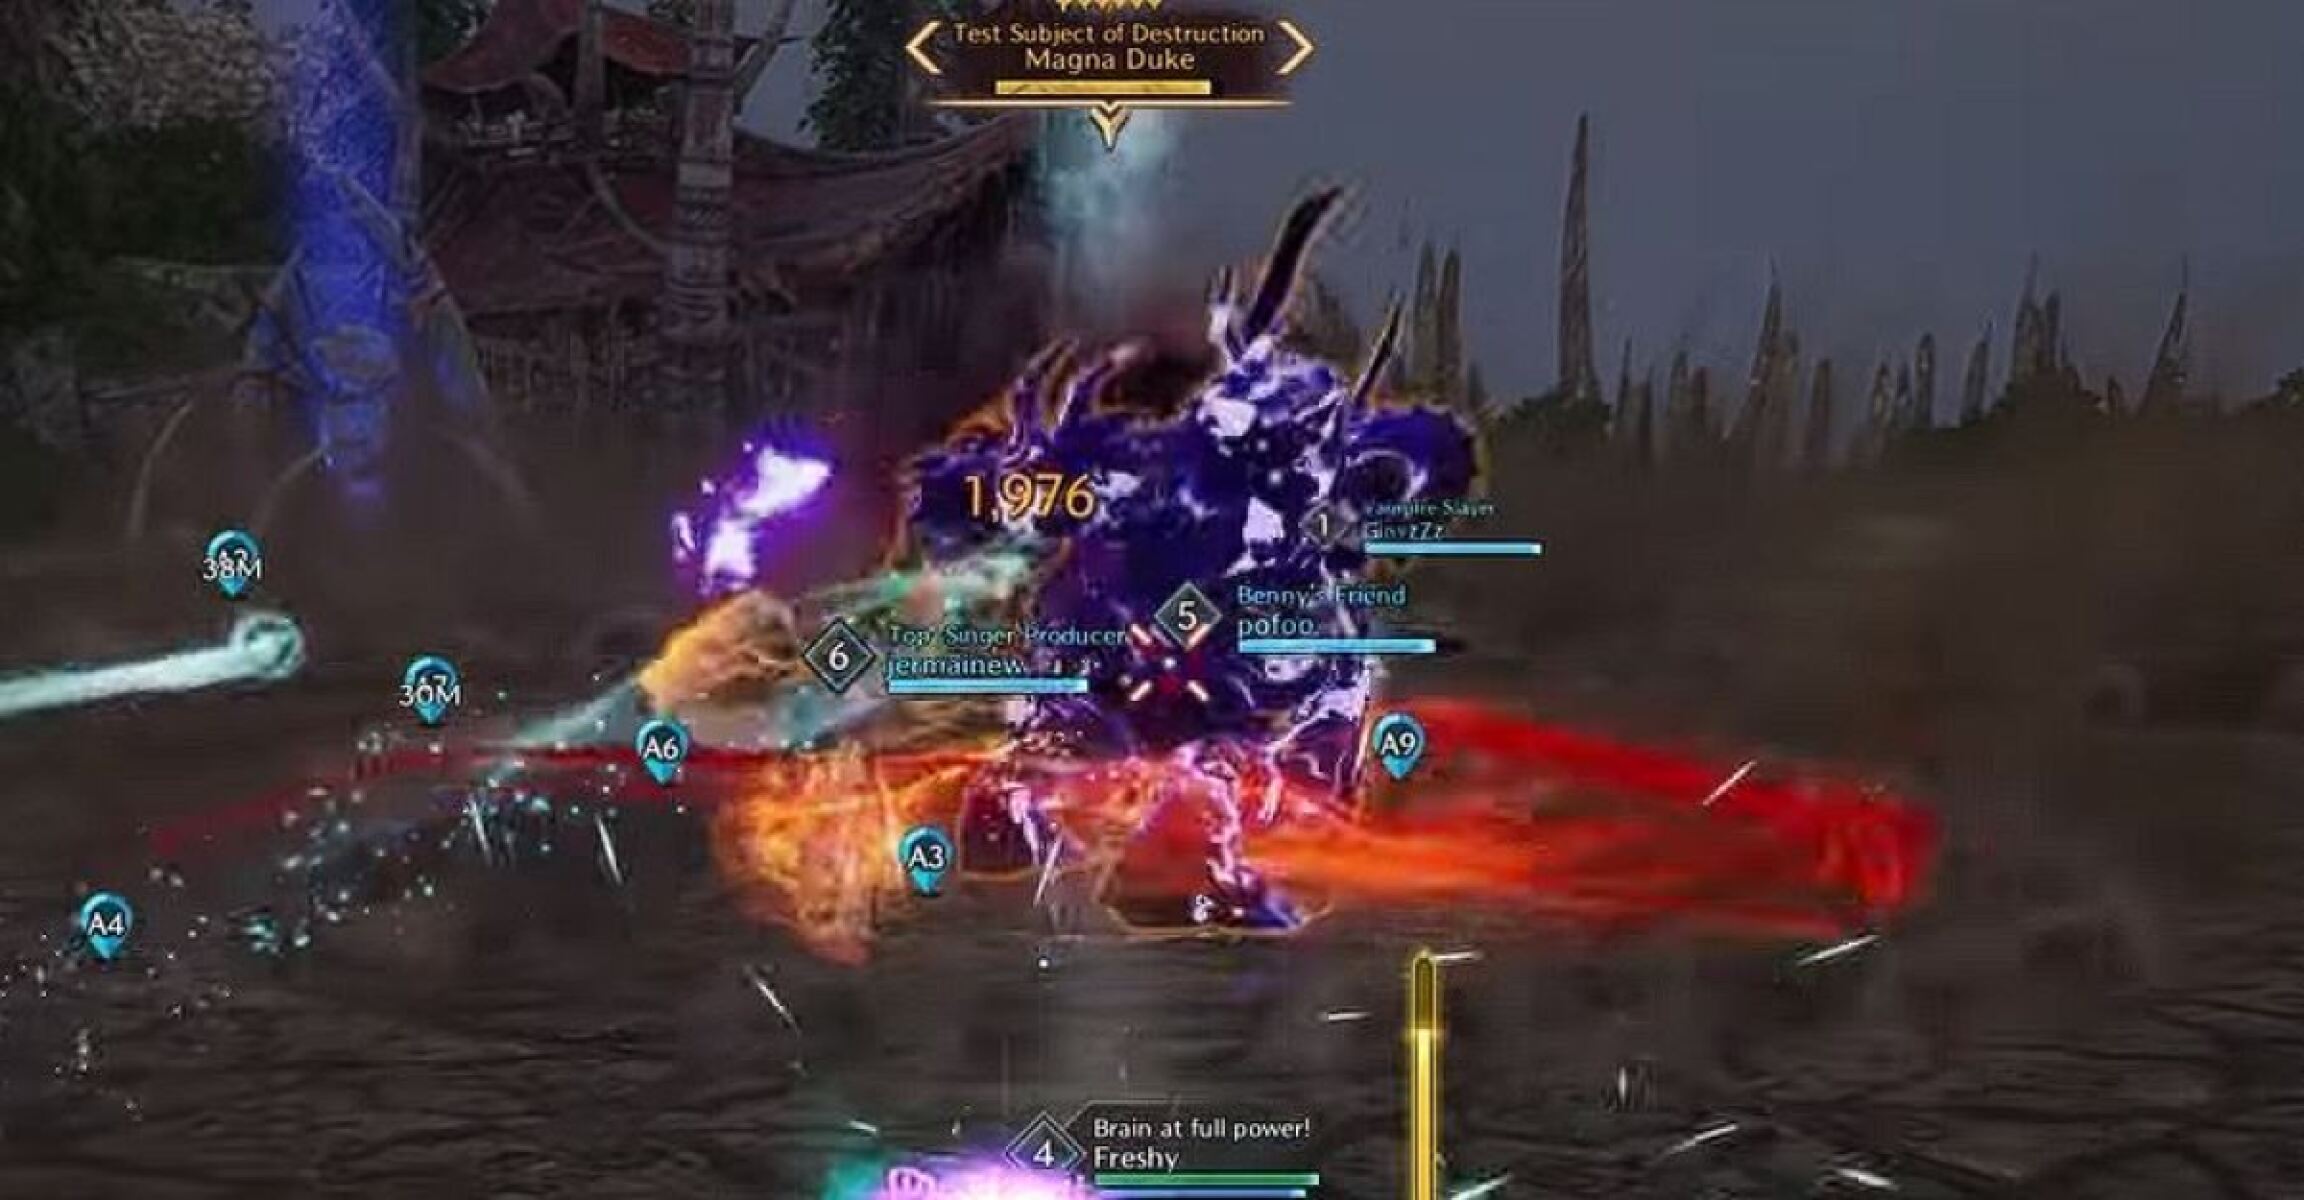
Butcher’s Canyon Final Boss: Magna Duke
Magna Duke is the final boss fight in Butcher’s Canyon in Throne & Liberty. Unlike the previous encounters in this dungeon, Magna Duke is a tough boss fight, especially for the uninitiated, as there are a lot of mechanics that require careful coordination and good situational awareness. Voice chat will be helpful for this boss fight, but you can do it without voice comms if most players have some experience and know what to do.
The boss fight is split into several phases:
Magna Duke Phase 1
The first phase is the easiest part of the fight, and mainly consists of avoiding damage while pushing DPS. You will face the following attacks during this phase:
- AOE Spin Attack – This is a Fury Attack, so you should look out for the purple indicator and block when it happens. This will happen three times during the phase.
- Meteors – The boss summons meteors that will land on your head, unless you move away before they land. This will happen twice during the phase.
- Fire Wave – The boss stomps, sending a wave of fire damage in all directions. Jump over the fire wave as it reaches you to avoid the damage. This happens after the second blockable fire AOE.
After finishing the attack sequence outlines above, the boss progresses onto the second phase.
Magna Duke Phase 2
After completing the first phase, Magna Duke will pull all players to the centre of the arena, and one unlucky player will also be stunned. Four pillars appear towards the edge of the arena, but to reach them, you need to jump over several fire rings on the ground. If you touch the fire rings, you’ll be locked in place. Players need to navigate through the fire rings and activate the pillars to free the player who was stunned in the middle. The freed player needs to quickly get out of the middle before the fire explosion kills them; this will also happen if the other players are too slow to activate the pillars.
After this phase finishes, Magna Duke does another run through phase 1, then moves onto phase 3.
Magna Duke Phase 3
Magna Duke will once again pull all players to the middle of the arena. Note that the fire in the rings will gradually get larger, reducing the space you have to move in if you are too slow.
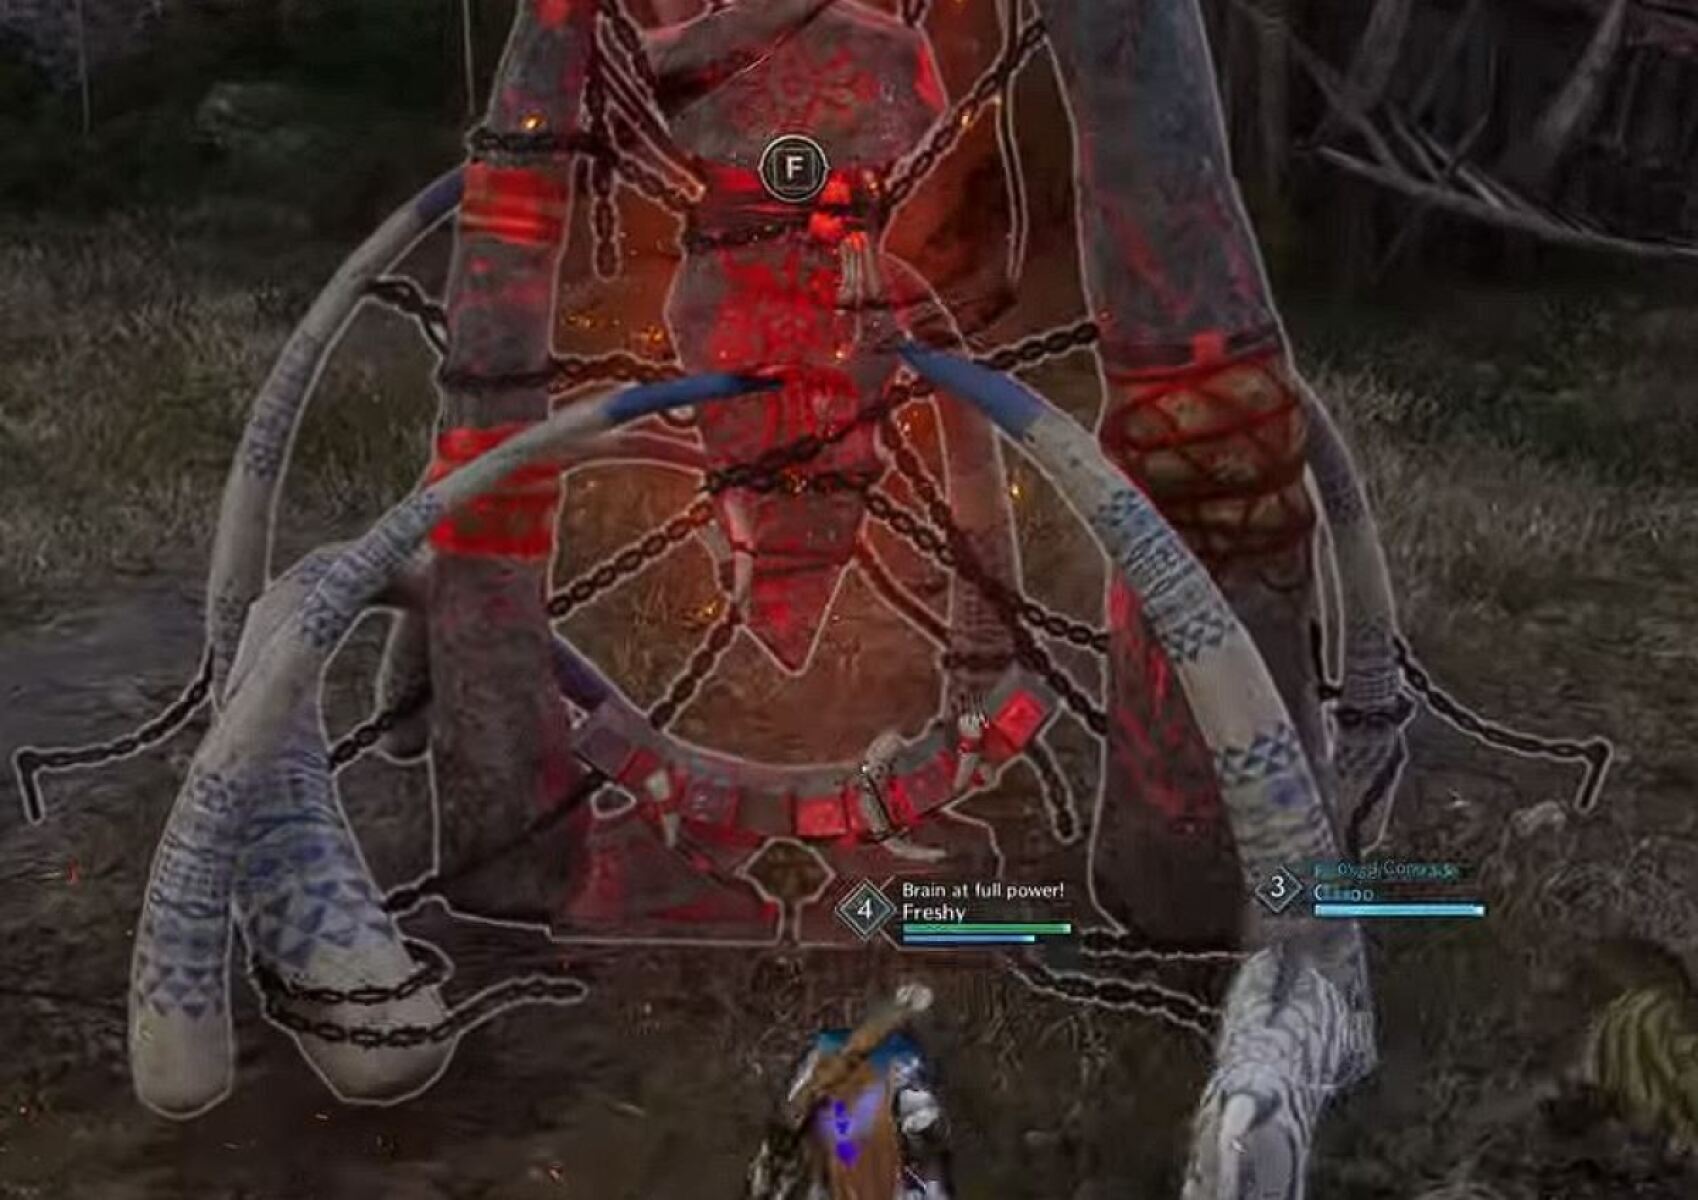
This time, a Shapeshifter will spawn and transform one player into an explosive sheep. The transformed player cannot escape the fire, so the team need to work together to transfer the curse from player to player until it reaches the outside of the arena. Any player who has already been a sheep in the phase can jump out of the fire and start attacking the Shapeshifter. Once the Shapeshifter dies, it drops a blue AOE that the cursed player can use to get rid of the curse.
After completing the third phase, the Magna Duke boss fight is just a rinse and repeat until you can finish off the boss.
We hope you liked this dungeon guide for Butcher's Canyon in Throne & Liberty.
About the Author: Andrew
