Cave of Desperation Dungeon Guide - Throne & Liberty
Welcome to the Cave of Desperation Dungeon Guide for Throne & Liberty. In this guide, we will walk you through all mob and boss encounters in the Cave of Desperation, including the mechanics and how to survive each boss fight.
The recommended level for Cave of Desperation is level 40.
For more guides about a variety of topics in TL, please check our Throne & Liberty Guides Database.
Cave of Desperation Guide
We will now provide a step-by-step walkthrough of the Cave of Desperation dungeon in Throne & Liberty.
First Rooms
In the first room of the Cave of Desperation, you must deal with three waves of mobs. These are nothing special and you should be able to stack and burn them normally. Once you are done with all three waves, you can proceed to the next room.
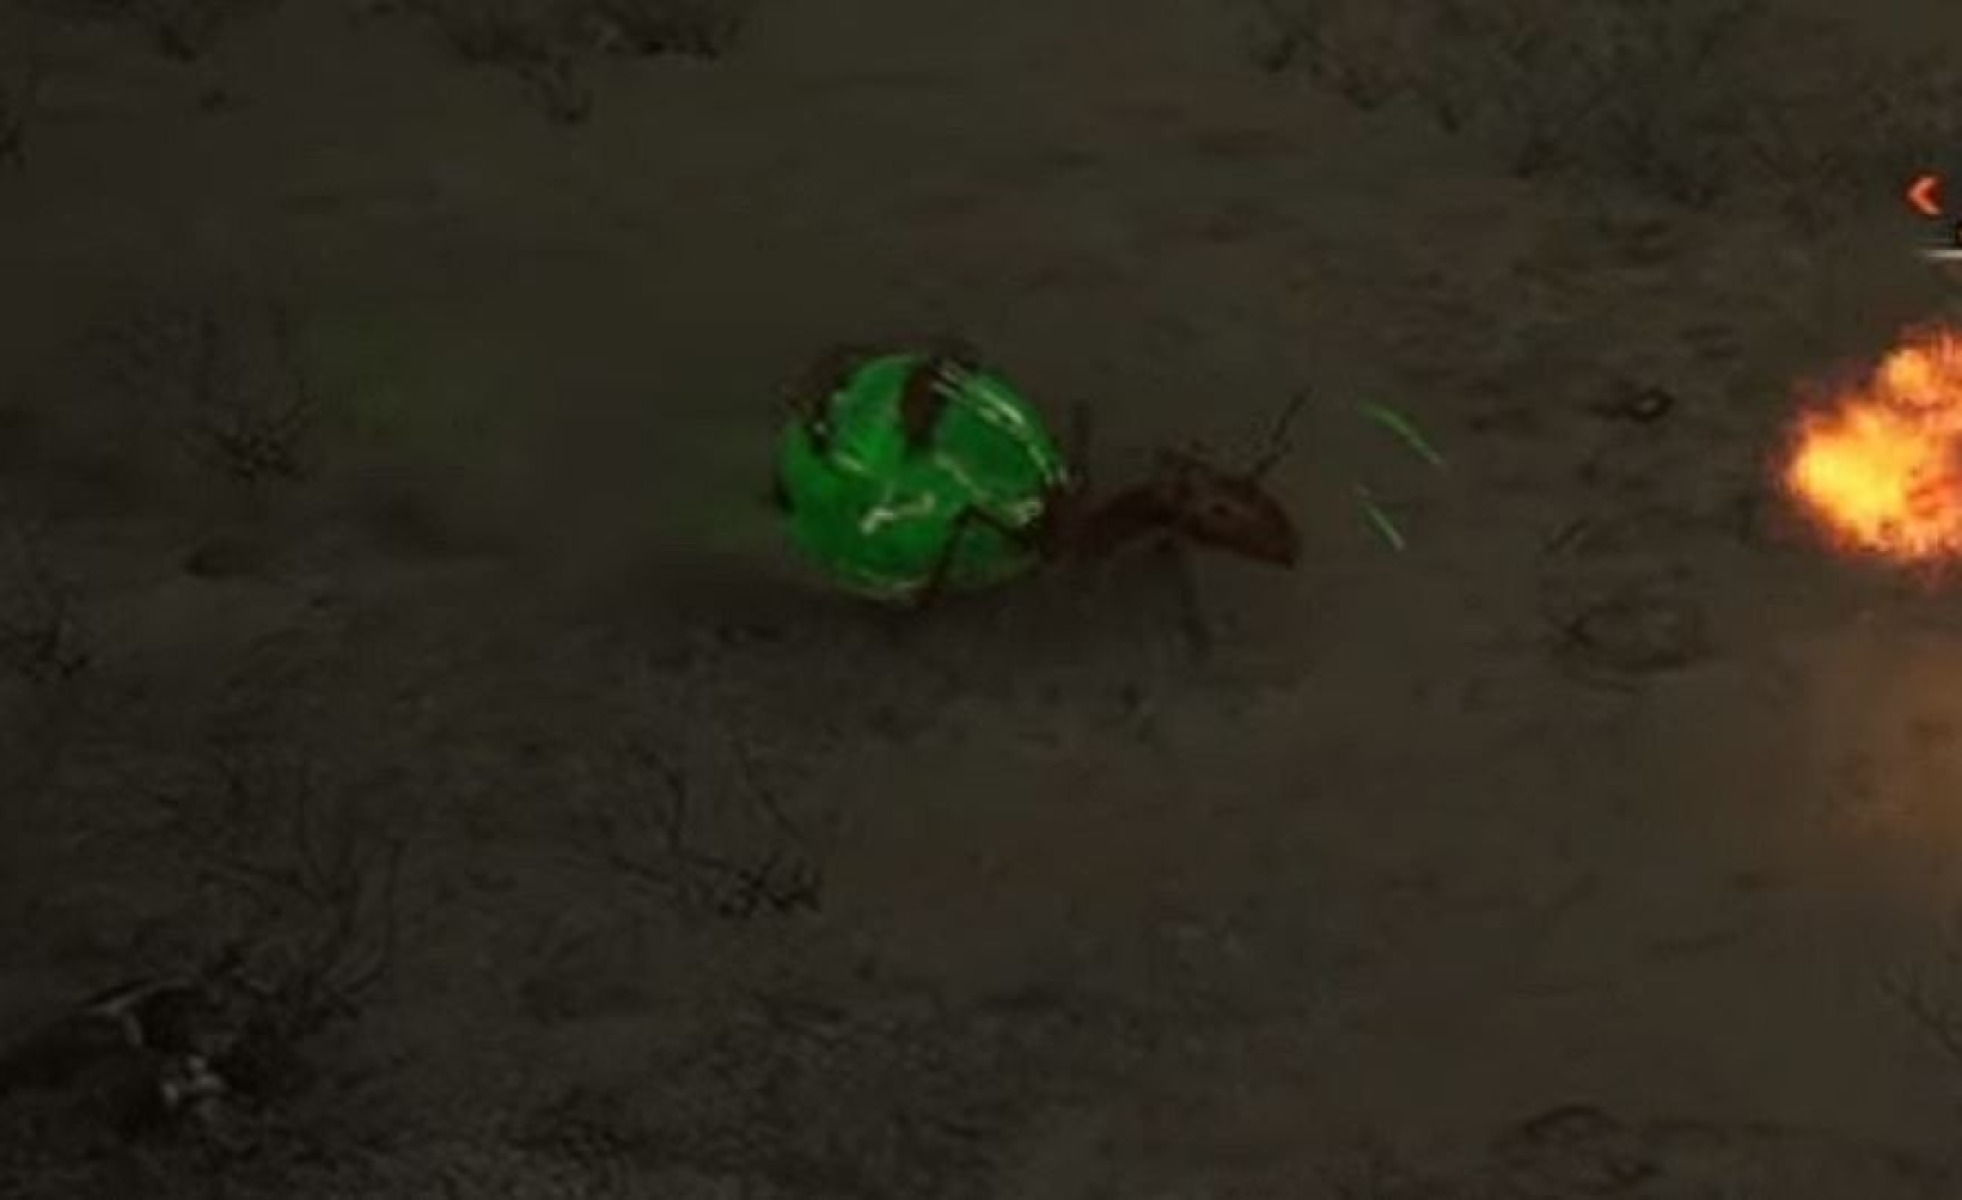
Here you will find ant larvae. Triggering the ant larvae will spawn various types of ants. DPS down the ant larvae, and watch out for the green exploding ants. If an exploding ant is chasing you, try to lead it away from other players so it doesn’t damage multiple people with the explosion. Block the ant explosions to reduce the damage you take from them.
After you have defeated all of the ant larvae, the first boss will spawn into the room.
Mutant Princess Ant
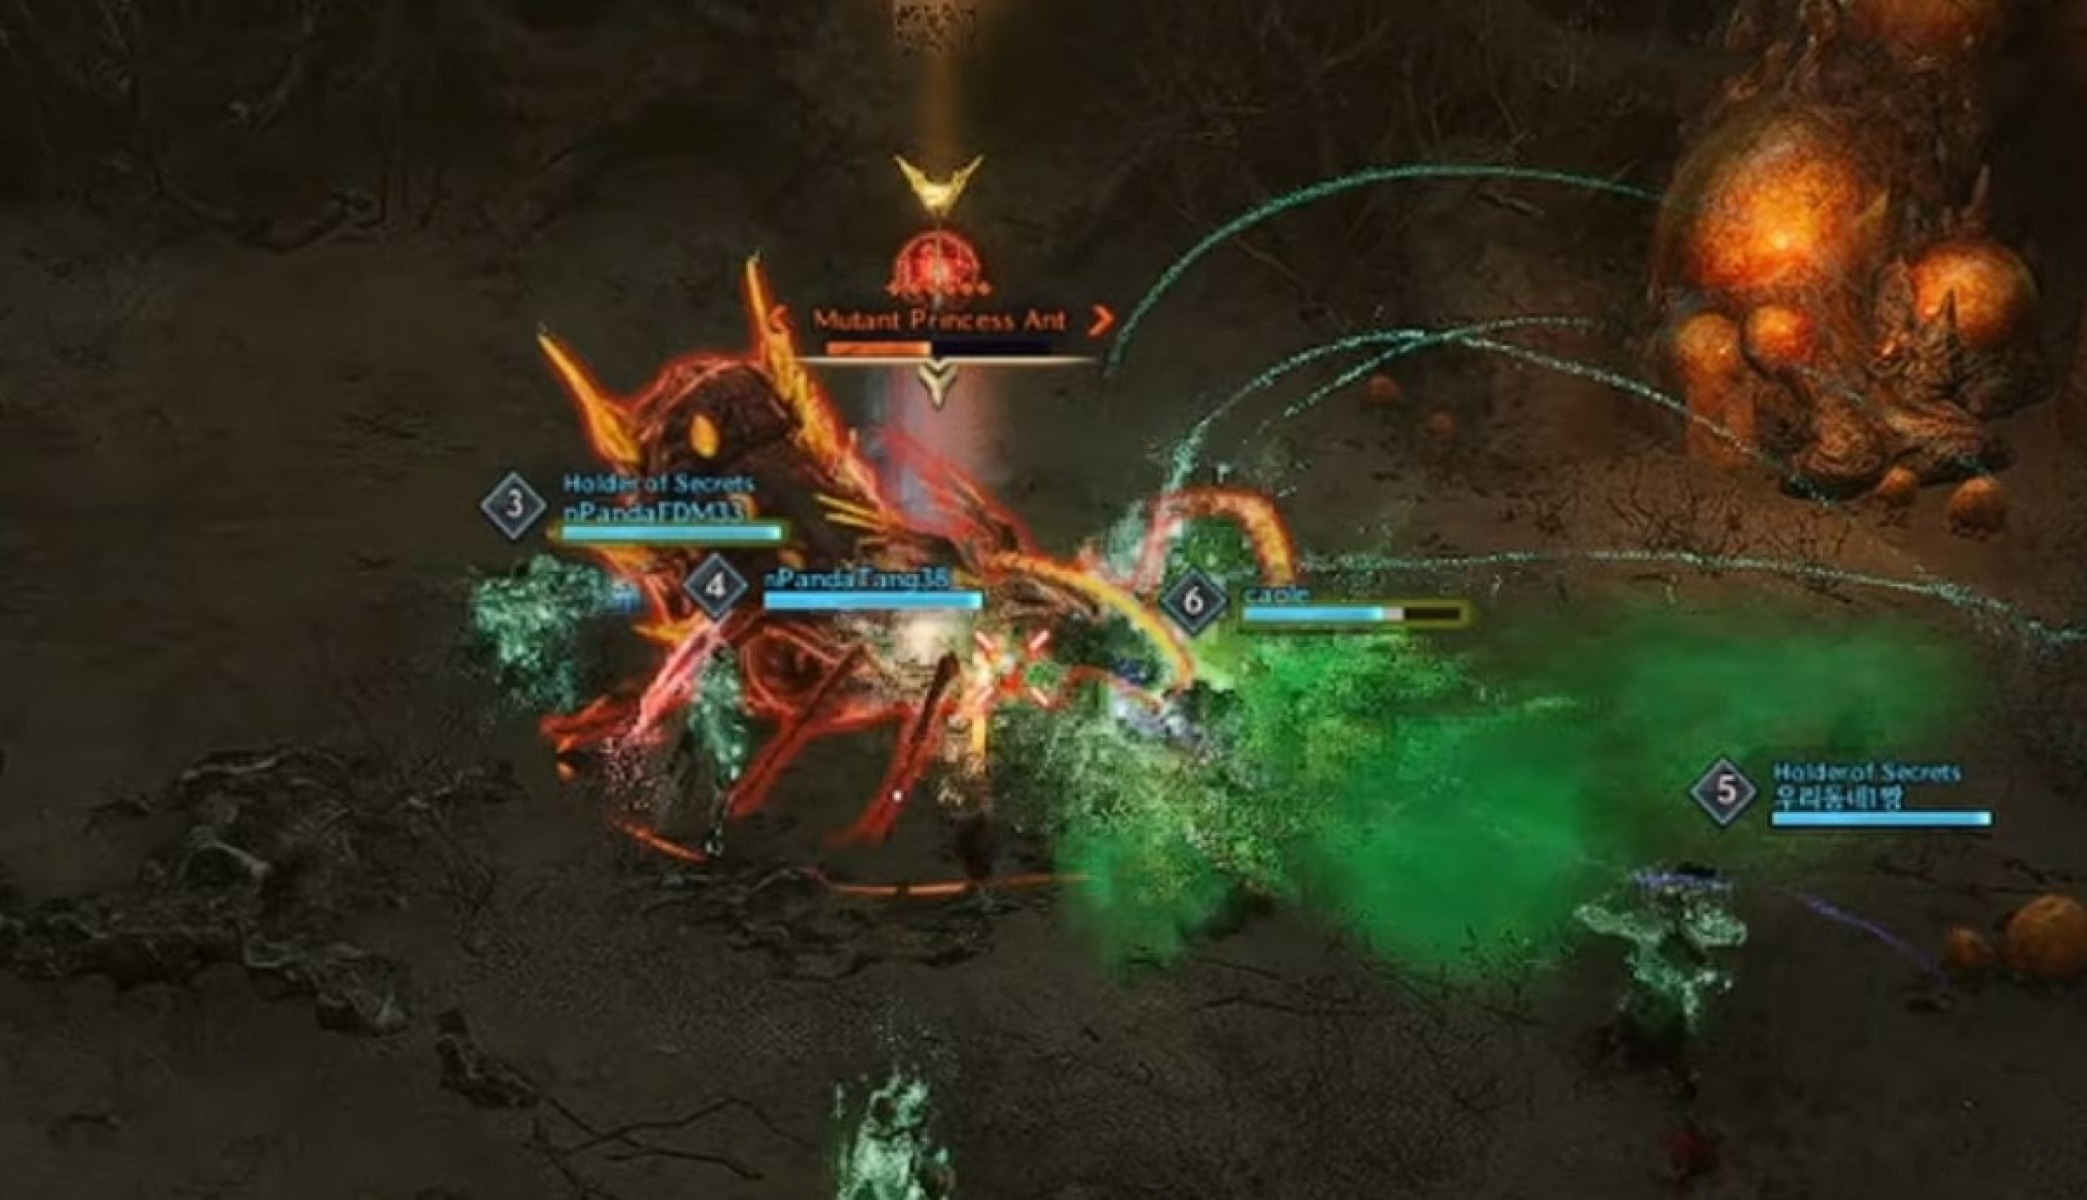
The Mutant Princess Ant is the first boss in the Cave of Desperation. It is not too complicated, but it does have a couple of mechanics you need to watch out for.
- Conal Attack – The boss makes a cone-shaped AOE attack in front of her. The tank should try to face the boss away from the rest of the group so that this doesn’t hit anyone else.
- Exploding Larva – The boss puts an exploding larva on a random player. Another player needs to touch the affected player to remove the larva - it will then turn green and deal no damage.
- Larva Swarm – The boss shouts out and then spawns several larva mobs. You can use Crowd Control when you hear the shout to interrupt this, preventing the creation of additional mobs.
Once you have finished the Mutant Princess Ant, you can proceed to the next room. You will then immediately face the second boss of the Cave of Desperation.
Mutant Giant Acid Ant
Before you can fight the Mutant Giant Acid Ant, you’ll need to deal with some smaller ant enemies to activate it.
To start with, destroy the poison sacs in the middle of the room. Ant enemies will then begin spawning, including a tougher Soldier Ant. The Soldier Ant might target you with a Fury Attack, so be ready to block or dodge to avoid this.
Once the Soldier Ant is dead, a giant egg appears in the middle of the room, connected to three Poison Worker Ants. Kill these Worker Ants and destroy the egg, and the boss will finally activate.
Once again, this boss only has a couple of mechanics. However, it can be quite tricky because it creates lots of AOEs, which can lead to serious area denial if the tank doesn’t know what they are doing. This boss also has another attack that requires fast reactions to deal with. The mechanics of the boss are listed below:
- Poison Puddles – The boss puts poison puddles where players are standing. Make sure to move out of these quickly. A coordinated group can manipulate where the puddles are placed so that they are less scattered, making it easier to move around freely.
- Fury Pull – The Giant Acid Ant will sometimes perform a Fury Attack. Players need to block to avoid being pulled towards the boss, which will most likely ditch you into a poison puddle. This particular Fury Attack has a very narrow window in which to perform a block, so you need to keep an eye out for the purple indicator and be ready to react quickly.
After defeating the Mutant Giant Acid Ant, you can move on to the final boss.
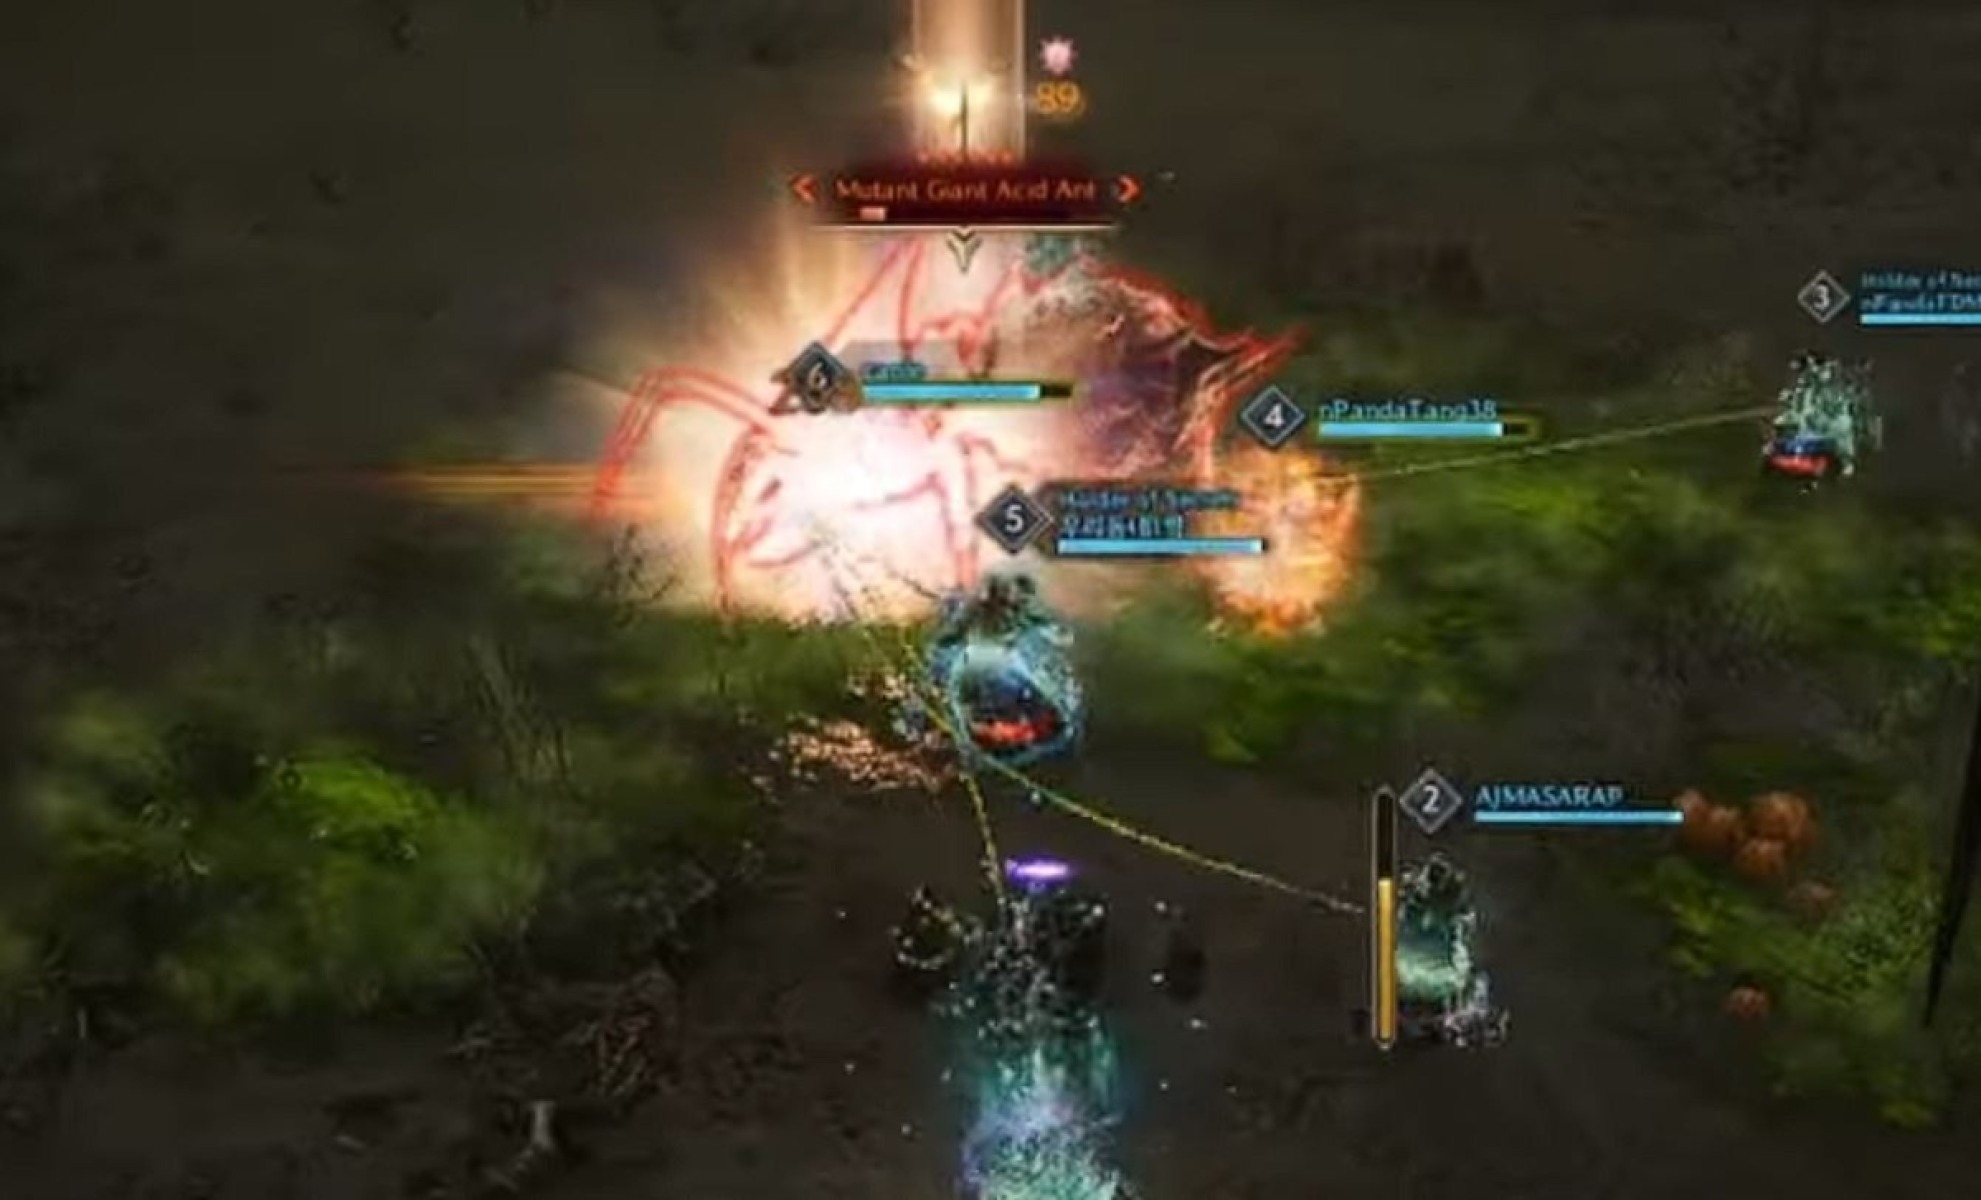
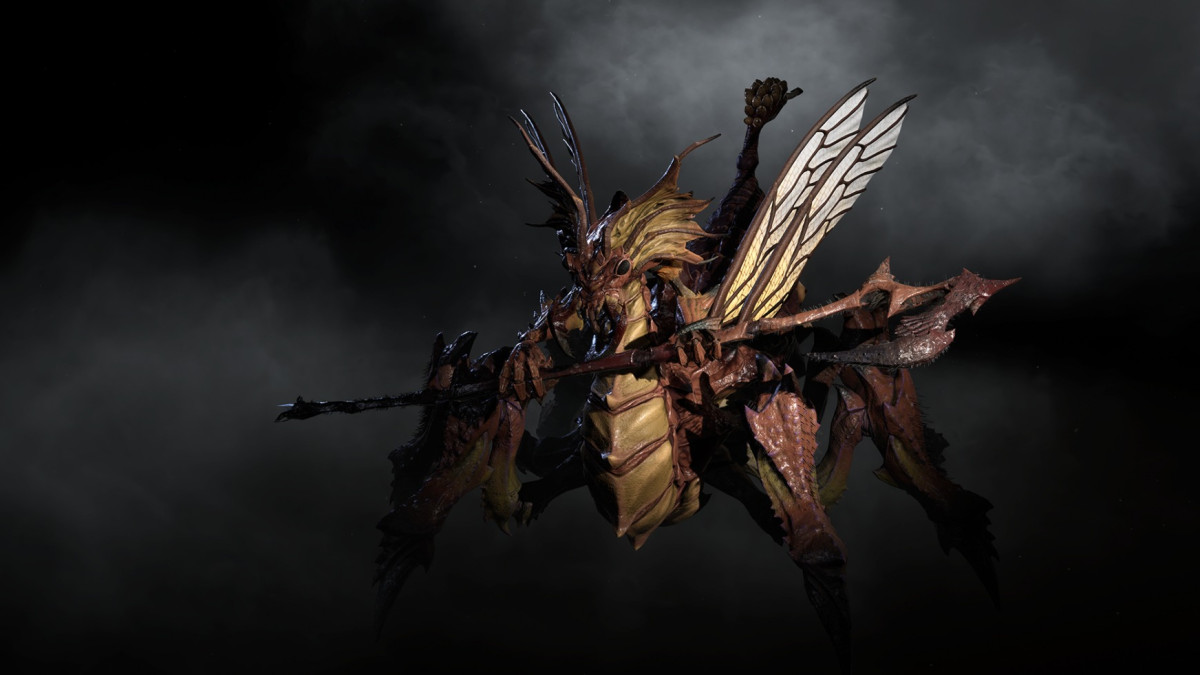
Lacune – Cave of Desperation Final Boss Guide
Lacune is the final boss of the Cave of Desperation. It has a few mechanics which can seem complicated at first, but they're fairly easy to learn. The mechanics for Lacune are listed below:
- Fury Attacks – Lacune does Fury Attacks periodically, however these are directional and will only target players positioned in front of the boss. Therefore the tank should do their best to face Lacune away from the rest of the group, and be on the lookout for the purple Fury indicator. If you are a damage dealer or healer, beware that Fury Attacks might come your way if the boss is currently facing you.
- Paralyzing Ants – During the fight, Paralyzing Ants will enter the fray. Damage Dealers should prioritize killing them as soon as possible, or else they can cause problems by stunning players.
- Red Pillar – Periodically, Lacune will shout out and a red circle will appear on the ground. Players should quickly run into this red circle, as a pillar will emerge lifting you up and giving you a temporary damage buff. Anyone who stays standing on ground level will be killed by a red AOE blast. There are three other platforms around the room that players can also stand on if they don’t make it to the red circle in time, but these do not grant the damage buff.
- Gem Ants – After the Red Pillar mechanic, a Gem Ant will spawn on one of the three raised platforms. The Gem Ant hits very hard when it attacks, so players should focus damage on it and kill it quickly while taking care to avoid its attacks.
- Exploding Larvae – Once below half health, Lacune will begin infecting players with Exploding Larvae, similarly to the Mutant Princess Ant earlier in the dungeon. This will affect two players at a time, so everyone needs to be on the lookout for this and ready to go and pick up larvae from their teammates before they can explode.
Once you have dealt with all of these mechanics, it’s a case of rinse and repeat until the boss dies.
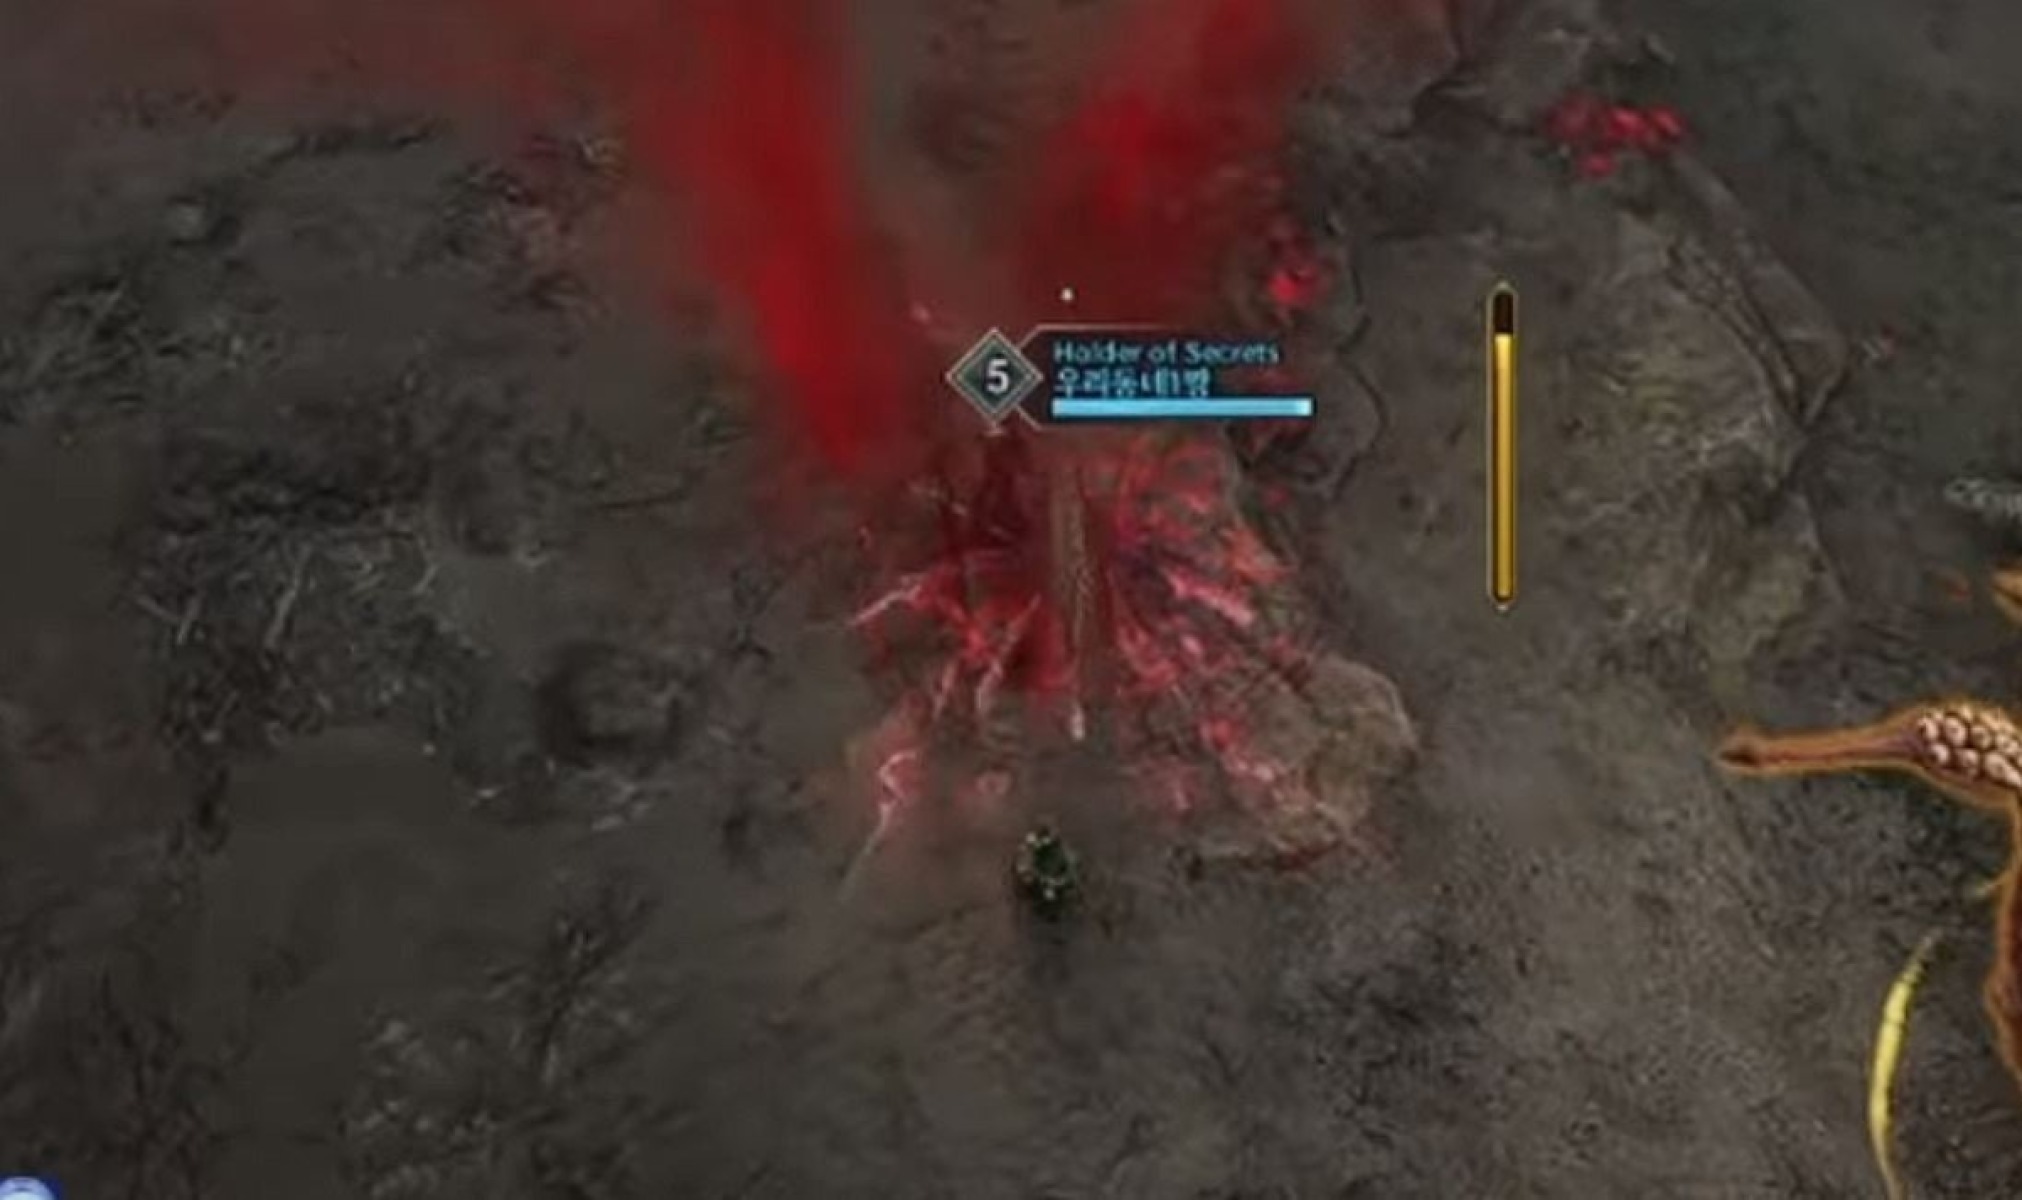
After defeating Lacune, you have successfully completed the Cave of Desperation.
We hope you liked this guide for the Cave of Desperation in Throne & Liberty.
About the Author: Andrew
