Chapel of Madness Dungeon Guide - Throne & Liberty
Welcome to our dungeon guide for the Chapel of Madness in Throne & Liberty.
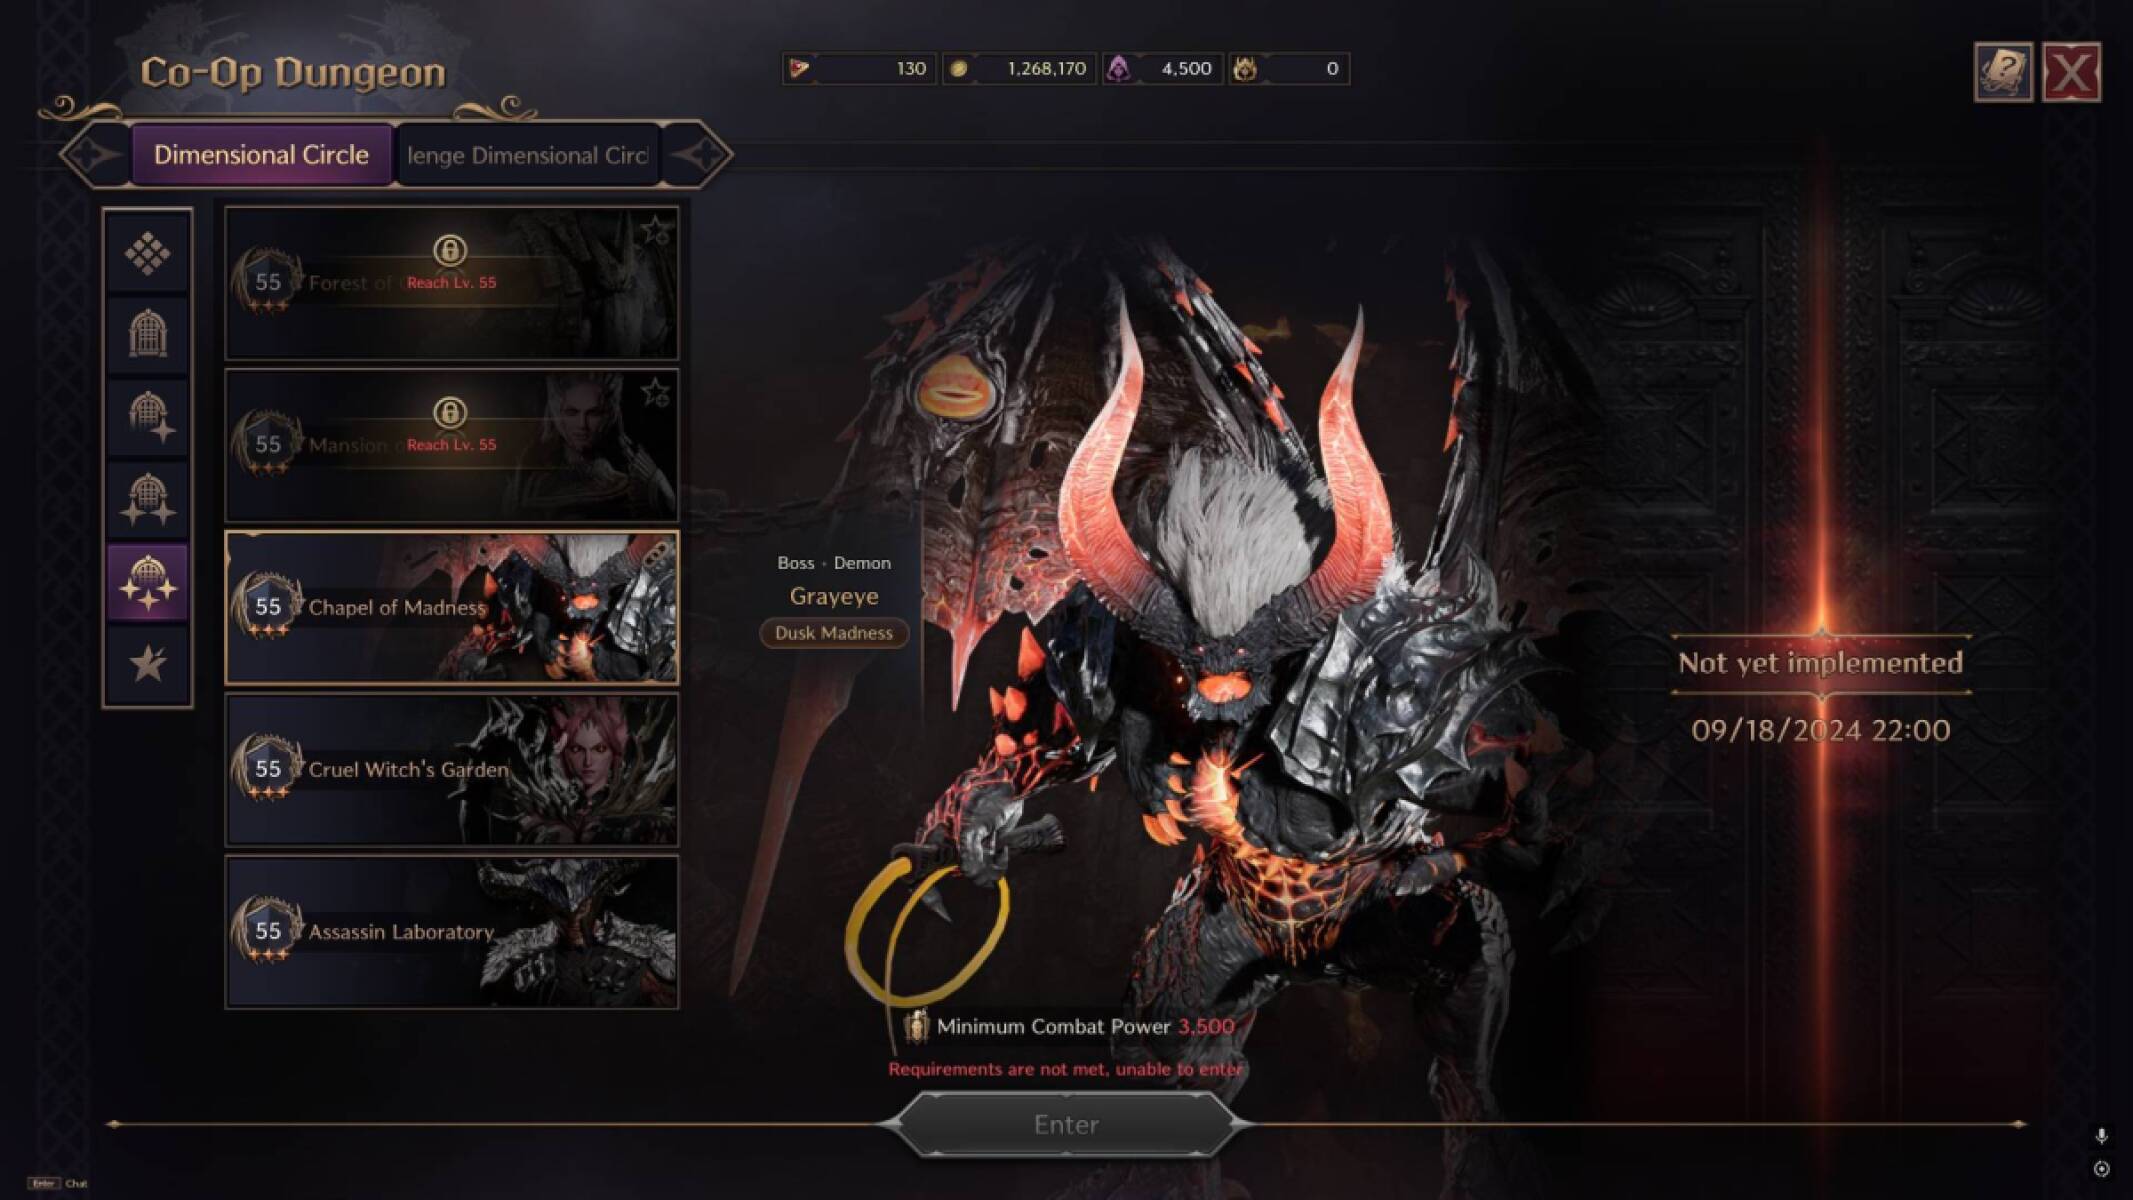
Chapel of Madness is a +++ difficulty dungeon in the Dimensional Circle. This is the highest difficulty currently available for co-op dungeons in Throne & Liberty. The minimum level for the dungeon is level 55.
For more guides about a variety of topics in TL, please check our Throne & Liberty Guides Database.
First Rooms
At the beginning of the dungeon, you will fight some cultist mobs on the stairs into the building. Focus on the cultists with the orange health bars. There are also many weak cultist mobs in the area who will attack you when you engage the main enemies, but these can be easily killed with AoE attacks.
Go into the next room, and you'll have another trash fight that is similar in composition and can be dealt with in the same way.
Next, you can jump down into the room where the first boss is waiting.
First Boss - Summoning Ritual Chief Priest
The Summoning Ritual Chief Priest is the first boss in the Chapel of Madness in Throne & Liberty.
It has the following mechanics:
- Basic Attacks - The boss uses its staff to attack the player with aggro.
- Stun - The boss will target multiple group members with a spell that stuns and damages them. The stun lasts for about three seconds. This doesn't present a major threat as long as players targeted by this get healed.
This is a very simple boss fight, it doesn't have many mechanics or attacks, so you can DPS it down quite quickly.
After defeating the boss, go through the doors and head downstairs to the next area.
Approach to Final Boss
There is a long set of stairs in the next area, with three landings on the way down. Each landing has some mobs and a ritual totem.
You can fight the mobs one pack at a time, or if your group is condifent and has good AoE damage, your tank can run down and aggro them all, then run back up to the middle landing and use the corner of the stairs to stack the mobs in one area for easy DPS.
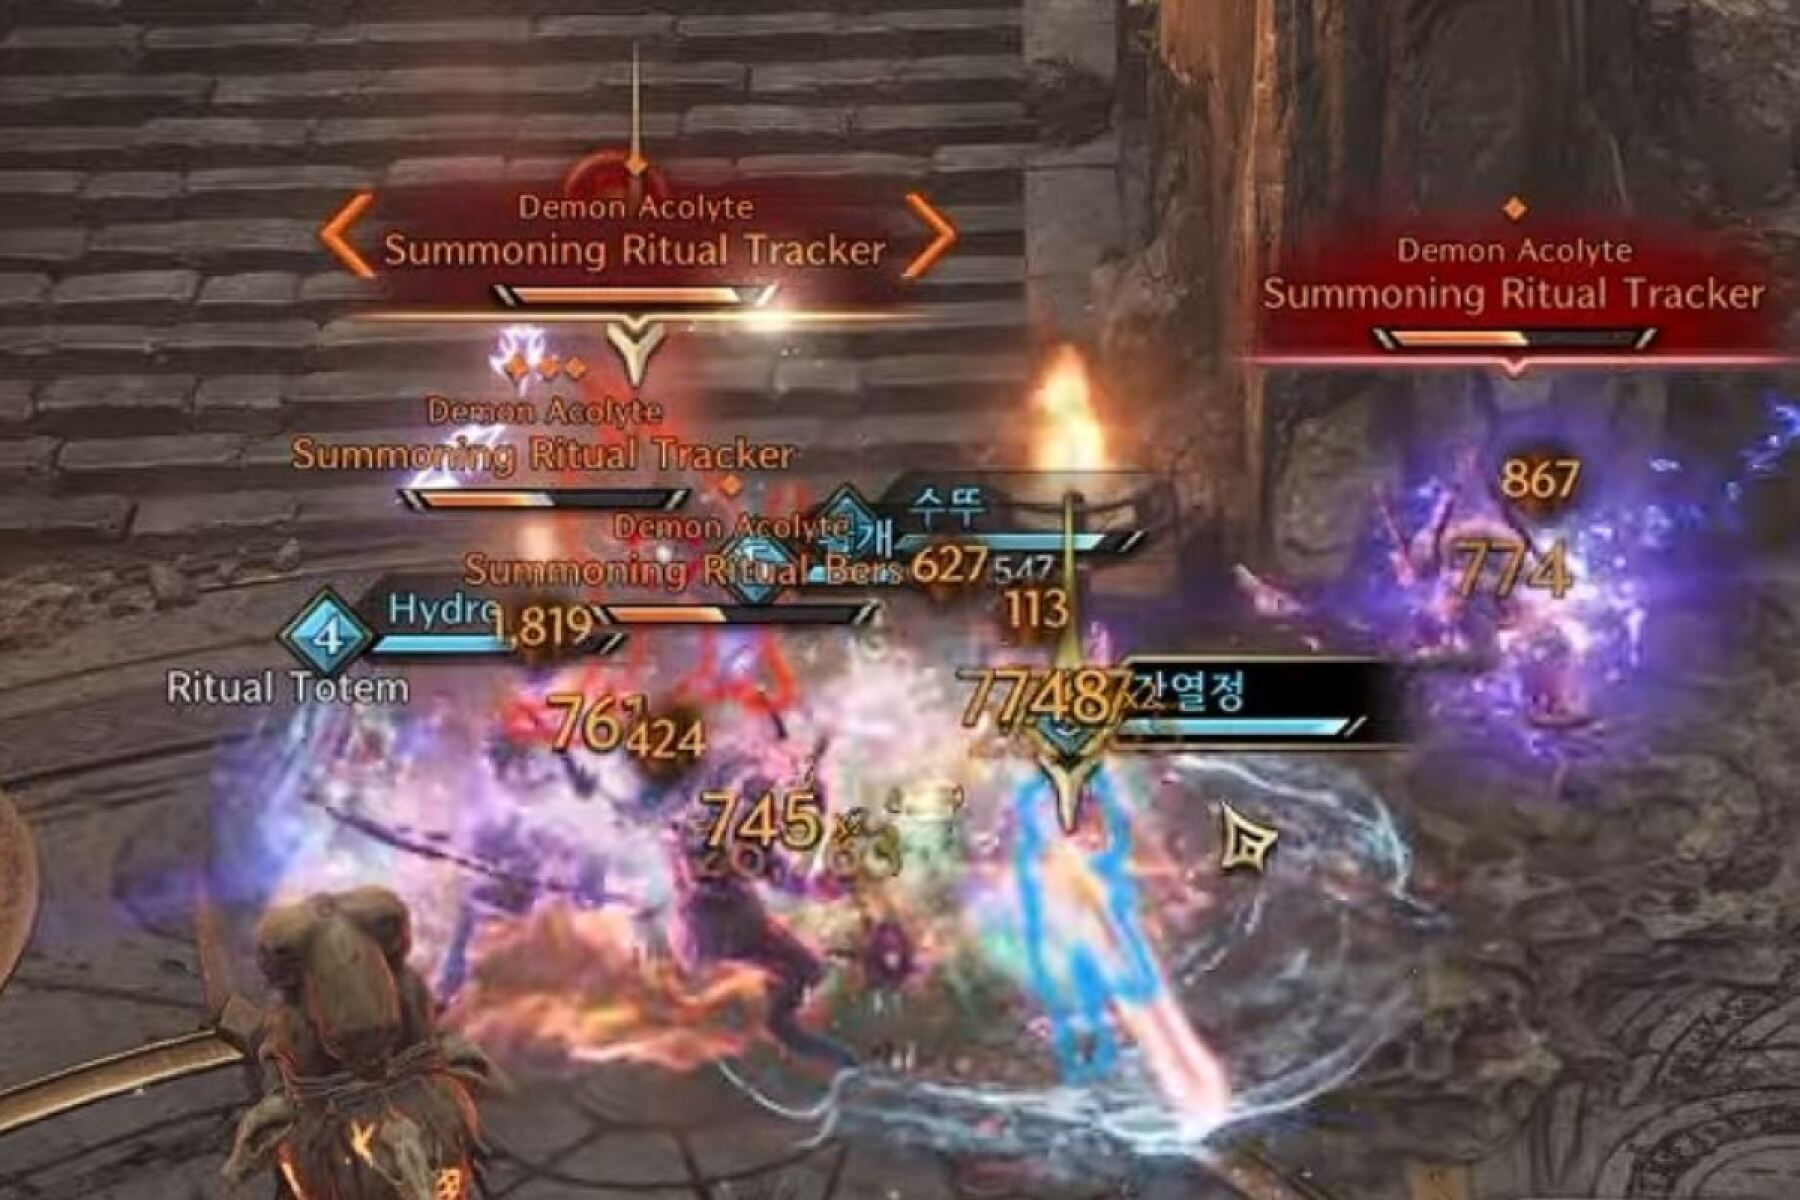
After defeating a pack of mobs, their totem will disappear. Once all three totems are gone, the door to the next room opens.
In the next room, there are three mobs linked to a sacrificed spirit in the middle of the room. Defeat the three mobs first, then the spirit.
Go through the next door, then glide down to the platform where the final boss is waiting.
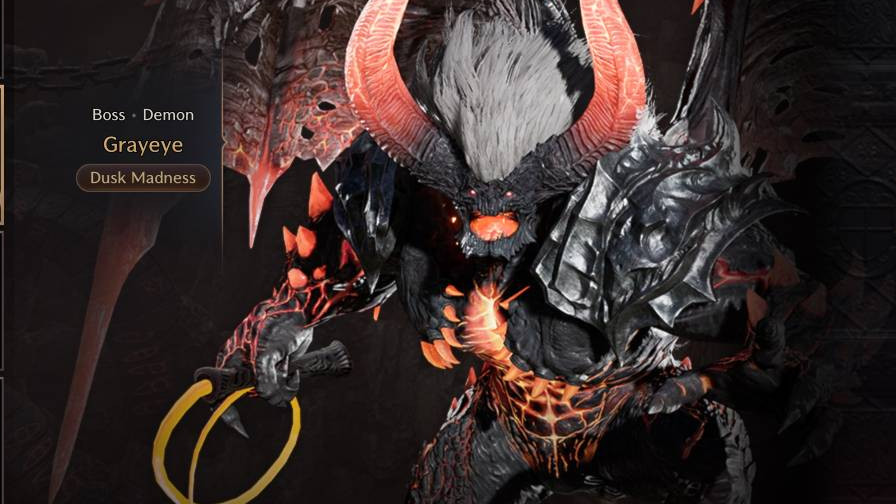
Final Boss - Grayeye
Grayeye is the final boss of the Chapel of Madness in Throne & Liberty.
He has the following attacks and mechanics:
- Basic Attack - When he's not doing anything else, Grayeye will attack the tank with a molten whip.
- Fury Shockwave - Grayeye spins, sending out a shockwave. To avoid this, do a moving block (use your block skill while moving). Look out for the diamond-shaped Fury Attack indicator.
- Fire Beam - The boss sends a thin line of fire across the arena, damaging anyone who stands on it. This will linger on the ground for a few seconds.
- Spirit Sight - Grayeye says something like "I will offer up your souls". One player in the group gets a blue eye icon above their character, gaining the ability to see spirits. There are three sacrificial spirits hidden in the arena. This player must look around to find these spirits. When they are revealed, all DPS players should prioritise killing the spirits.
- Deadly Blast - A few seconds after summoning the spirits, Grayeye hovers in the air, powering up a powerful attack. The location where the last spirit died will be protected by a small blue circle. All players must stand in this circle to survive the blast. This is why it is imperative for the spirits to be prioritised; if you don't kill them in time, you won't have a safe area to survive this mechanic.
- Frontal Fury Attack - Grayeye does a Fury Attack that cleaves half of the room in the direction he is facing. Ideally, this should only affect the tank, because Damage Dealers and the Healer should be standing behind the boss. The tank can mitigate this attack with a well-timed block. If not blocked, this will stun anyone who is hit by it. Sometimes, the boss does this during the spirit phase, which can catch players out, stunning them and wasting valuable time.
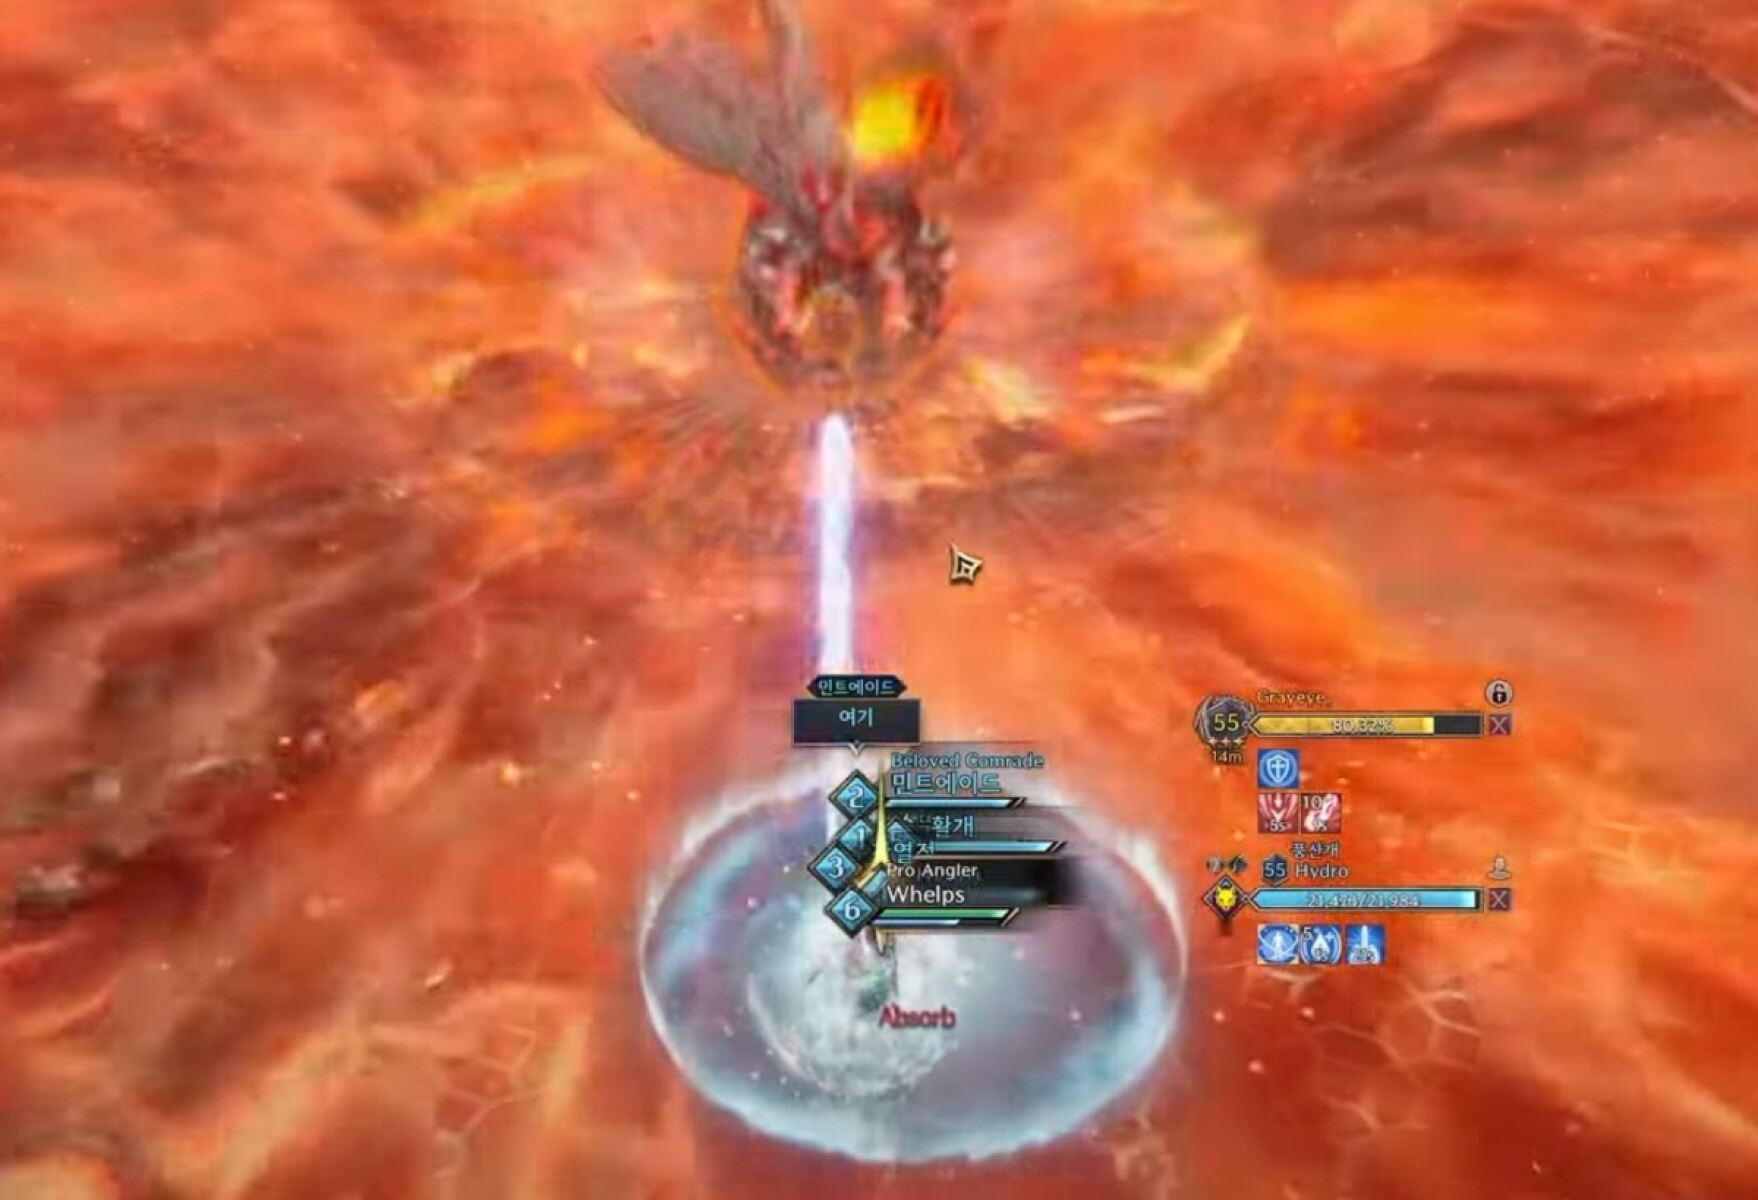
The boss will continue to repeat these mechanics for the duration of the fight.
We hope you liked this guide about the Chapel of Madness dungeon in Throne & Liberty.
About the Author: Andrew
