Cruel Witch's Garden Dungeon Guide - Throne & Liberty
Welcome to our dungeon guide for the Cruel Witch's Garden in Throne & Liberty.
Cruel Witch's Garden is a +++ difficulty dungeon in the Dimensional Circle. This is the highest difficulty currently available for co-op dungeons in Throne & Liberty. The minimum level for the dungeon is level 55.
For more guides about a variety of topics in TL, please check our Throne & Liberty Guides Database.

First Rooms
At the start of the dungeon, go through the hole in the wall and descend using your Glide Morph.
You will enter some narrow corridors with traps in them. Every few seconds, the traps fire projectiles in a line. These do a lot of damage; being hit by two or more can be deadly. Time your run correctly to avoid being hit by them. The traps will glow red shortly before firing a projectile.
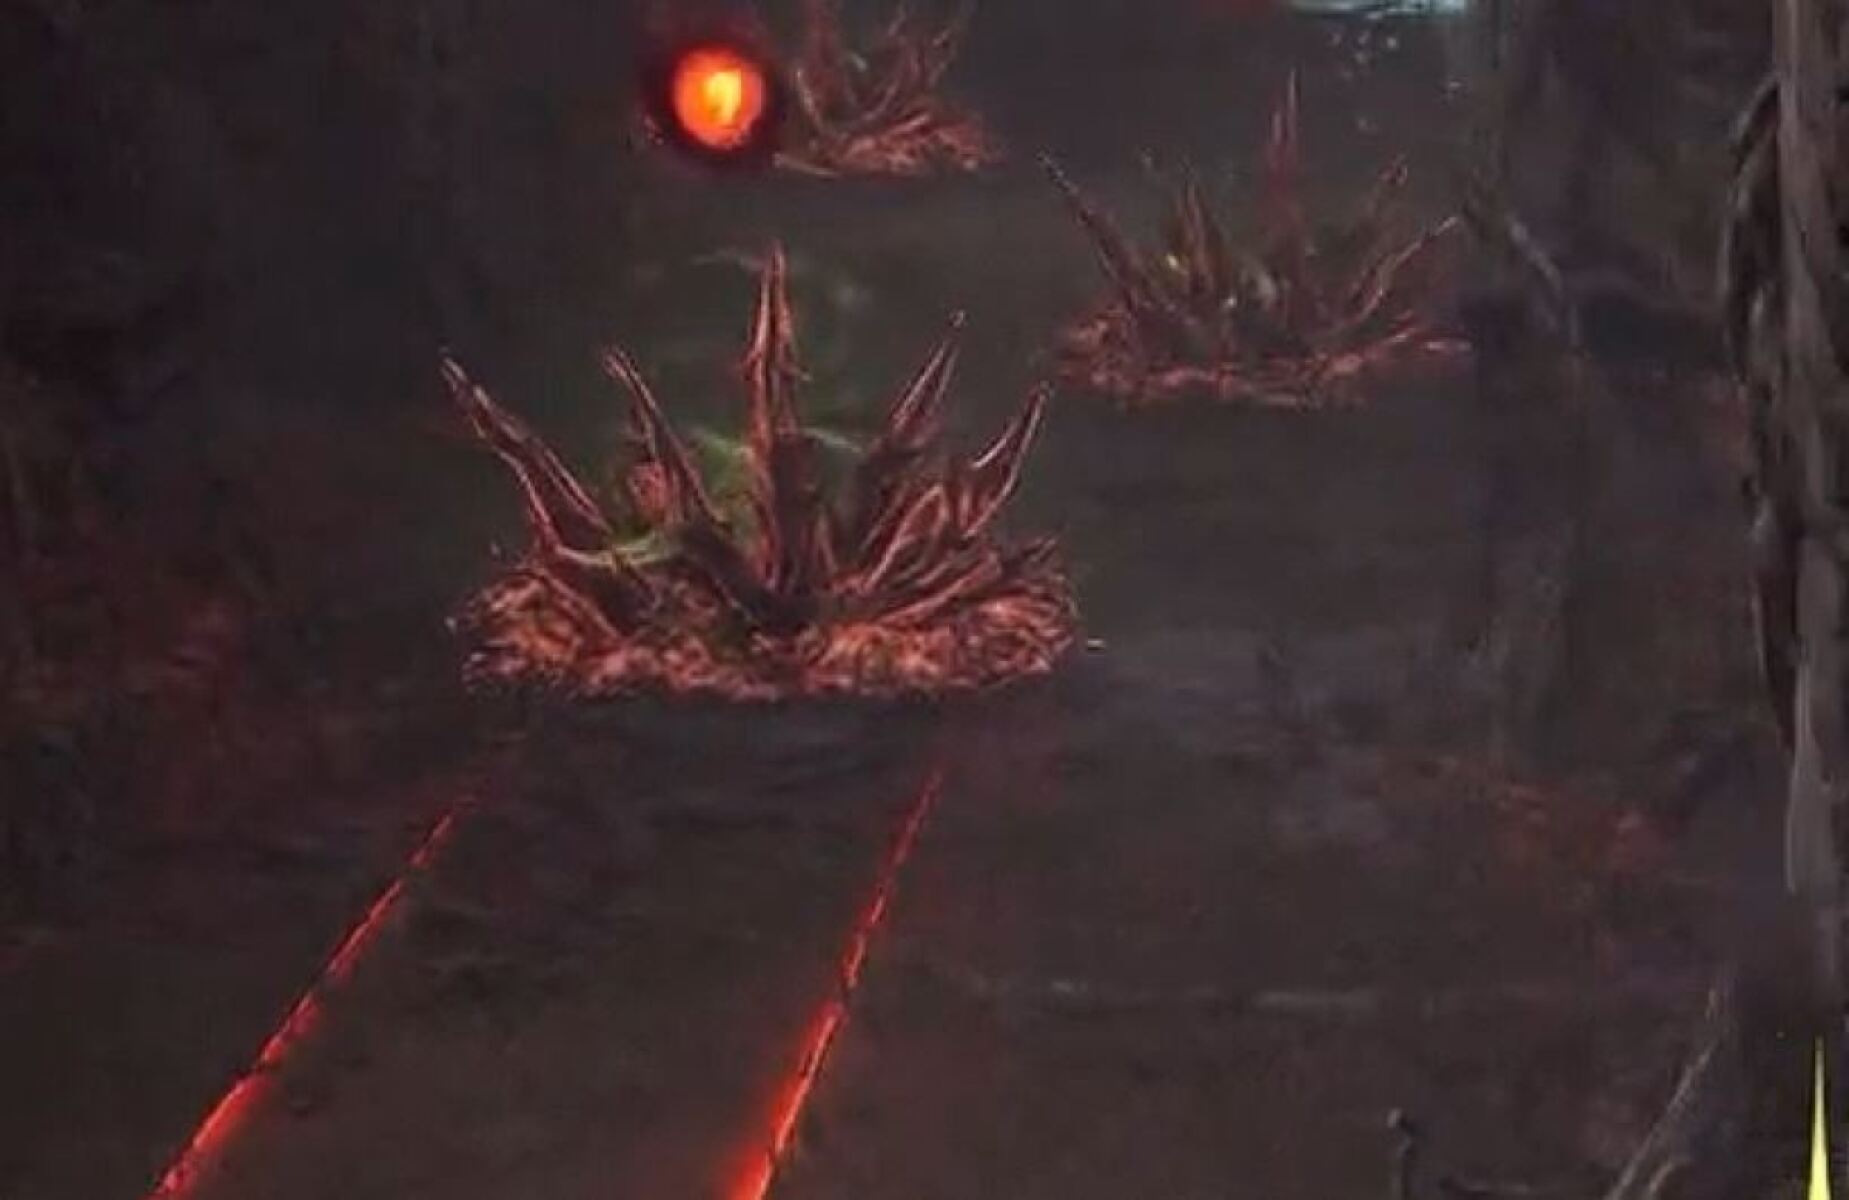
You will eventually to a room with four mobs. The mobs are not too difficult; the tank should take control of them and allow the DPS players to deal with them. However, there are still traps active in this room, so players should watch out for the telegraphs and avoid them.
You then enter another series of narrow corridors, with even more traps. You will encounter new types of traps - poison circles and some holes in the ground that hurt you if you fall in. If you get disoriented, look out for the glowing blue light at the end of each corridor, which points in the direction you need to go.
After a few more corridors, you'll reach another room with some easy mobs. Defeat them and move past a few more traps to reach the first boss.
First Boss - Thorny Vine Gatekeeper
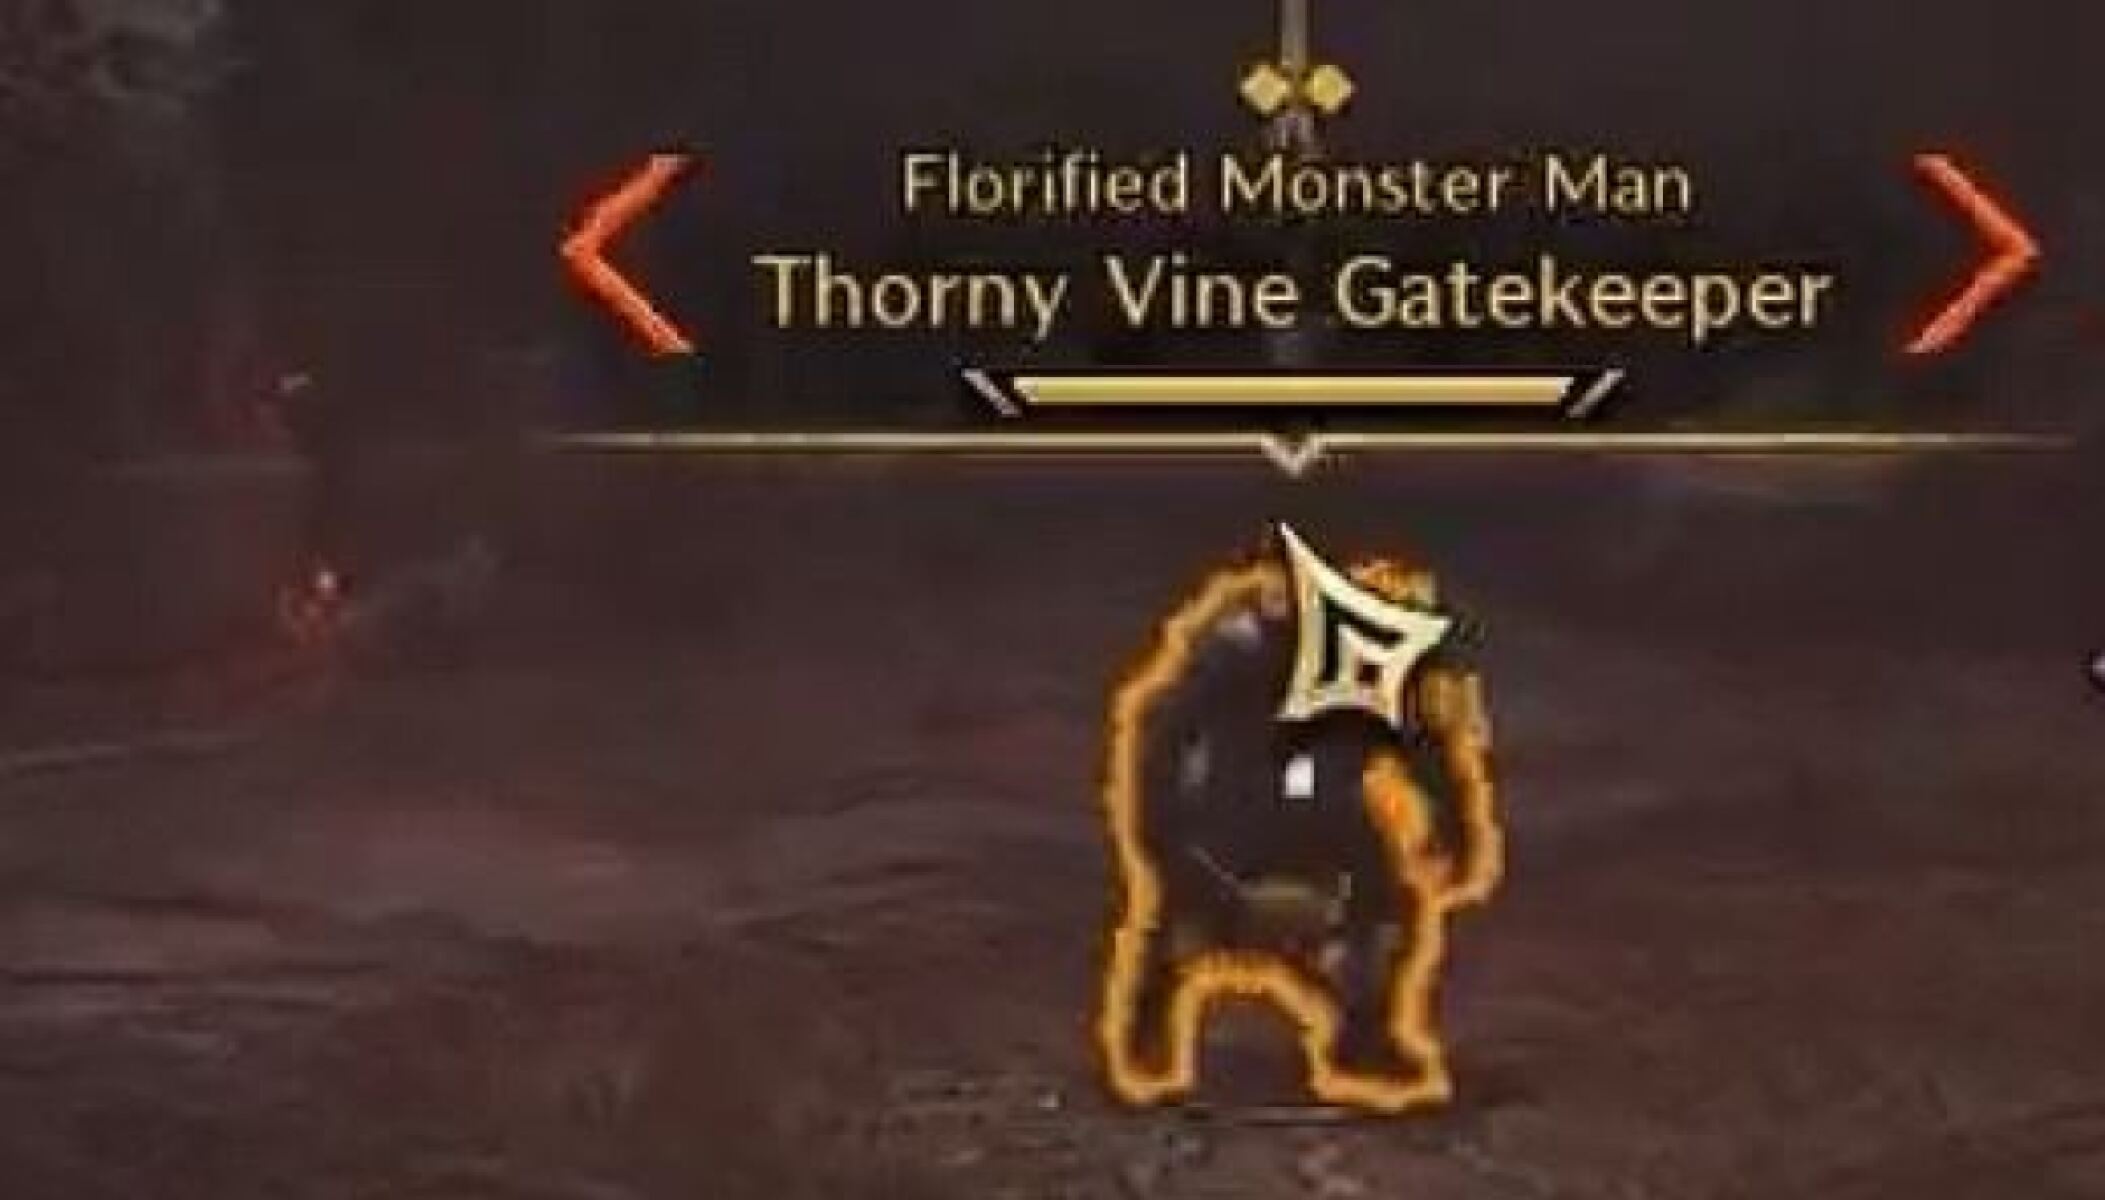
The first boss of Cruel Witch's Garden is the Thorny Vine Gatekeeper.
This is a very simple boss, with just a few mechanics:
- Frontal Cleave - The boss has a frontal cleave attack, damaging anyone in the cone. DPS and the Healer should stand behind the boss to avoid it.
- Pull - The boss will try to pull ranged players to the middle.
- Fury Attacks - The boss will do Fury Attacks, which must be mitigated using your block skill.
Middle Rooms - More Traps
After the first boss, you must pass through more narrow corridors filled with traps. The exploding poison circles are much more common now. Time your run correctly to avoid being caught in the poison when it explodes.
You will come to another room with some easy mobs. Watch out for the poison traps when you are fighting them.
More trap-filled rooms follow, and then yet another room with basic mobs and more traps.
Navigate the next set of corridors. When it seems like you have reached a dead end, look up to your left, and you will see that you must grapple up to reach the next room.
The next room is a large square divided into four sections by the line traps. Each section contains some exploding poison traps. Initially, this room looks a bit complicated, but it's just another basic mob fight with the traps arranged differently.
More traps and mobs follow in the next room, then a couple more corridors with another grapple up at the end. After this point, you can jump down to the next boss room.
Second Boss - Thorny Vine Witch
The second boss of the Cruel Witch's Garden in Throne & Liberty is the Thorny Vine Witch.
The mechanics and attacks of this boss are explained below:
- Fury Attack - The Thorny Vine Witch does a Fury Attack where she throws poisonous projectiles at you. Execute a well-timed block to deflect the poison.
- Basic Attacks - The boss throws poison balls at the player who currently has aggro. Ideally, this should be a tanky player, as the poison can hurt squishy players quite a bit.
After defeating the Thorny Vine Witch, grapple your way up out of the dungeon, then go up the stairs, and you'll come to the courtyard where you'll fight the final boss.
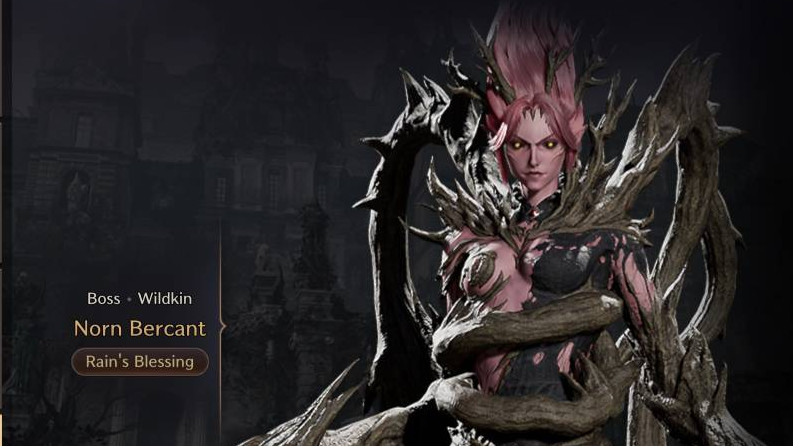
Final Boss Guide - Norn Bercant
The final boss of Throne & Liberty's Cruel Witch's Garden is Norn Bercant.
When you first arrive at the courtyard, you'll just see a giant flower in the middle. Interact with the flower to activate it. It will then unfurl to reveal the boss.
The mechanics of Norn Bercant are explained below.
Important: Before starting the boss fight, it is recommended to place four markers on the ground a few steps away from the boss in the north, south, east and west directions. This will help players to coordinate and position themselves correctly during the boss mechanics.
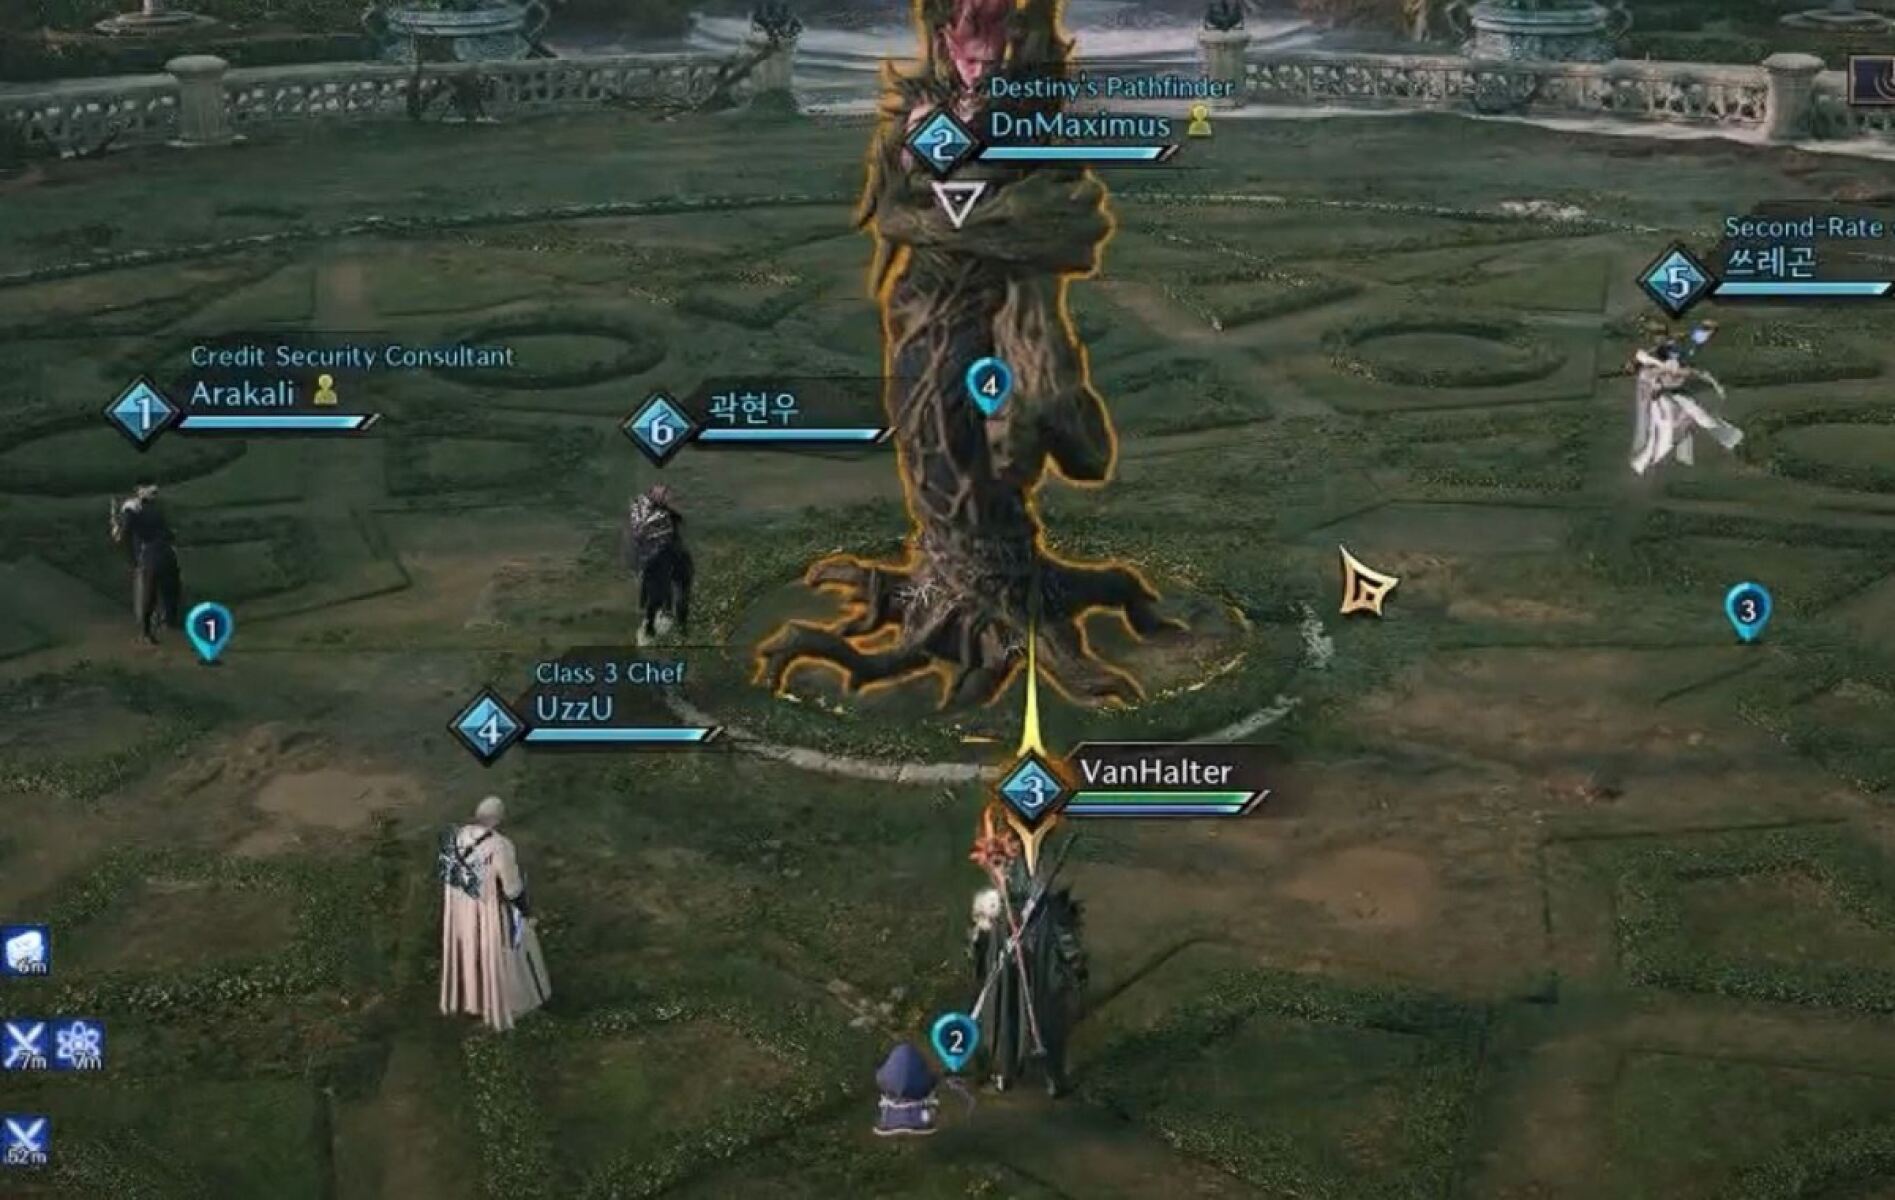
- Basic Attacks - When she's not doing anything else, the boss will swipe at the tank with her arms.
- Tree Walls - Four players in the group will get a green seed floating above their character. These players should each stand on one of the four pins that you placed earlier, making sure that there are not two players on the same pin. If you're on a pin, point your camera towards the boss and tap W to move forward slightly, then stand still, ensuring your character stays in the same position and alignment. The other two players must stand next to the boss for now. After a few seconds, the seeds will create tree walls - these tree walls should completely surround your group in a square. If someone did it wrong, it will be obvious because their wall will be misaligned - most likely they forgot to press W to ensure their character was fully facing the boss.
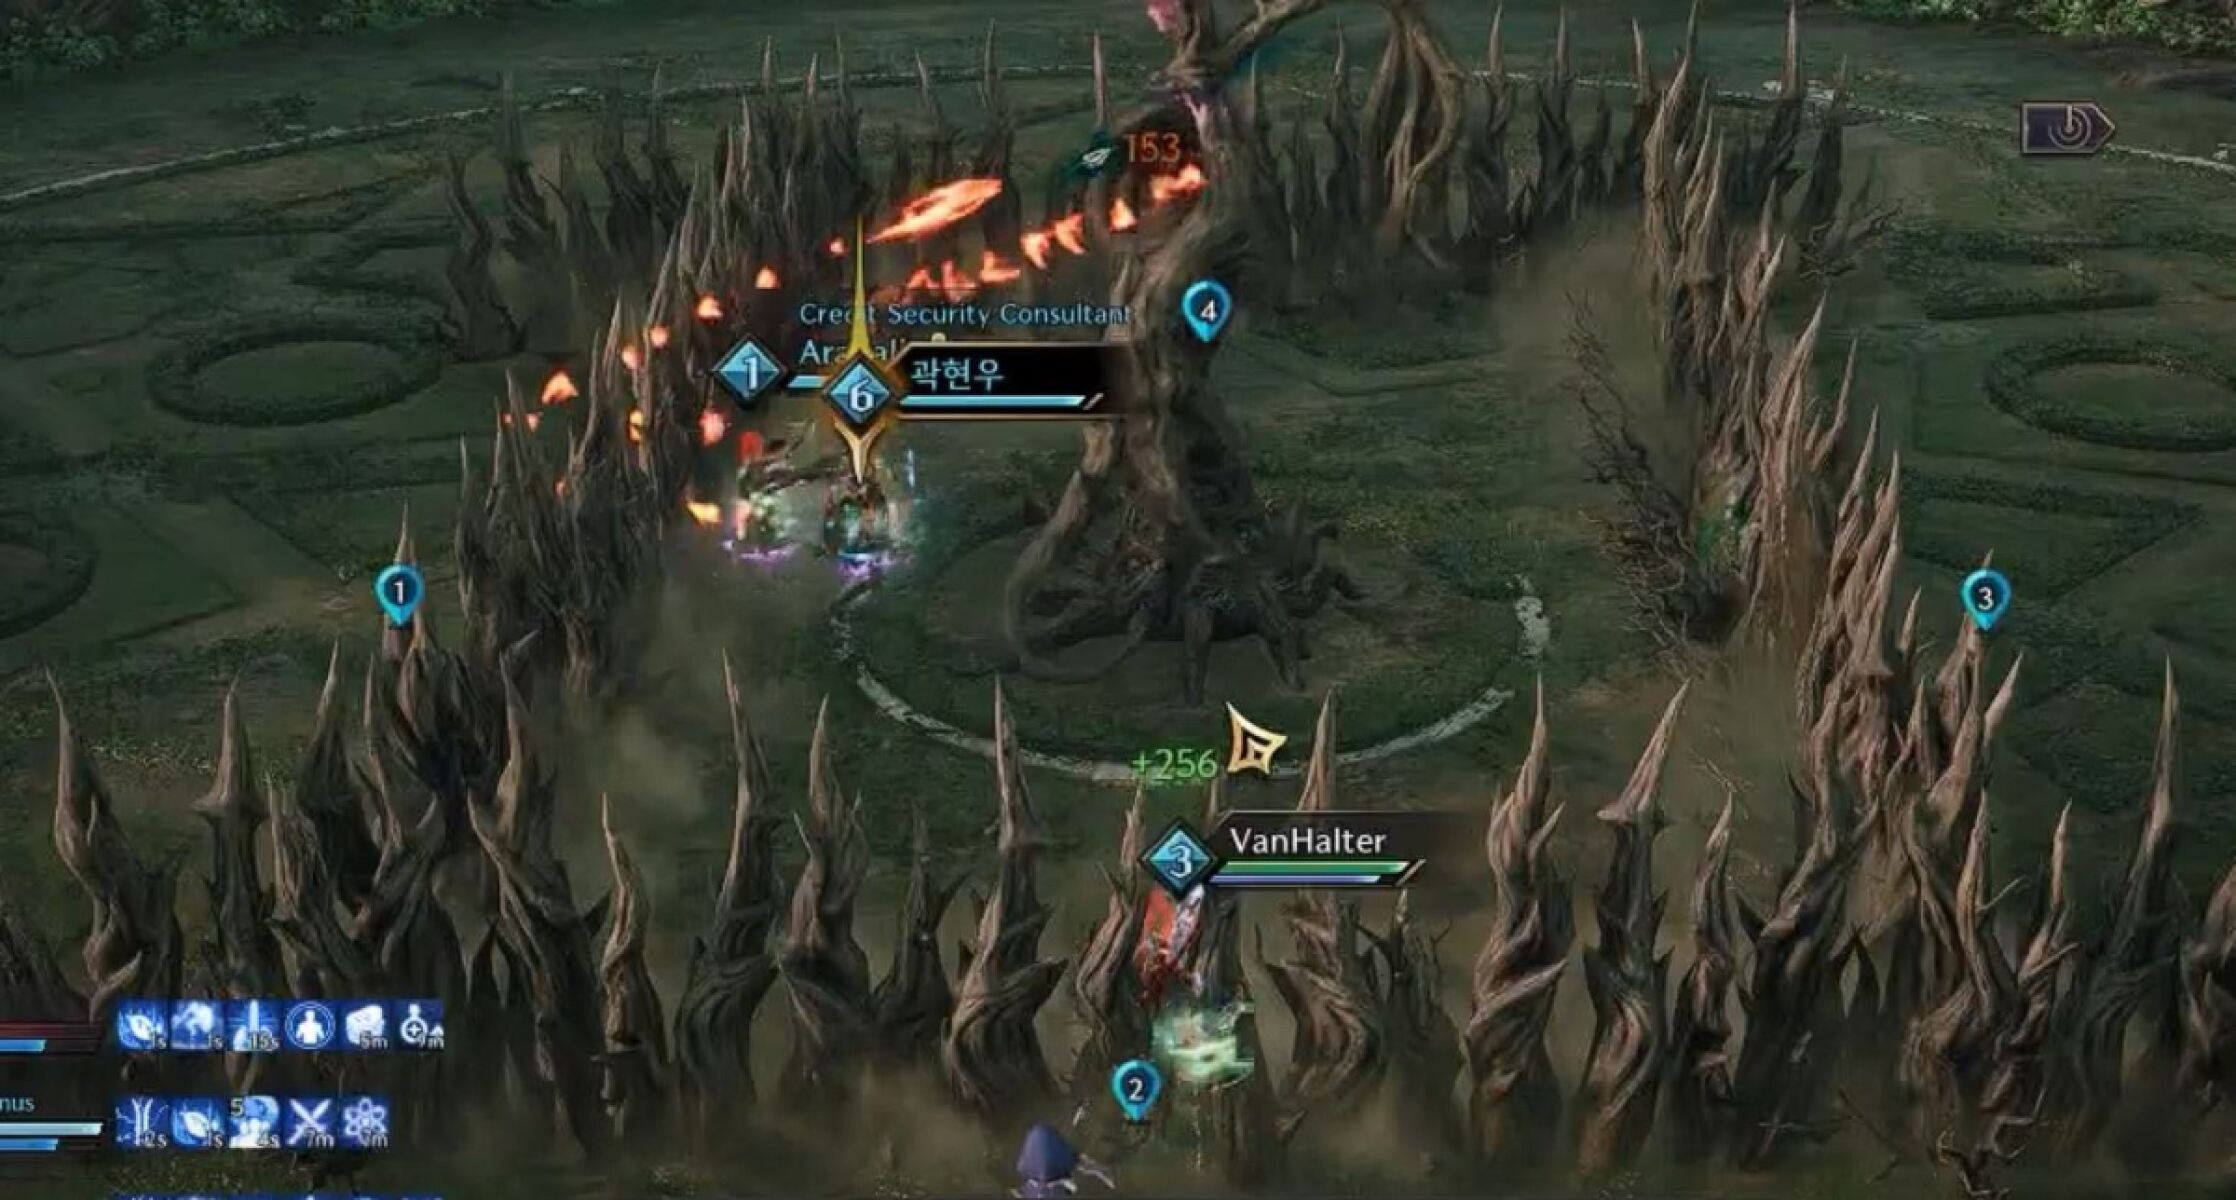
- Thorns - A few seconds after the tree walls are placed, the boss will pull thorns inwards from the edge of the room, from all directions. The tree walls block these thorns, so if you placed them correctly, no thorns will hit your group. If there is a slight mistake in positioning, you can still survive by finding a sensible spot to take shelter from the thorns. Big mistakes are likely to cause deaths in the group. After this attack happens, the tree walls will shrink into the ground.
- Fury Attack - The boss does a Fury Attack, which should be avoided with a moving block (use your block skill while moving).
- Poison Traps - The boss spawns the poison traps from earlier in the dungeon. They will appear directly under your character, so be ready for this and move out of them.
- Shockwave Traps - The boss hits the ground, knocking everyone high into the air. Use your glide morph to descend safely. The straight-line traps from earlier in the dungeon will appear around the courtyard's edge, facing inwards. They will shoot about five times, effectively dividing the area into sections for a short time. Try not to be too focused on the traps because the boss may do another Fury Attack while this happens.
- Poison Wave - The boss sends out a green wave of poison in all directions. You cannot avoid this, but it doesn't do much damage. As long as your healer is alive, this shouldn't be much of a problem.
- Below 40% - At low HP, the boss will spawn more traps in the arena. Other than that, the fight mechanics remain unchanged.
For a Level 55 dungeon, Cruel Witch's Garden is not too difficult, with just one mechanic requiring precise positioning and a relatively simple one at that. The most frustrating part of the dungeon for most players is the repetitive trap-filled corridors in the earlier parts, but these will become much easier to navigate once you have gone through them a few times.
We hope you liked this guide about the Cruel Witch's Garden Co-Op Dungeon in Throne & Liberty.
About the Author: Andrew
