Death's Abyss Dungeon Guide - Throne & Liberty
Welcome to the Death’s Abyss Dungeon Guide for Throne and Liberty. In this guide, we will explain the Death’s Abyss Dungeon, including boss mechanics and strategies that will allow you to easily clear this content.
Death’s Abyss is a dungeon in Throne and Liberty, intended for 6-player groups. To access Death’s Abyss, your character needs to be Level 50. Completing the dungeon can yield many rewards, such as equipment, growth stones, amitoi, XP and gold.
To enter Death's Abyss, navigate to the Secret Dungeons section of the game menu. From this menu you can enter Death’s Abyss by creating or joining a party, provided you are Level 50. The dungeon is a more challenging version of Specter's Abyss - the layout, mobs and bosses are similar, but more difficult to beat than their Specter's Abyss counterparts.
For more guides about a variety of topics in TL, please check our Throne & Liberty Guides Database.
Death’s Abyss Enemies and Mechanics
We will now talk about the various enemies and bosses in Death’s Abyss Dungeon from Throne and Liberty, and how best to defeat them.
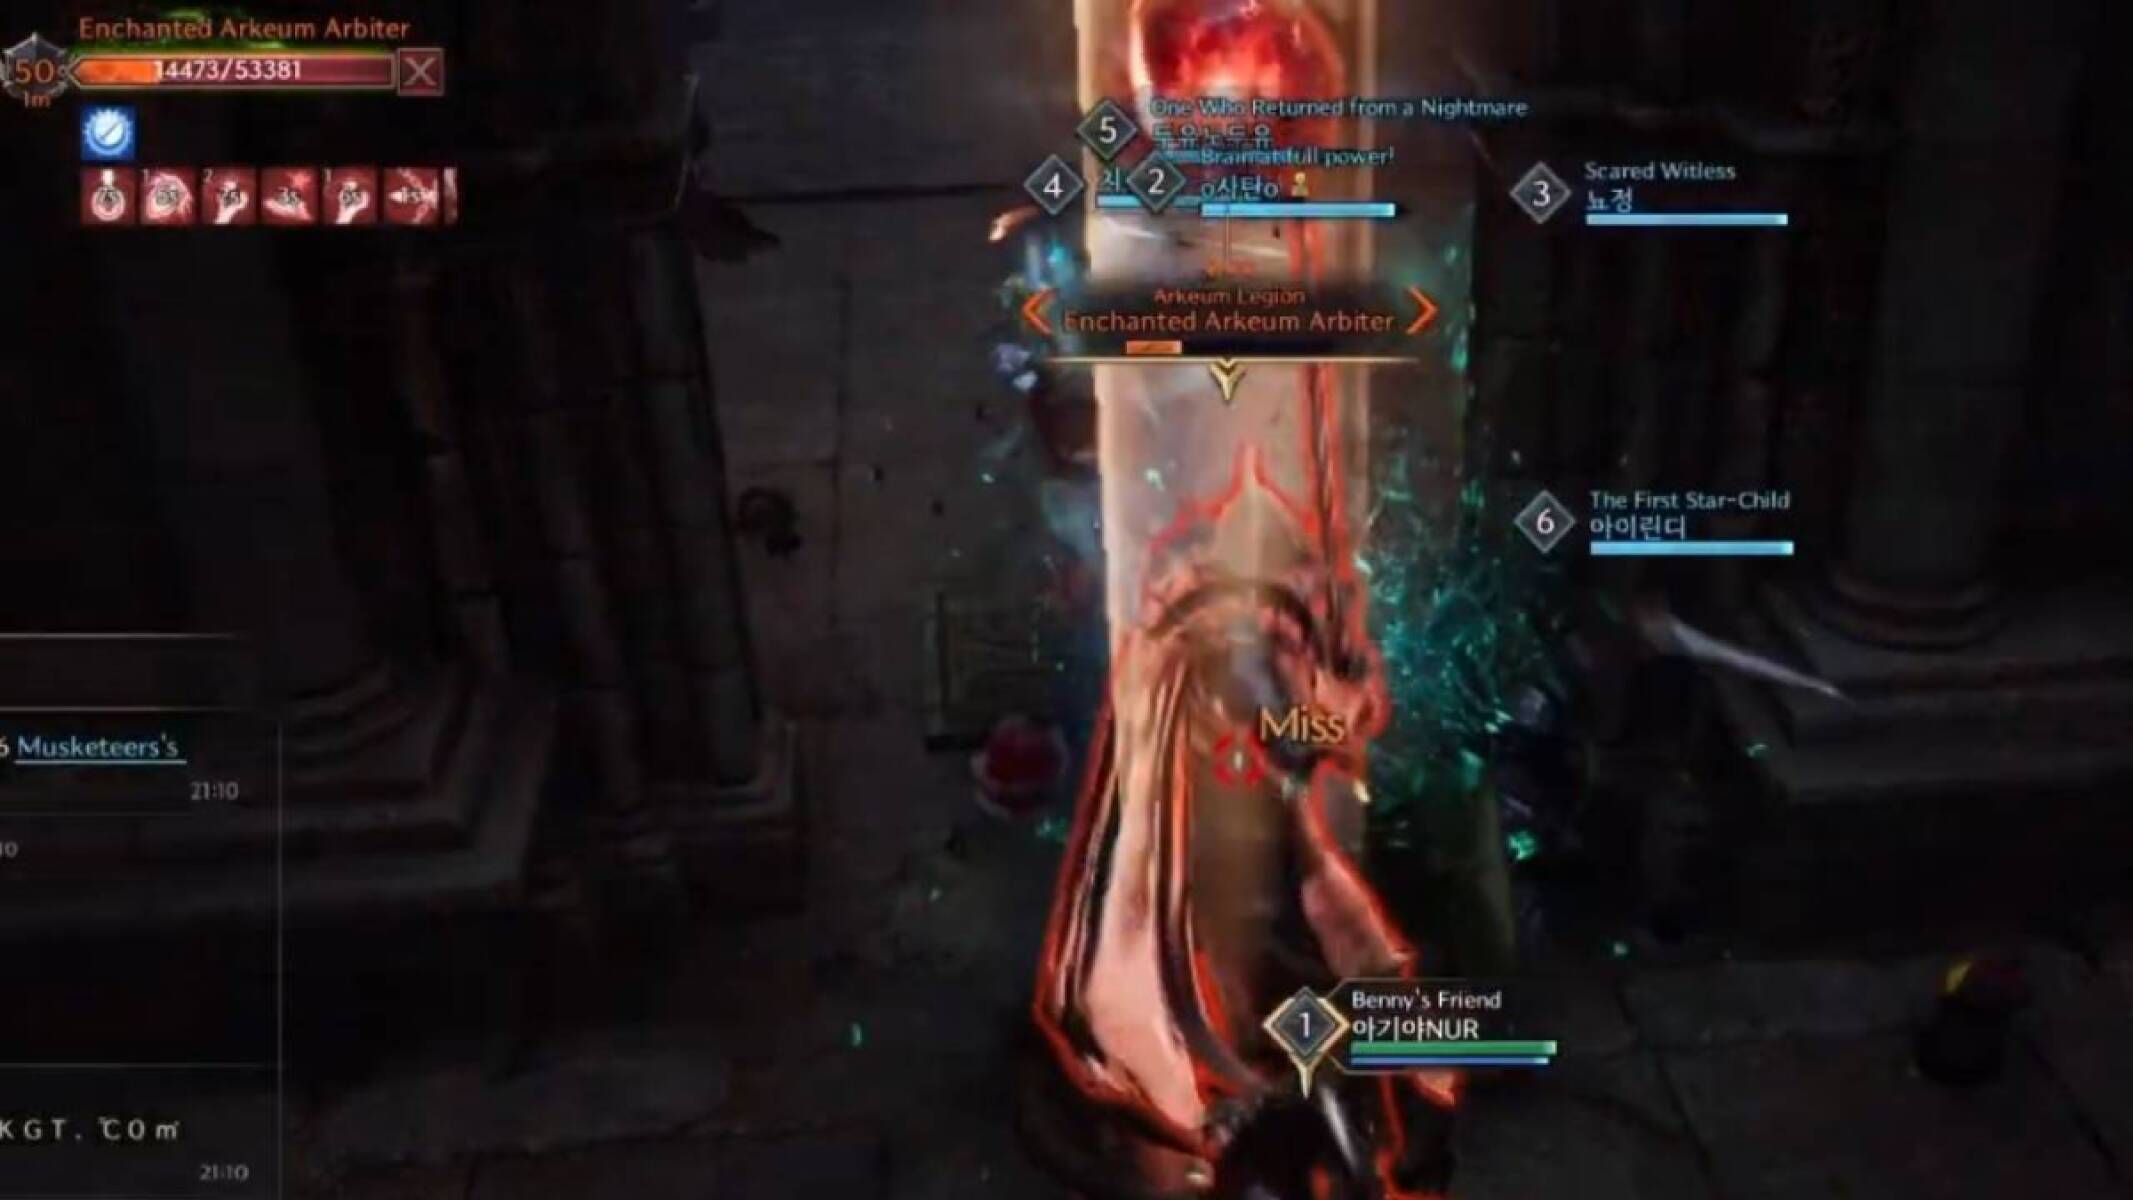
Enchanted Arkeum Arbiter
The Enchanted Arkeum Arbiter is a large mob found in Death's Abyss. It has a few AOE attacks that you should watch out for:
- Fire AOE – The Arbiter charges up and then unleashes fire AOEs on the ground. Be sure to watch your feet and avoid standing in these to avoid taking needless damage.
- Fire Cleave – The Arbiter unleashes a frontal cleave attack, damaging everyone in front of him. The tank can help by facing the boss away from other party members so they don’t need to worry about the cleave.
- Spin Attack – The Enchanted Arkeum Arbiter can unleash a spinning attack, damaging everyone too close to him. Take a few steps back to avoid being caught in the affected area.
The Arkeum Arbiter can be stunned to put a stop to these abilities temporarily.
Elite Arkeum Shadowmancer
The Elite Arkeum Shadowmancer is a simple boss that is very similar to the Shadowmancer boss in Specter's Abyss. It has the same mechanics but is harder than the Specter's Abyss version.
The boss will periodically lift three players into the air, preventing them from using any abilities and eventually killing them. The other three players must use hard-CC (stun) skills to end the spell.
Ideally, everyone in the group should equip at least one stun skill so they can help with this mechanic.
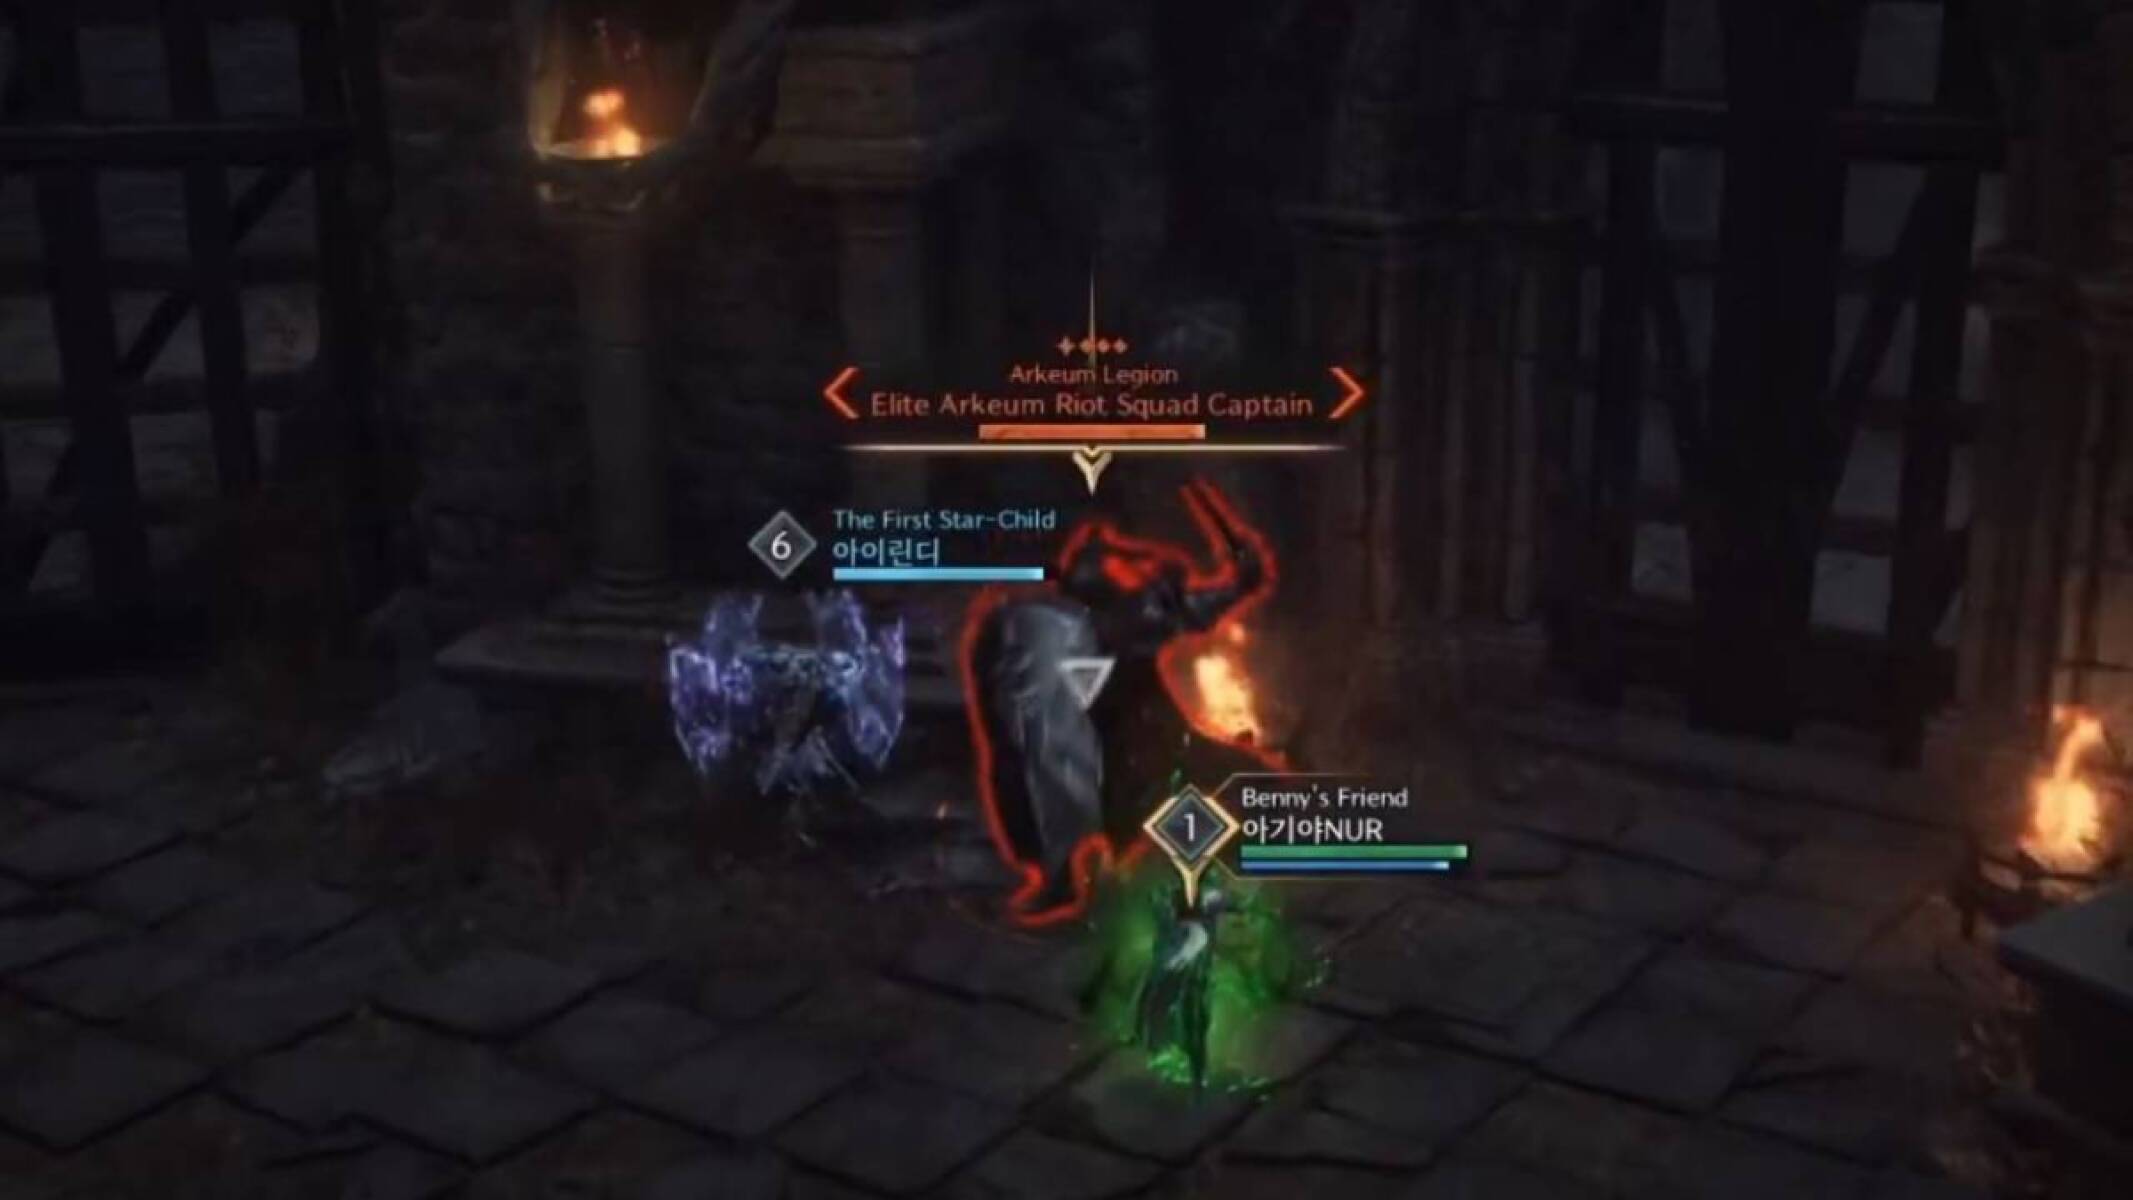
Elite Arkeum Riot Squad Captain
Another tough boss in Death’s Abyss Dungeon, the Elite Riot Squad Captain has a high health pool, so the fight can last for a longer time than the previous fights in the Death’s Abyss dungeon.
The Riot Squad Captain has the following abilities:
- Conal Cleave – The boss launches a conal cleave AOE at a player. It is important to quickly dodge or sidestep out of the affected area to avoid the damage.
- Shield - The boss gains a blue shield, which must be quickly broken by damaging it. Then, the boss must be stunned to interrupt the mechanic. If the shield is not broken in time or the boss is not stunned, he will deal heavy AoE damage to the group, possibly causing a wipe. If your party lacks the DPS to deal with this mechanic comfortably, ask your damage dealers to save their most damaging skills for the shield mechanic.
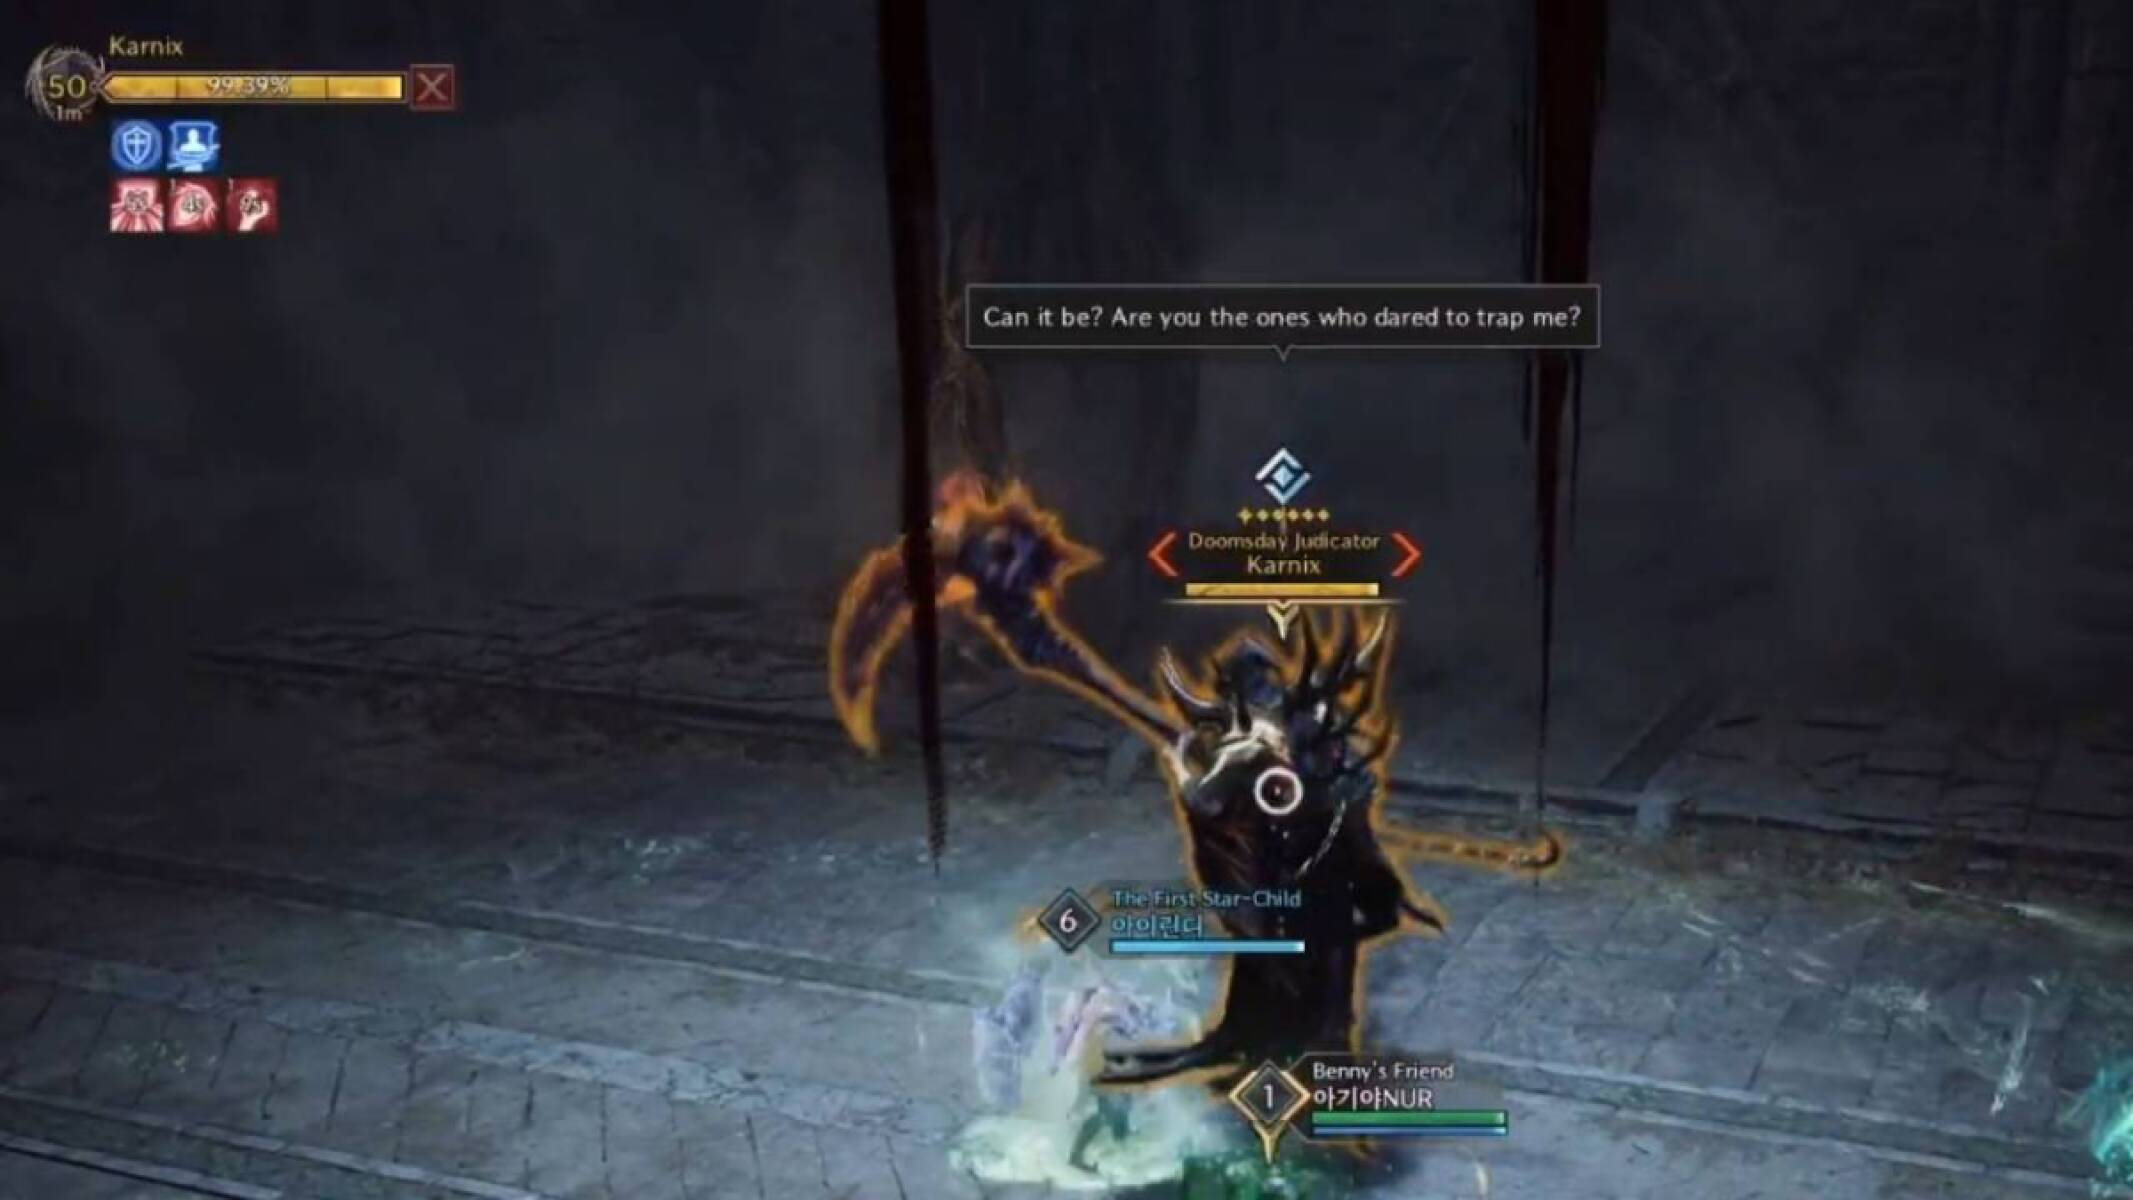
Doomsday Judicator Karnix
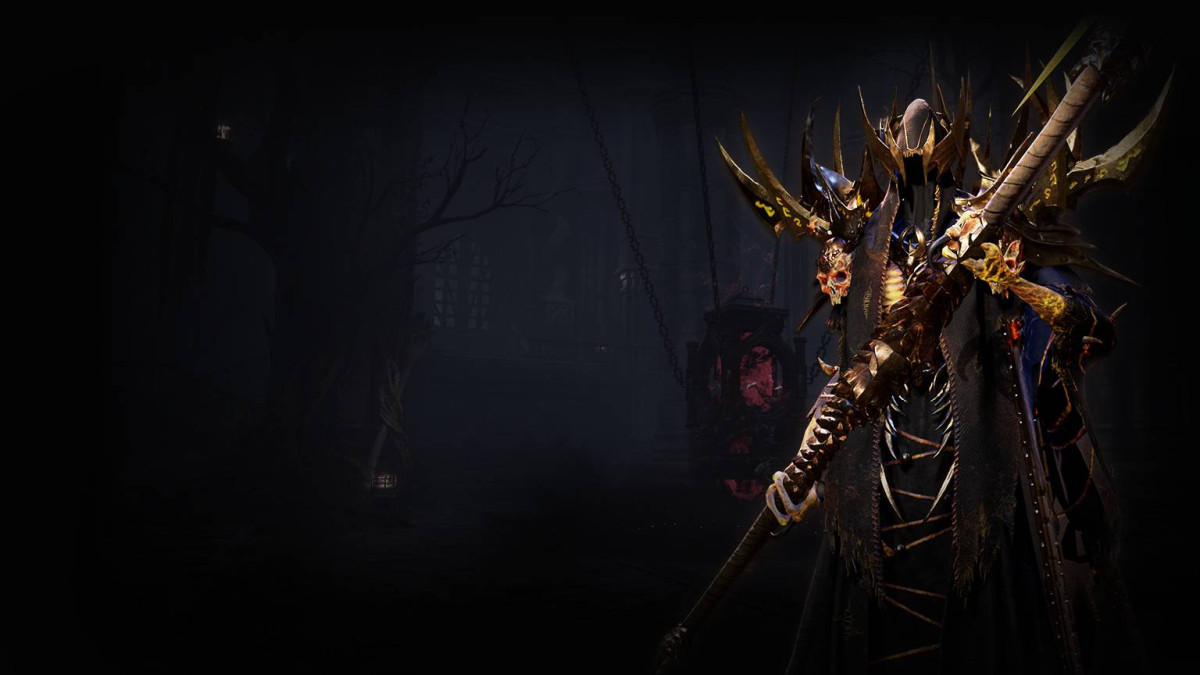
Doomsday Judicator Karnix is the final boss of the Death’s Abyss dungeon in Throne and Liberty. He possesses more mechanics than the previous enemies in the dungeon. It's important to learn the mechanics and work as a team to overcome this boss.
Karnix has the following mechanics:
- Scythe Stun – Karnix slams his scythe into the ground, dealing heavy AOE damage and knocking players back. The best way to deal with this ability is to run away and avoid being hit by it at all – fast reaction times and a watchful eye are important.
- Teleport Strike – Karnix teleports three times, performing a basic attack after each teleport. After the final teleport, he does a Fury Attack, dealing significant damage. Be ready to react by blocking the Fury Attack.
- Spinning Wave – Karnix spins briefly while charging the attack. He then unleashes a wave of electrical damage. To avoid this damage, make use of a well-timed shield skill.
- Death Sentence – Karnix casts a spell that marks a player. He then summons scythes that will chase and strike the marked player. The marked player should run away from the scythes to avoid being hit for the spell's duration.
- Blue Circle – Karnix marks a player with a blue circle, then performs a deadly attack with his scythe, which can hit multiple players. To survive this, players should take refuge inside the blue circle. This mechanic is also present in Specter's Abyss, so it should be easy for you if you did that dungeon already,
We hope you liked this guide about the Death's Abyss Dungeon in Throne & Liberty.
About the Author: Andrew
