Haunted Labyrinth Dungeon Guide - Throne & Liberty
Welcome to our complete guide for the Haunted Labyrinth Dungeon in Throne & Liberty.
The Haunted Labyrinth is a special Co-Op Dungeon. It is only available during the Haunted Harvest, the Halloween event in Throne & Liberty.
See also: Haunted Harvest Event Guide
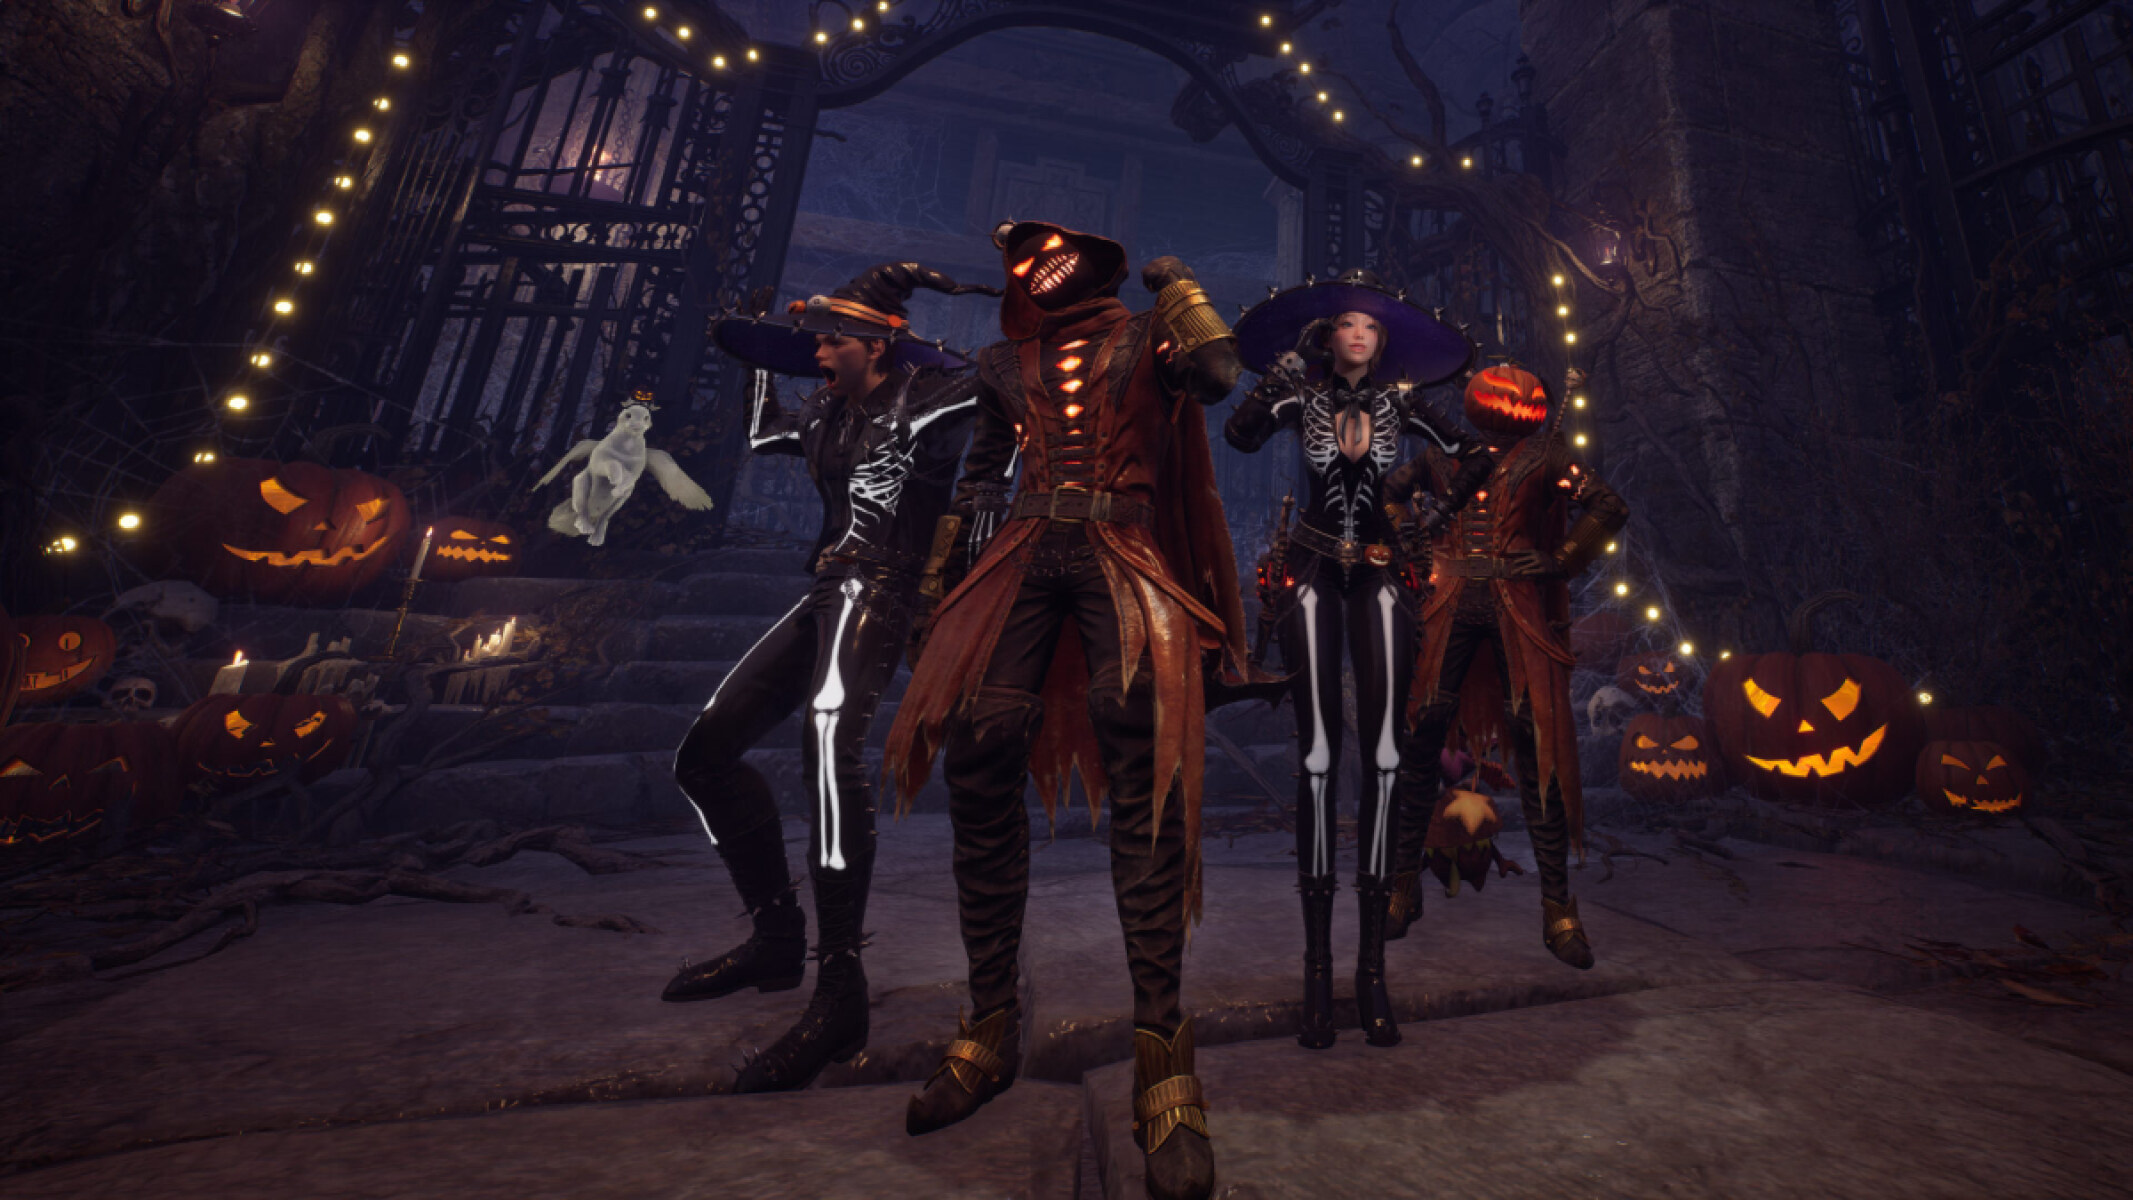
Completing the Haunted Labyrinth is a vital part of the event, as it allows you to obtain limited edition Halloween cosmetic items, including the Pumpkin Lord Headpiece, Jack-o'-Lantern Izzy Amitoi, and the Punky Pumpkin Morph. It's, therefore, a good idea to learn the mechanics and strategy for completing the dungeon without any trouble.
For more guides about a variety of topics in TL, please check our Throne & Liberty Guides Database.
Mob Guide
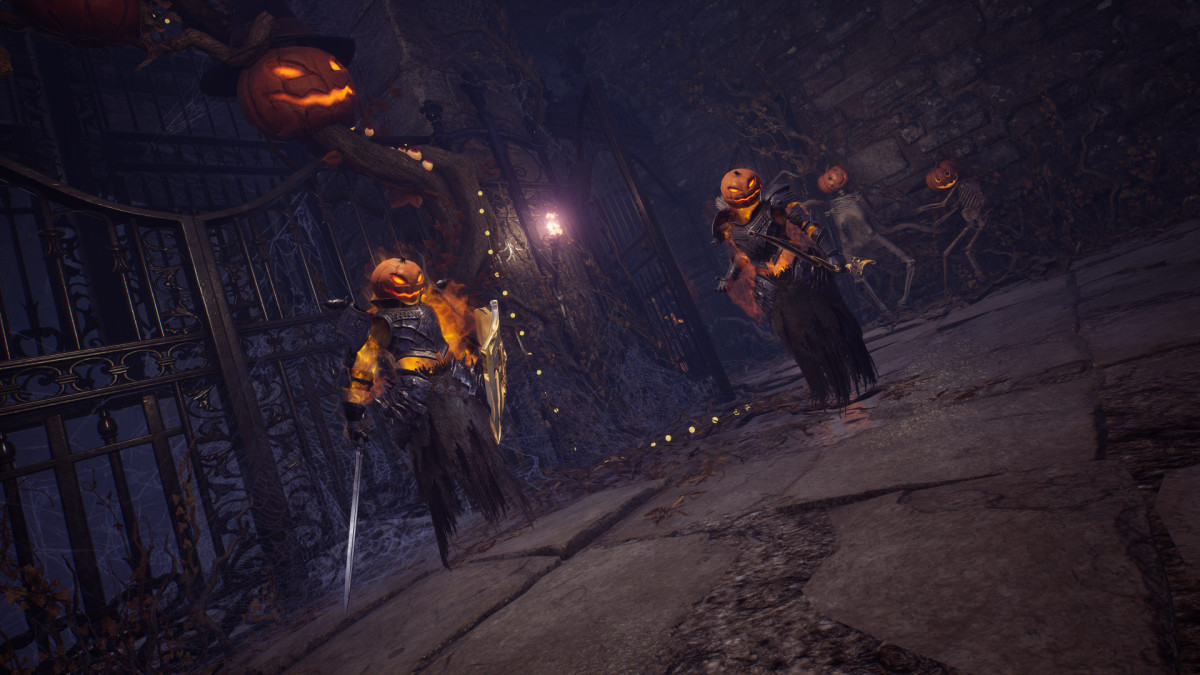
At the beginning of the Haunted Labyrinth dungeon in Throne & Liberty, you will find some narrow corridors with pumpkin mobs guarding them. These mobs will be the same throughout the dungeon, so we will go over them all here:
- Pumpkin Archers - These are the most dangerous mob. They will stay at range and shoot arrows at random players. Every few seconds, they will target a player with a Fury Attack that they must block or dodge. Left unchecked, these enemies can do a lot of damage to players and potentially cause deaths. The tank should aggro any melee mobs and stack them on the Archers so that everything can be dealt with at once, and DPS players should prioritise killing the Pumpkin Archers first.
- Pumpkin Lancer - A melee mob that carries a large spear. He follows the player with aggro, so the tank should aim to move them to the Archer if there is one; otherwise, stack them with any other mobs.
- Pumpkin Shield Soldier - Another melee mob equipped with a sword and shield. He will try to Crowd Control the player with aggro. They're not much of a threat as long as the tank can keep them under control.
- Pumpkin Head Harvester - Fairly easy melee mobs. They will do a melee Fury Attack, but otherwise don't present much of a threat as long as the tank takes charge of them.
- Pumpkin Mandrakes - These are spawned when you interact with the Pumpkins during the dungeon's First Room and Pumpkin Wagon sections, explained below. They are the weakest mob, and as usual, the tank should try to keep aggro and stack them with other mobs.
Important: All mobs in this dungeon will explode a few seconds after they die, dealing around 3,000 damage to anyone nearby. If you're unaware, you can easily get killed by this, so watch out for it.
First Room
After entering the dungeon, proceed through the corridor, taking out an Archer and a Lancer, and head up the stairs. You will enter a room filled with Pumpkins, and some dormant Pumpkin Head Harvesters. Here, your group must search the Pumpkins to find a key to open the exit gate. When you interact with the Pumpkins, they will turn into Pumpkin Mandrakes and attack you, and a nearby Head Harvester will also activate and attack.
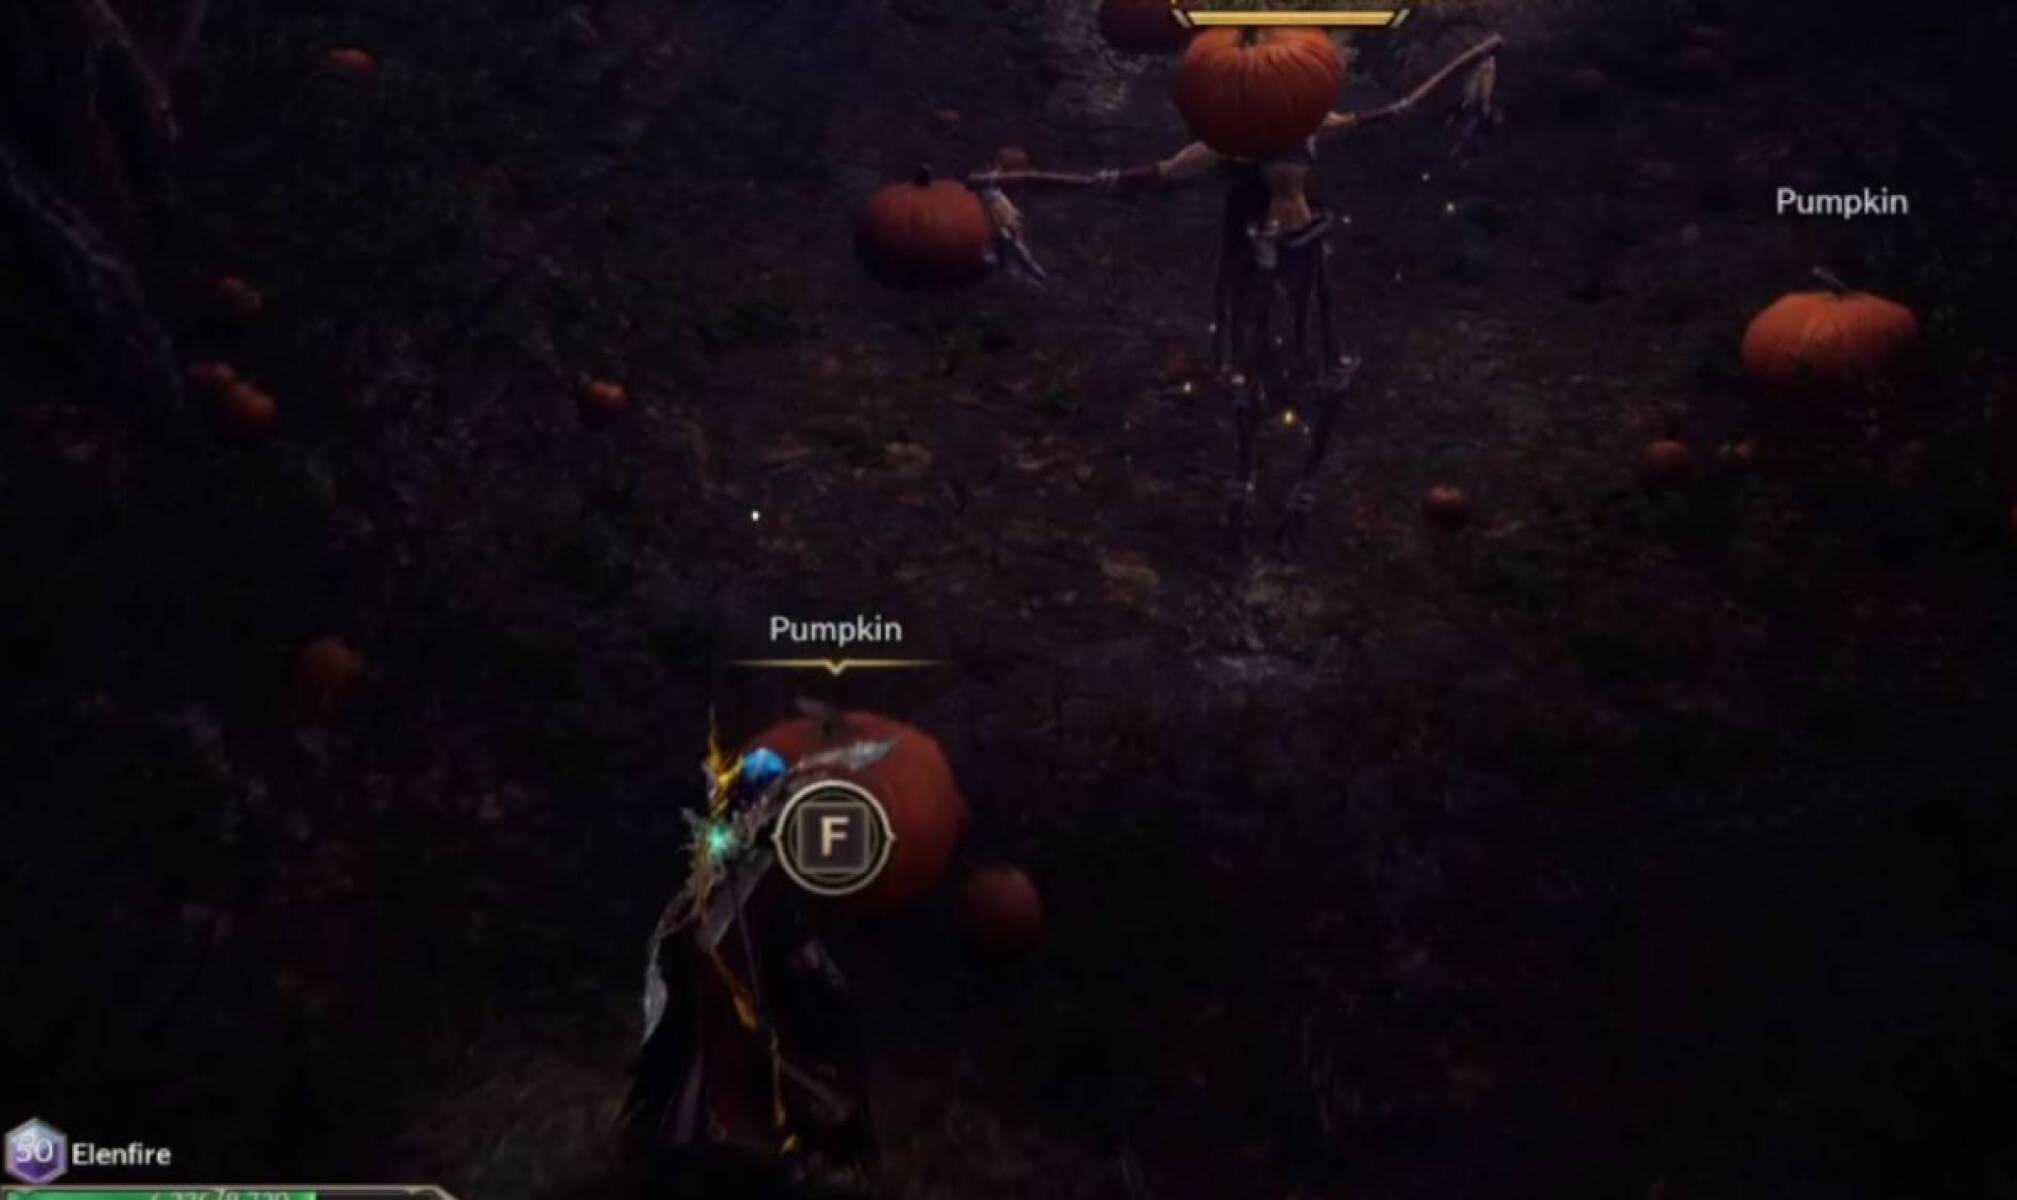
Once you found the key, you can exit the first room and proceed to the next area.
Pumpkin Wagon
Leave the previous room, and you will see a pumpkin wagon. Enter the wagon and it will transport your group to the next area, where it stops. You will be a Pumpkin Archer, but alone he isn't much of a problem.
To reactivate the wagon, you need to get three more pumpkins and take them to the pumpkin wagon to refuel it. You can find one pumpkin in the outdoor area near the wagon, so get that one first. Just like in the first room, the Pumpkin Head Harvesters will attack when you interact with the Pumpkins.
Head up the stairs and defeat the Pumpkin Lancer and Pumpkin Shield Soldier, then activate the gate to enter the side room. This is almost identical to the first room, and you'll need to grab two more Pumpkins to fill the Pumpkin Wagon.
Once the Pumpkin Wagon has all three Pumpkins, ensure everyone is on board the Wagon, then use the Activation Device to proceed.
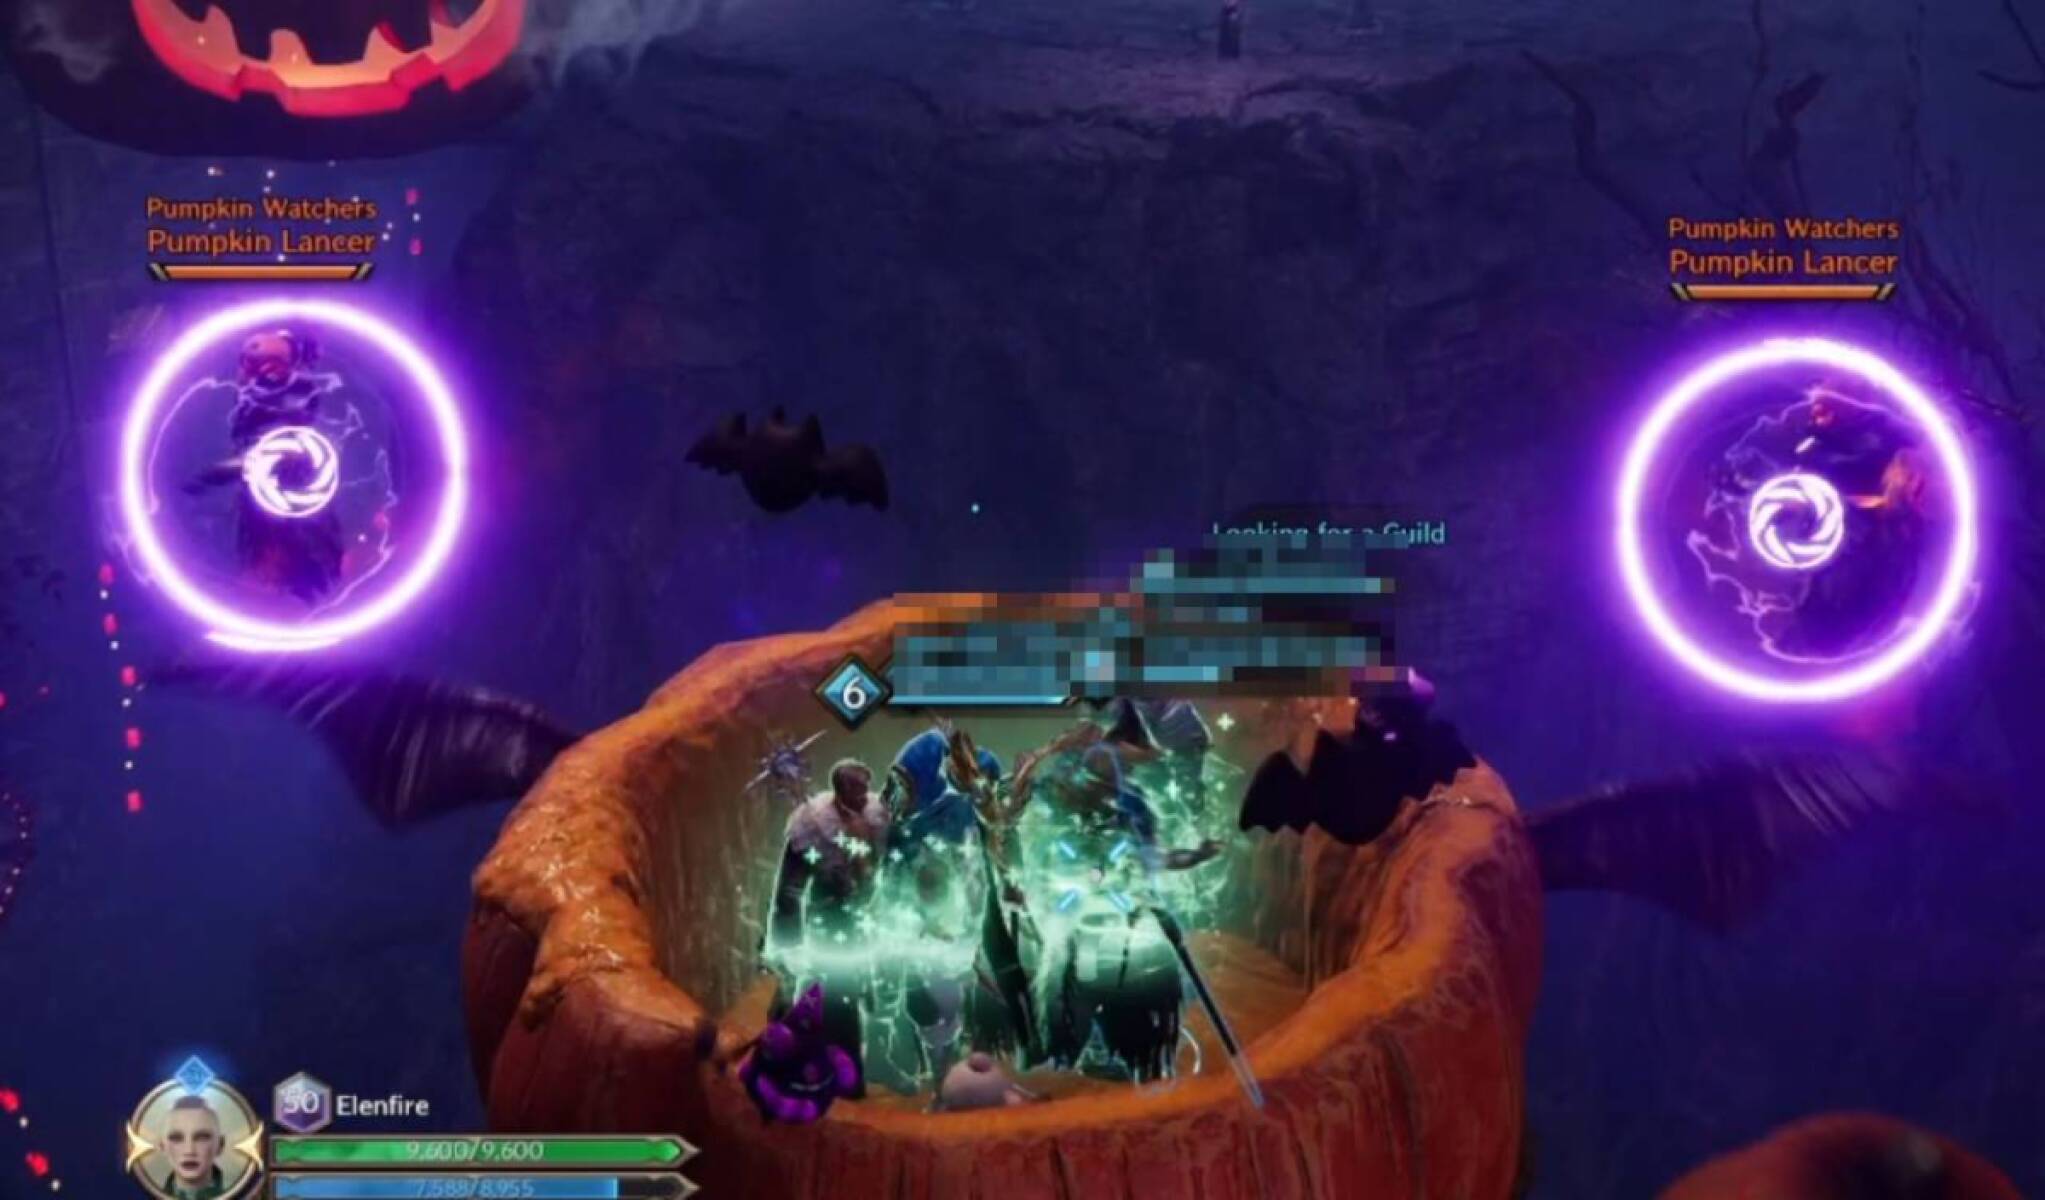
Along the journey to the next area, two Pumpkin Lancers will fly past the wagon and do a Fury Attack. Anyone who doesn't block it will be knocked out of the wagon.
Second Area
After leaving the Pumpkin Wagon again, you are immediately presented with a group of mobs. There are two Pumpkin Lancers, one Pumpkin Shield Soldier, and two Pumpkin Archers. The tank should aggro the melee mobs and stack them on an Archer. The DPS players should focus on killing the Archer first; when it dies, the tank should move the melee mobs to the second Archer. This is the safest and quickest way to get past this mob group.
Remember that the Archers will target players with strong Fury Attacks, and do your best to block them. If the group is disorganized and the Archers are left alive, they will probably cause some deaths in the group, as they do quite a lot of damage. If you die here, simply resurrect and grapple up to rejoin the fight.
You cannot skip these mobs due to a blue AoE on the exit stairs, which will quickly kill anyone who walks there.
First Boss - Pumpkin Watch Captain
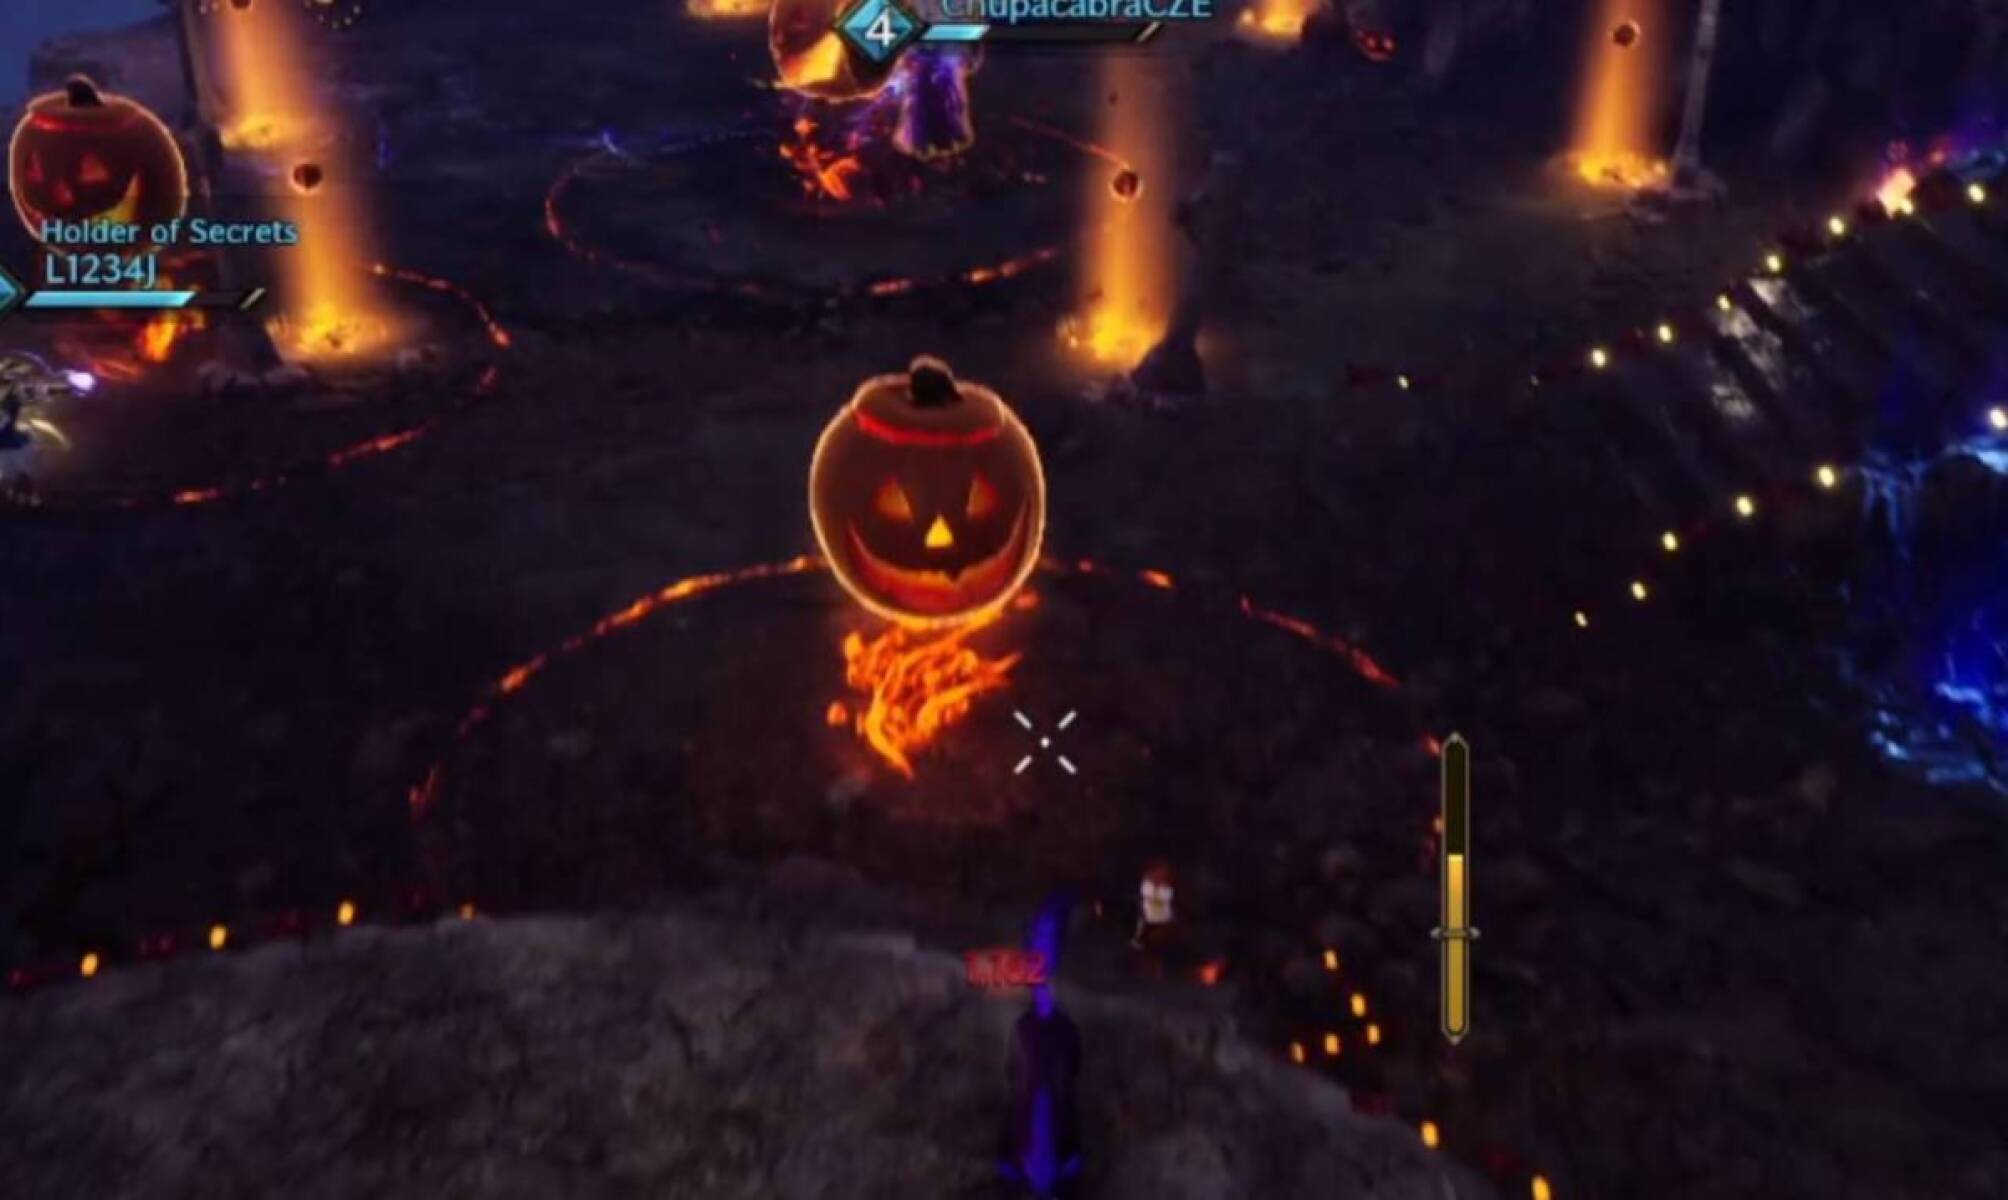
After defeating the group of mobs, the first boss will spawn, known as the Pumpkin Watch Captain. This is a mechanically simple boss fight, only requiring basic awareness from party members to beat him.
The Pumpkin Watch Captain has the following mechanics:
- Basic Attack - Every few seconds, the boss will launch a projectile at the player with aggro. These do quite a bit of damage if they hit squishy players, so ideally, the tank should hold aggro.
- Pumpkin Throw - The boss throws a pumpkin at a random player. These can bounce and hit you multiple times. This can be deadly if your HP is already low, so try to stay healthy throughout the fight.
- Pumpkin Chase - The boss will say something like "Don't lose your gourd", and then three giant floating pumpkins will spawn. Each pumpkin will chase a randomly selected player. The pumpkins have an AoE circle around them and do heavy damage over time to anyone inside the circle. If a pumpkin is following you, kite it around, and try not to cross paths with another player who is also kiting a pumpkin. Beware of the blue AoE around the edge of the room; blundering into this while kiting is the most common reason players die here.
- Pumpkin Prison - Any player inside the AoEs at the end of the Pumpkin Chase mechanic will be trapped in a Pumpkin Prison. They will gradually lose HP and be unable to move or use any skills. Other players must destroy the Pumpkin Prison to release the prisoner. The prisons don't have much HP, so one or two skills should be enough to get them out.
- Fire Cone - The boss casts a conal fire AoE, hurting anyone within. This is very clearly telegraphed, so move out of the are when you see it coming.
- Fury Attack - The boss pulls everyone to the middle, then does a Fury Attack. This AoE Shockwave heavily damages anyone who fails to block it.
Pumpkin Gauntlet
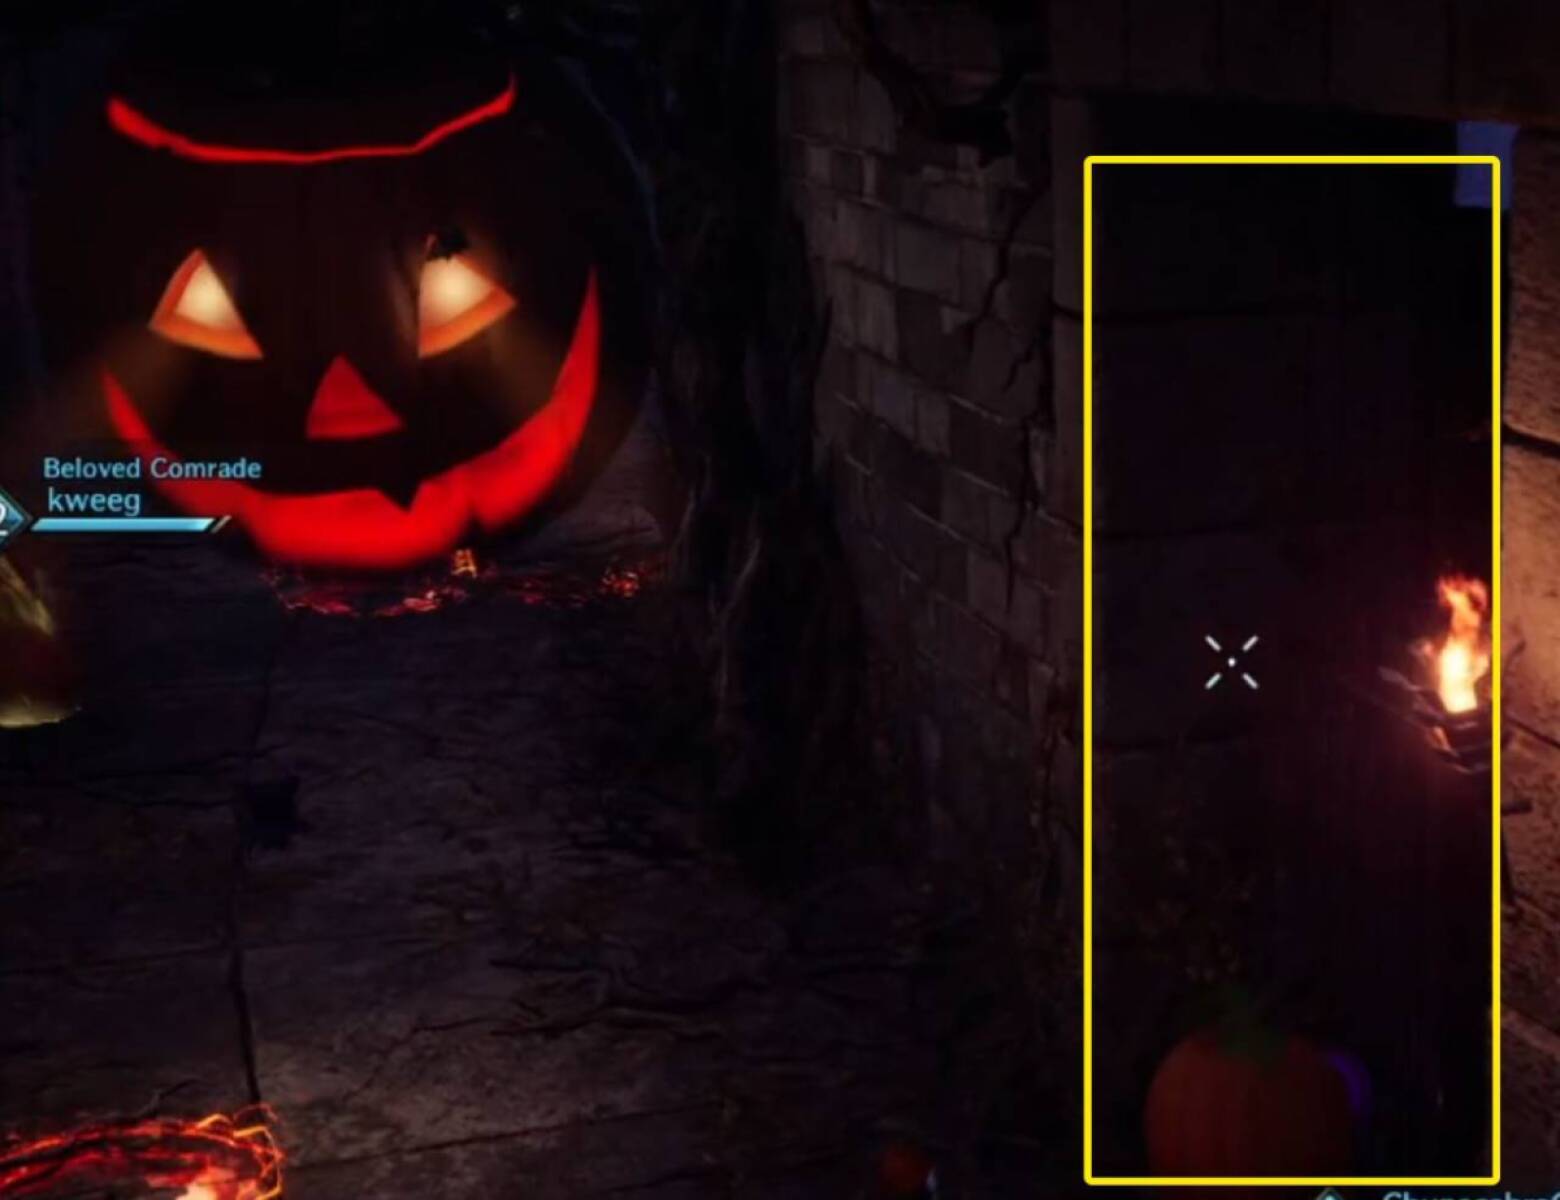
This is the most annoying part of the dungeon for many players. After finishing the Pumpkin Watch Captain, the blue AoE disappears and you can head up the stairs. You will come to a long corridor with two pumpkins rampaging up and down the corridor. If a pumpkin touches you, you immediately die and must start again.
To reach the end, sprint along the corridor and hide in the doorways at the edges when the pumpkins get close. There are also some traps on the ground that you should avoid. Try to pay close attention to the timing of the pumpkins and where each one turns around to avoid being caught.
Once a player reaches the end of the corridor, they can deactivate the pumpkins and traps, allowing any stragglers to get through safely.
Final Boss - Embergourd
Embergourd is the final boss of the Haunted Labyrinth in Throne & Liberty.
This boss has quite a lot of HP, but he's not very difficult to beat. There are two wipe mechanics during this boss fight, but they are very easy to deal with once you know what to do.
The attacks and mechanics of Embergourd:
- Basic Attack - Similarly to the previous boss, Embergourd regularly throws a fireball at the player with aggro.
- Fire Circles - Embergourd pulls all players to the middle, and then a fire AoE appears on the ground around him. Quickly run out of this circle. After a couple of seconds, it explodes and is then replaced by a doughnut-shaped AoE. You can stand either in the middle of the doughnut or outside of the doughnut - the red area will explode for a second time. Getting hit by these deals a lot of damage, but luckily, it is easy to avoid.
- Fire Lines - The boss says, "Trick or be eaten", then sends lines of fire in the direction of several players. This fire deals heavy damage if you linger, so try to sidestep the fire entirely if you can, otherwise get out of it immediately.
- Meteor Bombs - The boss says, "I'll teach you a lesson", and then three AoEs will appear on the ground. Make sure you are not standing in the area. Bombs will fall in the centre of each AoE. You can leave them alone or knock them into the boss before they explode for extra damage.
- Fury Attack - The boss charges a Fury Attack, then launches a powerful projectile at all party members. Ensure you block the Fury Attack to mitigate the damage.
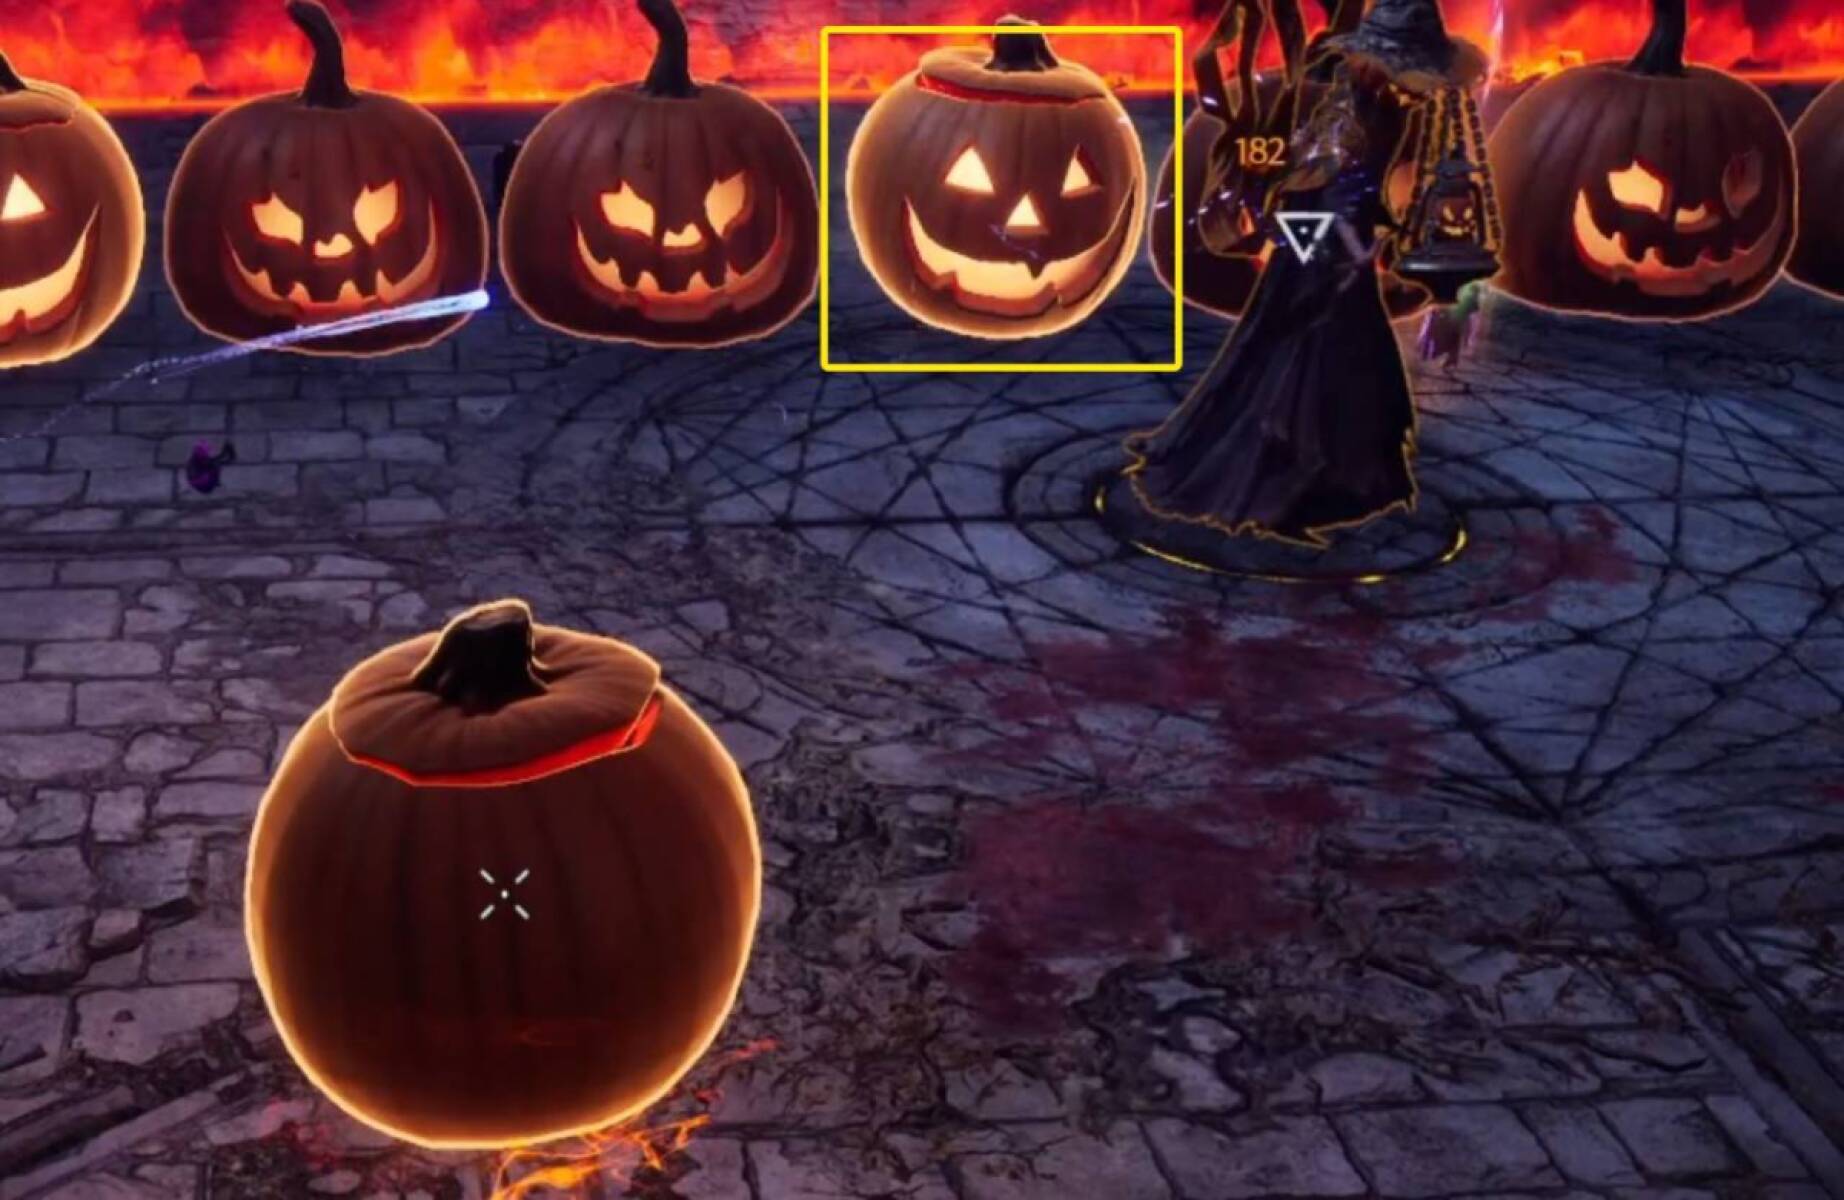
- Pumpkin Wall - Several walls of pumpkins will advance from the back of the room. A few pumpkins in each wall are glowing. Run into the glowing pumpkin, and you will temporarily transform into a pumpkin, protecting yourself from the other pumpkins. Getting hit by any pumpkin that isn't glowing will damage you and knock you back. After a few walls have been sent, the boss channels an explosion that will one-shot anyone not in pumpkin form.
- Fly Transform - The boss says, "You nasty pests", then turns the group into giant flies. Every few seconds, he lets out a shockwave that stuns you. All you need to do to survive this mechanic is reach the green circle around the boss - touching the circle transforms you back to a human and protects you from the one-shot explosion that the boss does at the end of the phase. Anyone who is still outside the green circle will die from the explosion. Keep moving directly to the circle between the stuns; this alone is enough to survive.
The boss will continue to repeat the mechanics above until he dies. Once he's beaten, the dungeon is complete. Remember to open the pumpkin chest to get your loot before leaving Haunted Labyrinth.
We hope you liked this guide about the Haunted Labyrinth Halloween Dungeon in Throne & Liberty.
About the Author: Andrew
