Island of Terror Dungeon Guide - Throne & Liberty
Welcome to our Island of Terror dungeon guide for Throne & Liberty.
In this guide, we will explain the mechanics of all bosses and notable mobs in the Island of Terror, and the strategy for beating them and clearing the dungeon.
Island of Terror is a more difficult version of Tyrant’s Isle – the boss mechanics are similar but have been made more complicated and challenging.
For more guides about a variety of topics in TL, please check our Throne & Liberty Guides Database.
First Boss - Frenzied Reptilian Executioner
This boss is very similar to the Shaman Executioner in Tyrant's Isle, with mostly the same mechanics. However, this boss will spawn two waves instead of one, during the Burning Water mechanic.
The mechanics of the Frenzied Reptilian Executioner are:
- Extra Mobs – The Shaman Executioner regularly summons extra mobs to help him in the battle. It is recommended that you focus on taking out these mobs so you don’t get overwhelmed, unless your group is very skilled and you’re confident you can get away with just burning the boss.
- Blinding Bola – The boss throws a bola at a random player, immobilising them. He then charges a Fury Attack, leaping at the stunned player to deal devastating damage. The player can survive this with a well-timed block.
- Burning Water – The Shaman Executioner summons teleports to the edge of the arena, then summons two waves of boiling water that span the width of the chamber and will rush towards your team. You cannot sidestep this, but you can avoid the damage with a well-timed jump. Jump over both of the waves to survive the phase.
Second Boss - Frenzied Reptilian Gladiator
This boss is a harder version of the Reptilian Gladiator in Tyrant's Isle. His mechanics are similar, but tuned to be more difficult.
During the fight, a player in the party will glow red. This player is about to be charged by the boss – anyone hit by the charge will take heavy damage. The red player should hide behind one of the torches (and other players should get out of the way, too). The boss will crash into the torch and be stunned.
In the Island of Terror version of the boss fight, the Gladiator will charge twice in a row instead of just once. The torch totems will now break when the boss hits them.
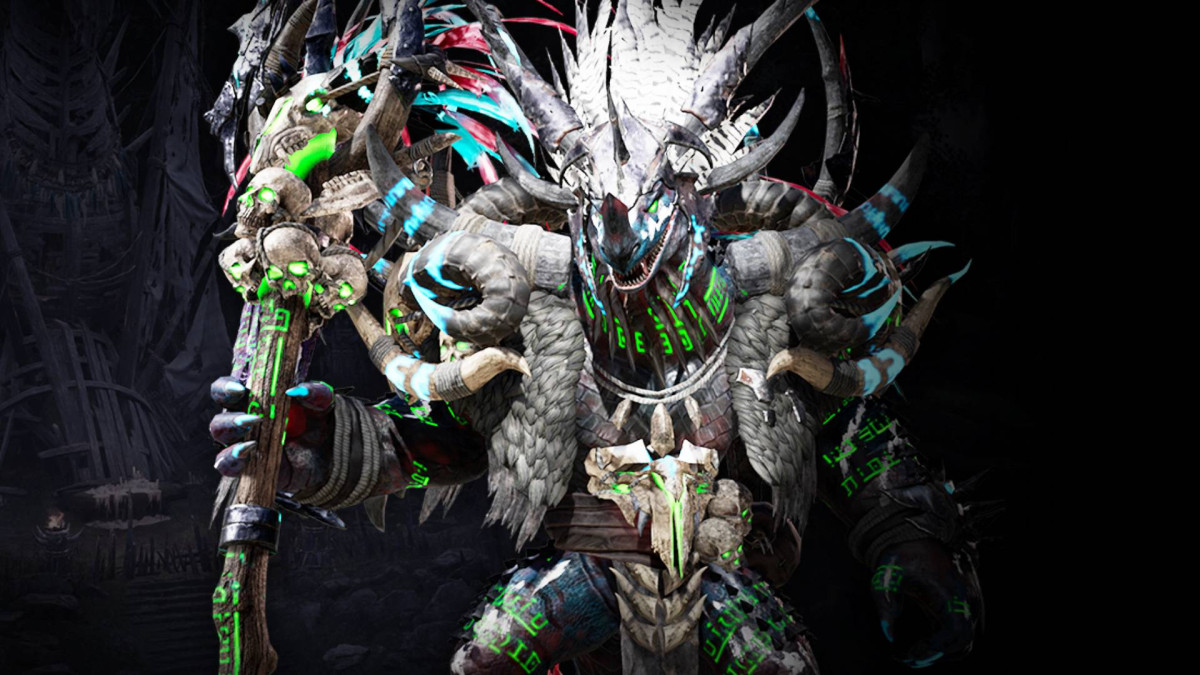
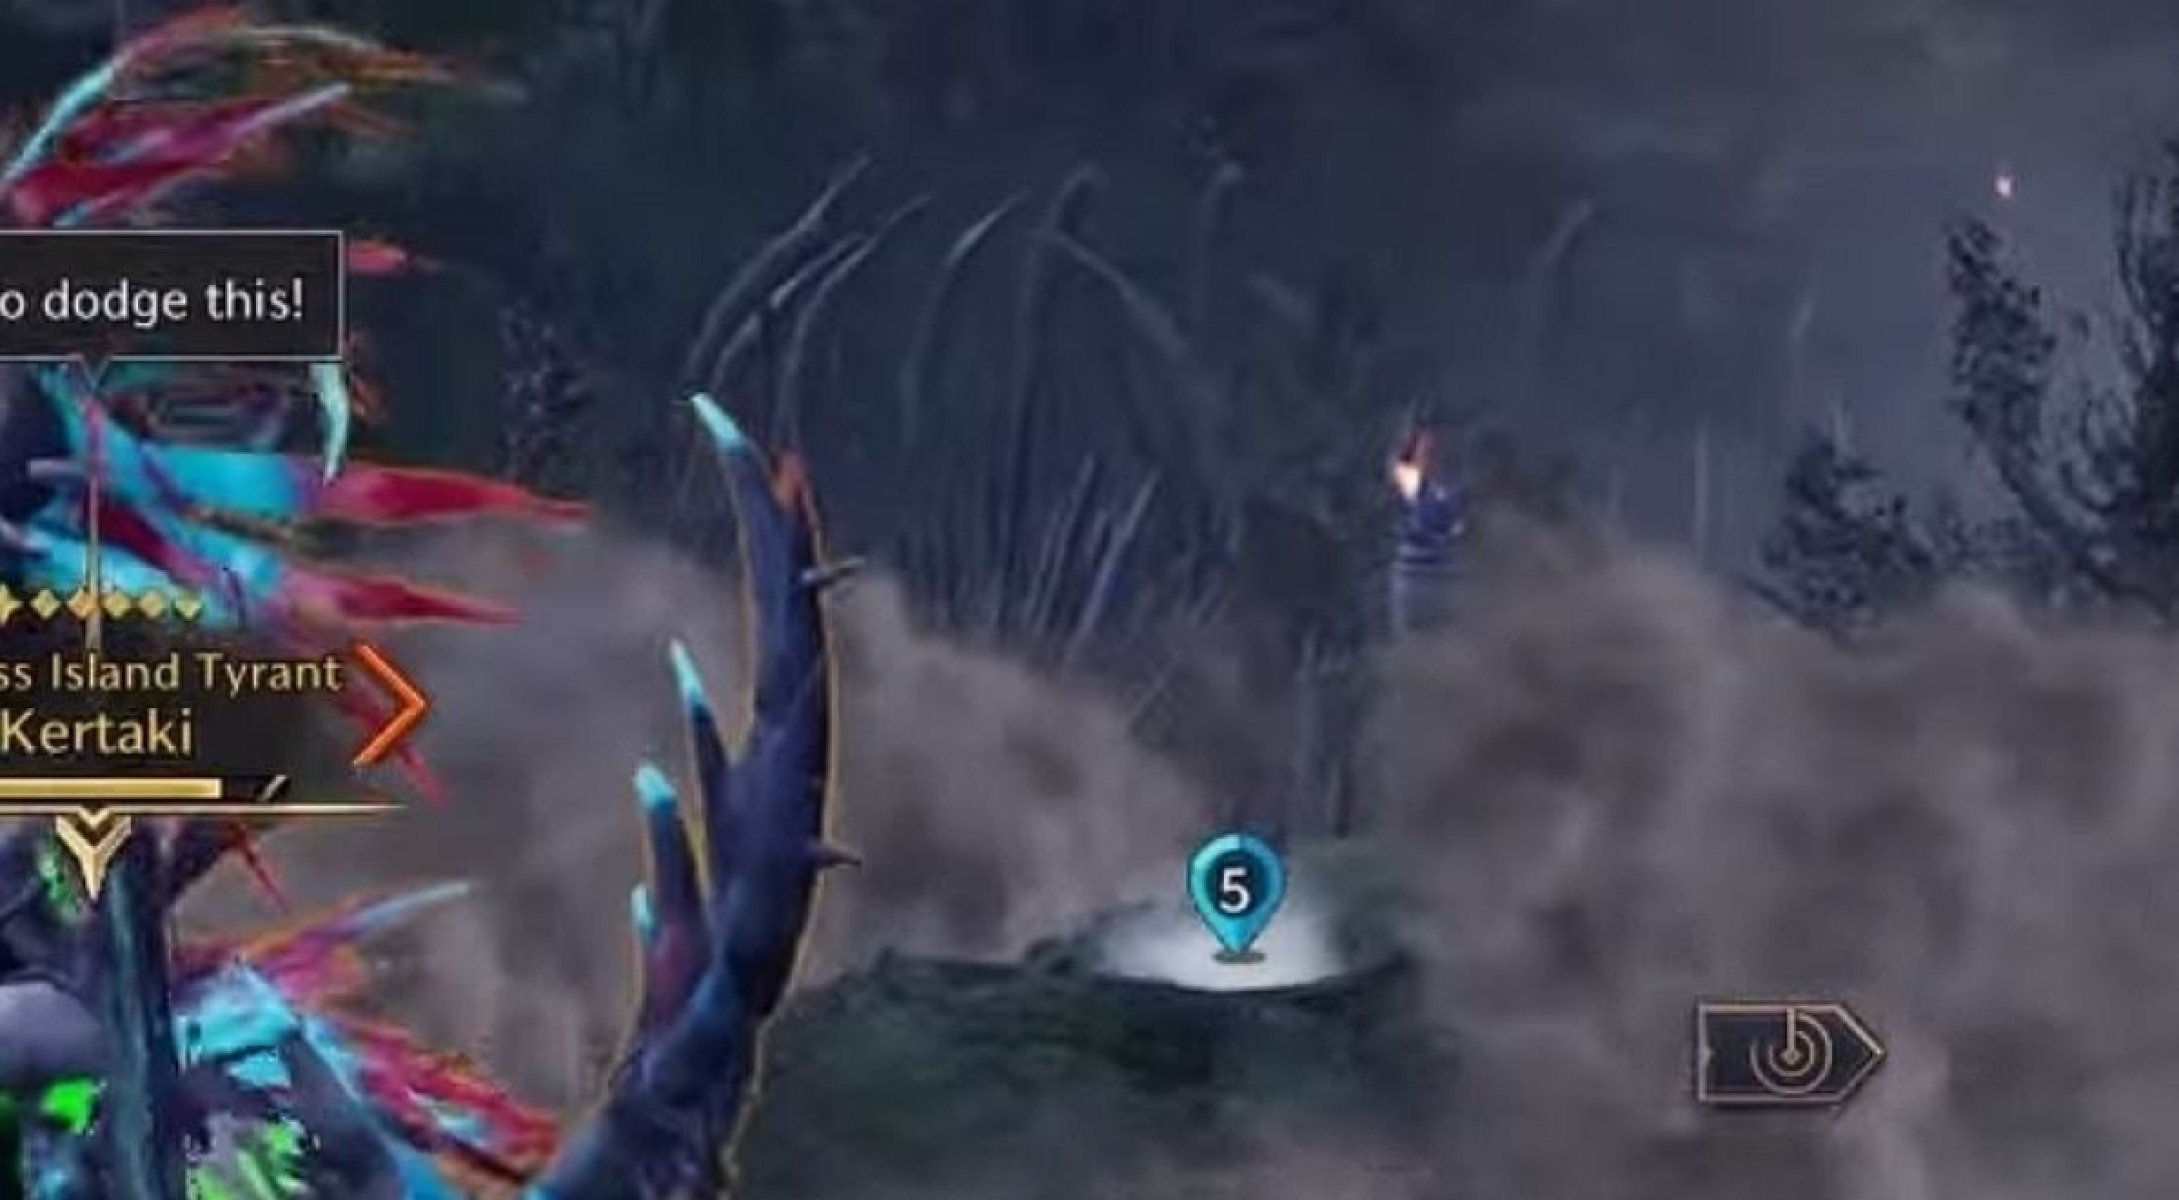
Island of Terror Final Boss – Kertaki
Kertaki is currently one of the most challenging dungeon bosses in Throne & Liberty. To finish smoothly, it requires an experienced group with knowledge of the mechanics and good coordination.
Below are the mechanics of the Kertaki boss in Island of Terror.
Tank Stun
Kertaki will launch four fireballs at the tank, then stun the tank. The stun will be followed up with a heavy attack that deals around 15,000 damage if it is not mitigated. An ally should cast a cleanse skill (such as Purifying Touch) on the tank to break them out of the stun, allowing them to block the heavy attack. If the tank is left to fend for themselves, they will have a hard time staying alive when this happens.
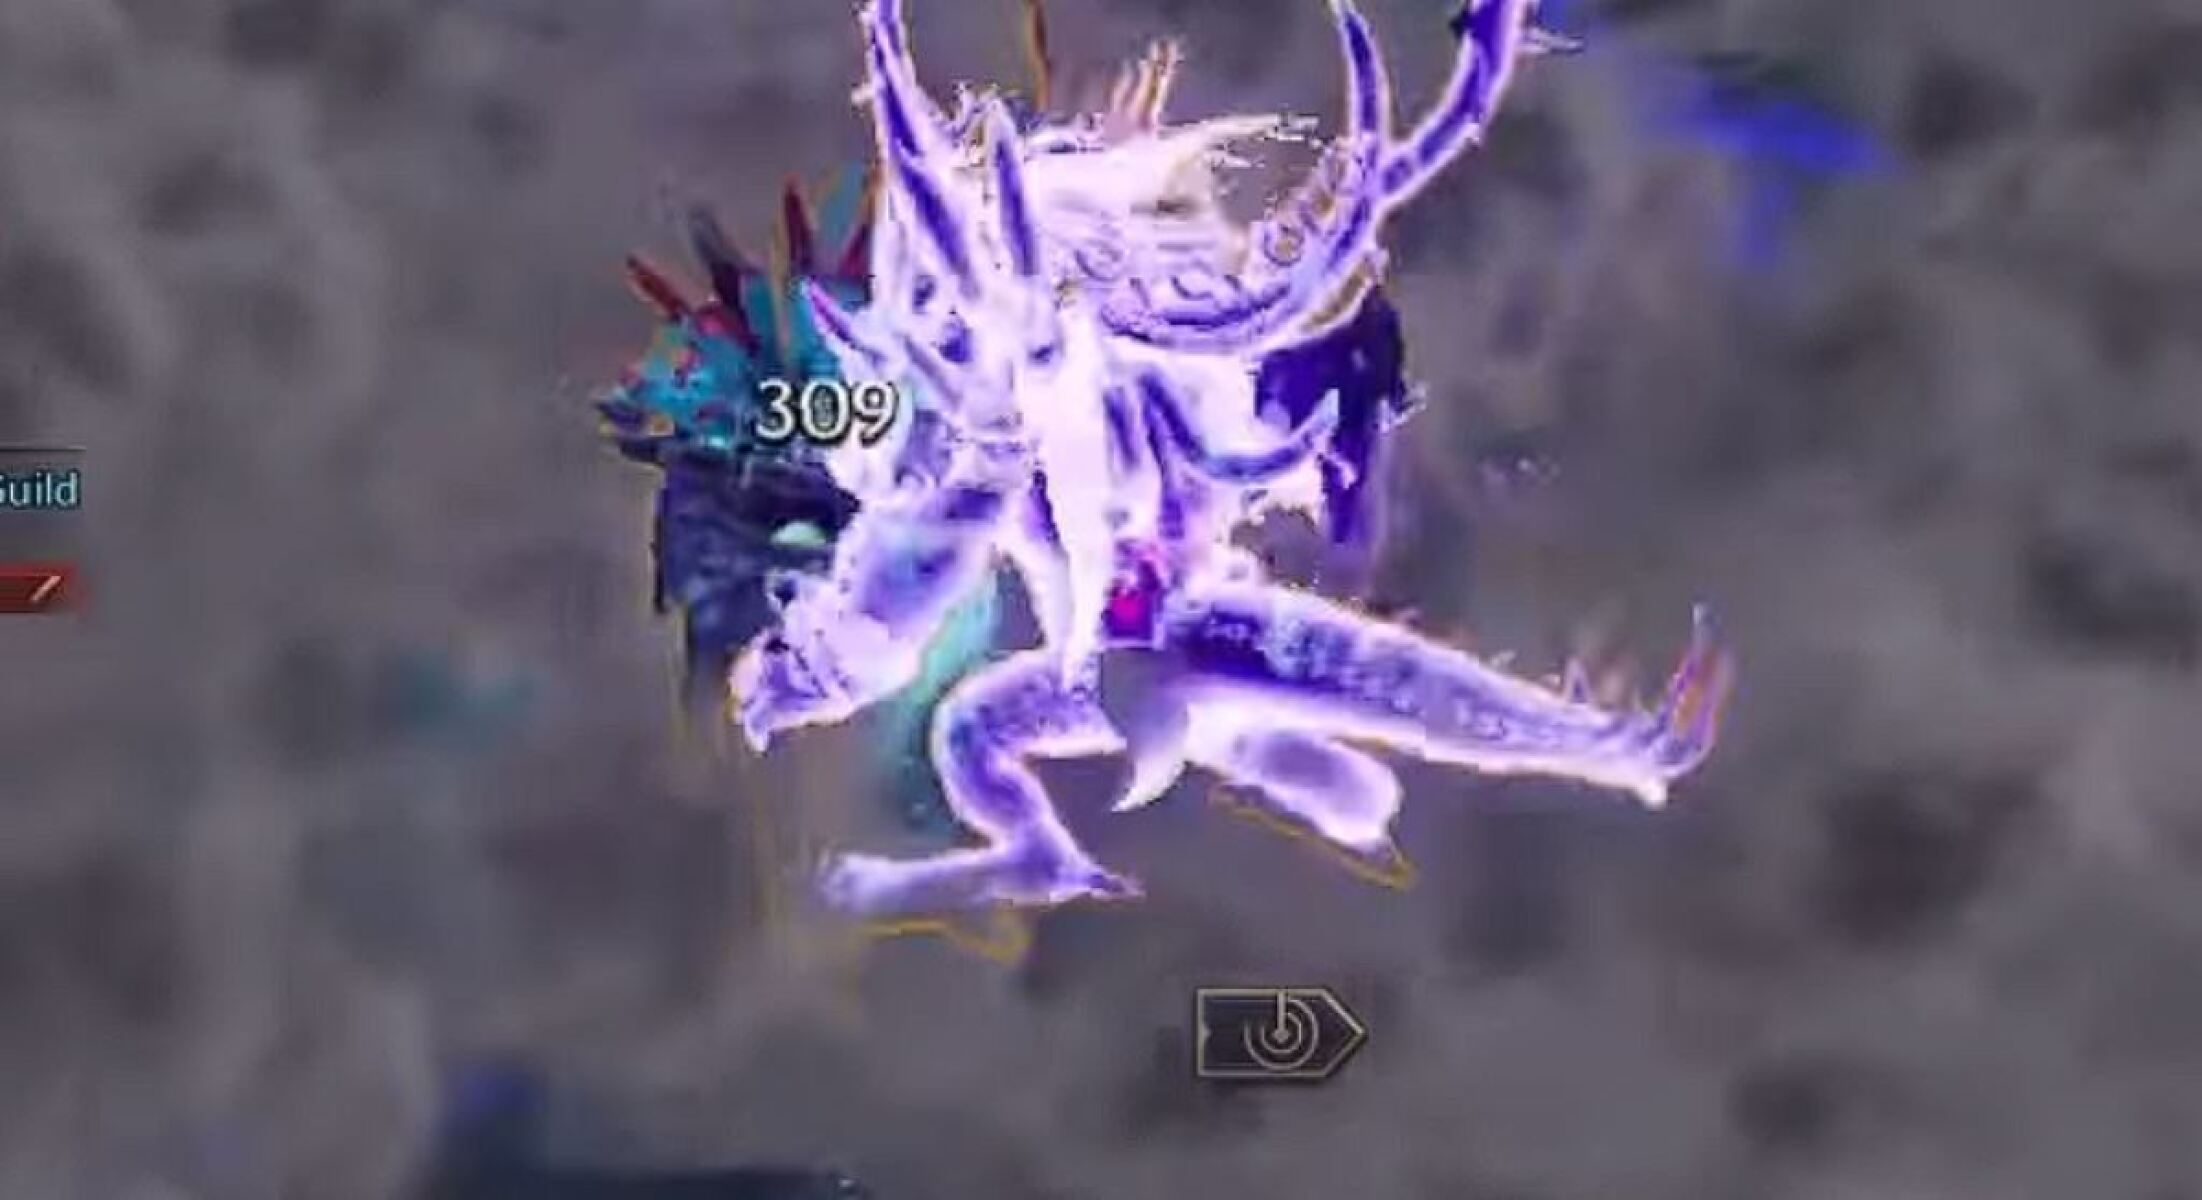
Spin Attack
The boss appears to “pulsate” with a purple colour around his body, then shortly after does a spinning attack that deals heavy damage to everyone. To counteract this, you must block the attack, significantly reducing the damage.
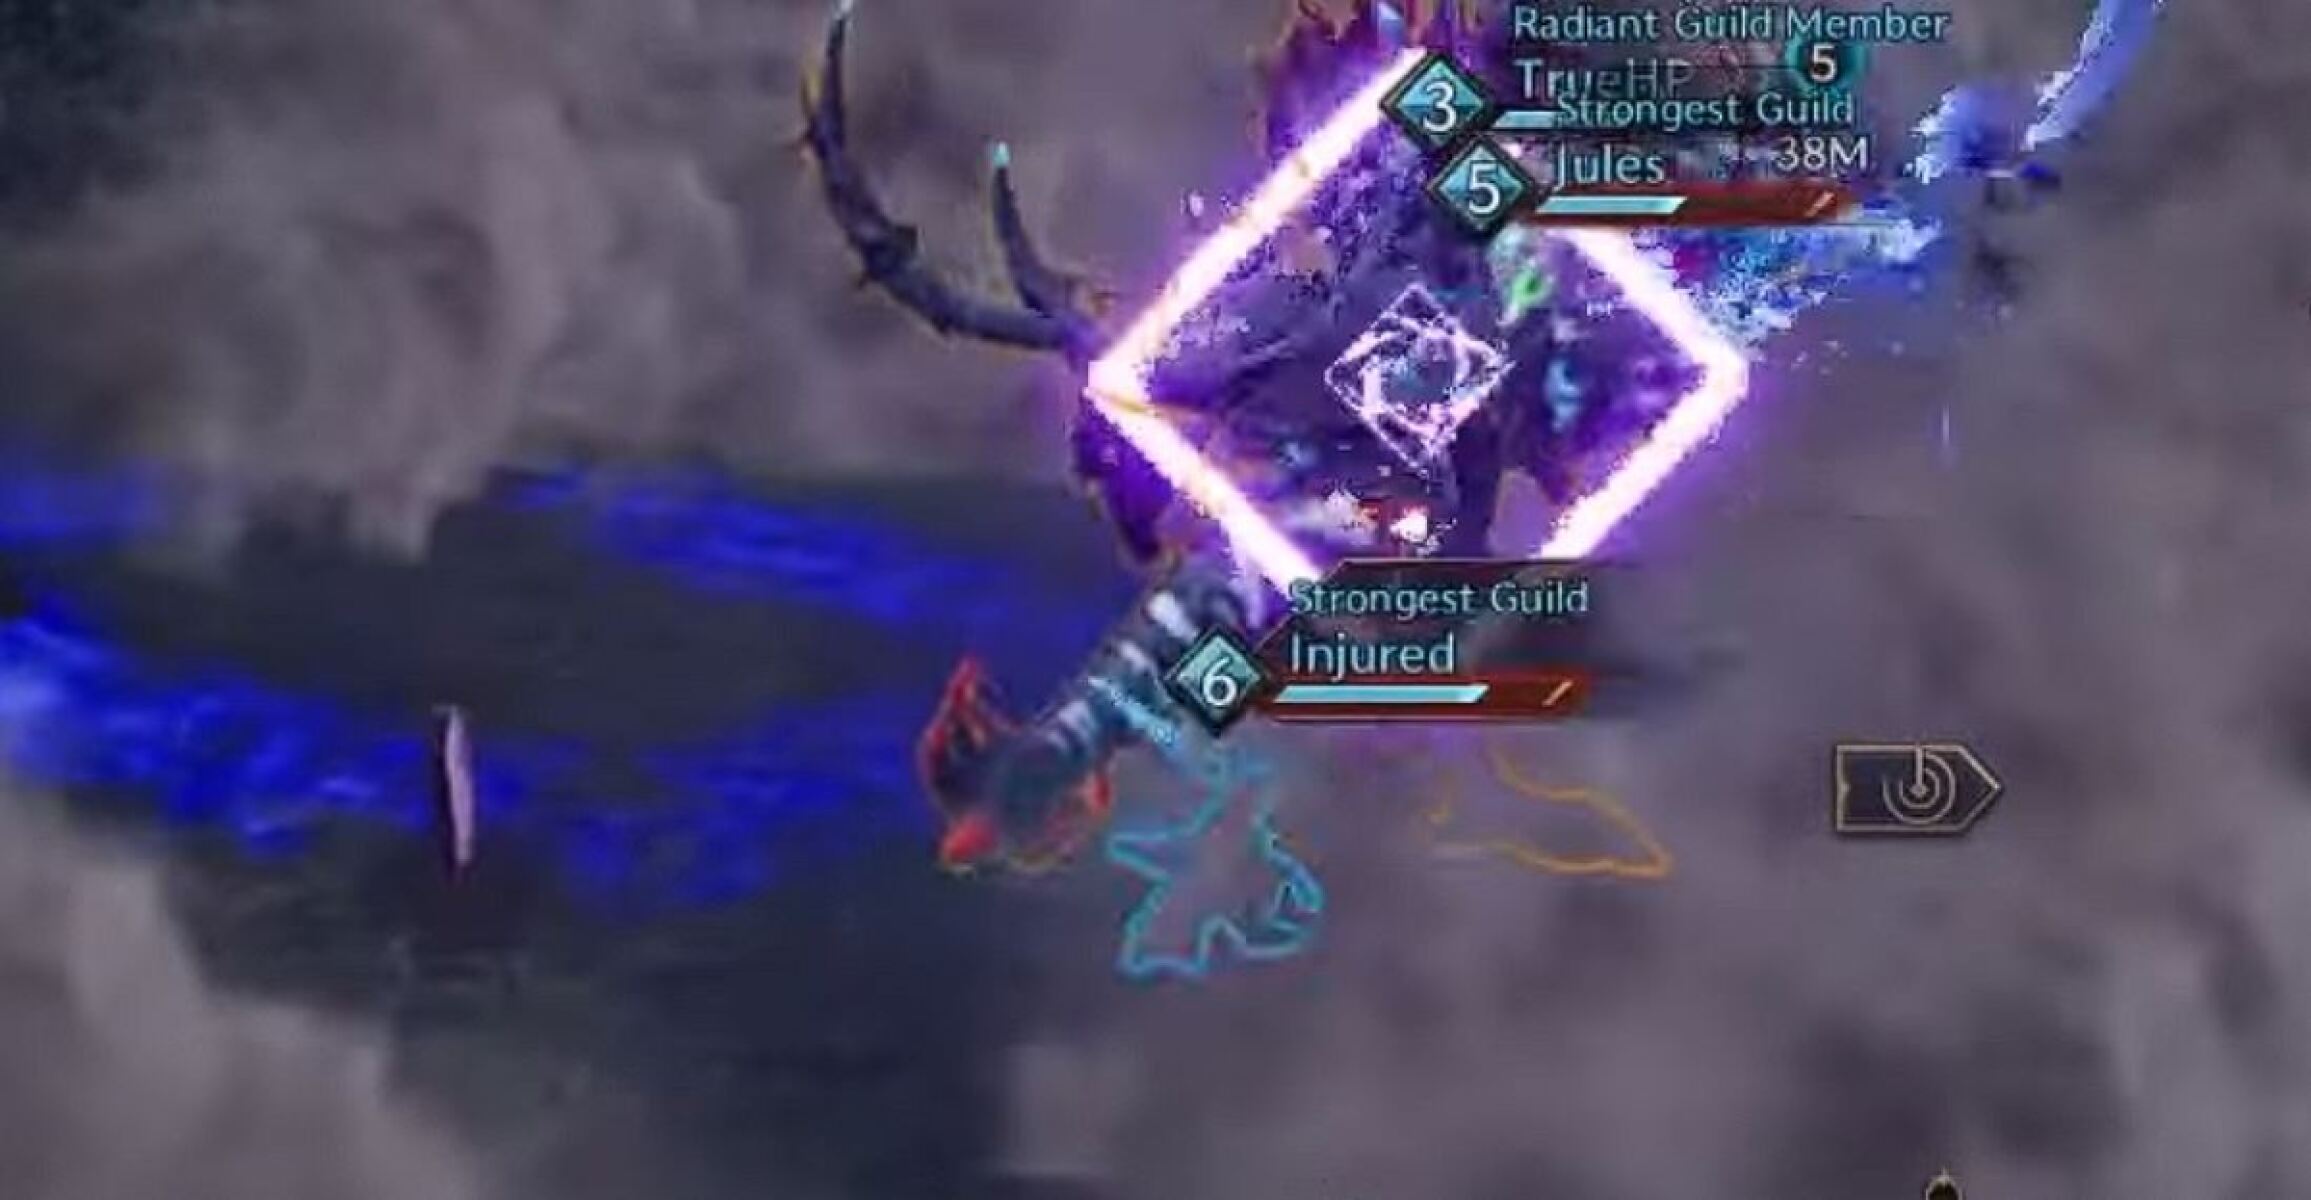
Fury Attack
A purple square indicator will appear on the boss, showing that it is charging up the Fury Attack. You need to perform a moving block (use your block skill while moving) to properly block this attack, and make sure to follow up with your counter-attack immediately afterwards. Otherwise, the next time you try to block, you will instead launch your counter-attack, a mistake which is likely to get you killed.
Fireballs
Soon after the Fury Attack, the boss will launch three fireballs at random players. Everyone must stand on or next to the small vents on the ground – make sure the fireball lands on the vent, but try to move out of the way before it lands so you avoid the damage. The fireballs need to land on the vents to clear the fog that has spawned all around the room. All the vents need to be clear of fog, otherwise the geyser mechanic will be impossible (more on that below).
Baby Lizards
After the fireballs, several Baby Lizards will spawn. These are extra mobs that will run around attacking players. To deal with them quickly, it's recommended that the team bunches up around the boss (the baby lizards will follow) and then use AOE attacks to eliminate them all.
Geysers
After spawning the Baby Lizards, the boss will do two heavy attacks, both of which should be avoided with a moving block. If the heavy attacks hit you, they will put a heavy Movement Speed debuff on you which makes the next part much harder.
Tip: A player with Longbow can use Nature’s Blessing to cleanse the Movement Speed debuff from players at the start of the Geysir phase!
After the second heavy attack, the geyser phase will begin. In the Fireball phase, you should have cleared the fog around the geysers, so you can now use them. The boss will charge up a massive ground slam that sends out a purple shockwave, instantly killing any player on the ground. The only way to avoid this is to enter the bubbling geyser – it will then fire you into the air, allowing you to avoid the shockwave. Only one of the vents will have an active geyser, and everyone needs to quickly find and run to it – this is why it was important to clear every vent in the fireball phase, because if you miss one of them and that one turns out to be the correct geyser, then you are certain to wipe at this point.
Below 50% HP: The boss will do the Geyser attack twice in a row. After surviving the first one, you quickly need to find the second bubbling geyser.
Rat Transformation
This is the final mechanic of the Kertaki boss fight in Island of Terror, and the most complicated one.
The boss pulls all players close to him and then transforms everyone into a rat. The goal here is to avoid attacks and cleanse the rat curse from yourself, but you have to be very careful along the way to avoid dying.
The best way to go about this is as follows:
- First, everyone should spread out evenly around the boss so you can properly see who the boss is targeting.
- Watch out for the yellow orbs. If you are hit by one, you will become feared and lose control of your character for a long time, making it very likely that you will die during this phase.
- Next, you will need to eat the first shockwave attack from the boss – this will take away about half of your health and give you a Movement Speed debuff.
- Now, everyone needs to watch the boss carefully. The boss will attempt to bite a player – the targeted player needs to dig into the ground before the bite hits them. If you are too late, you will be eaten. Timing can be a bit tricky here, especially if you have high latency.
- If you make a mistake and dig too early, you can still repair the situation - make sure you emerge from the ground again before the boss runs out of other rats to bite. It is essential that the boss tries and fails to eat all six players.
- The boss will do this to every player, one by one. Once all six players have passed the mechanic, the boss will be temporarily stunned.
- When the boss is stunned, everyone can run to the blue plants to cleanse the rat curse.
As mentioned above, it is imperative that everyone remain patient and play the “rat game” as intended. If you try to run to the blue plants and cleanse immediately or hide in the ground for the entire phase, you will just cause a wipe. Spread out evenly, stay calm, and watch what the boss is doing!
Below 50% HP: The boss will become invisible during the Rat phase, making it even harder. However, if you look carefully you can still see what the boss is doing because his shadow is still visible – look which way his shadow is pointing to determine if it is your turn to dig.
After the Rat Transformation phase, the boss will cycle through the mechanics again, with the only difference being the harder versions of Geysers and Rat Transformation become active if the boss has less than 50% HP remaining. The mechanics can be quite intimidating if you’re new to this fight, but try to stay calm and focus on staying alive – dealing DPS during complicated mechanics is something to worry about once you’re comfortable.
This is, without a doubt, one of the hardest boss fights in the game at the moment, so congratulations if you managed to finish it!
We hope you liked this guide for the Island of Terror in Throne & Liberty.
About the Author: Andrew
