Mansion of Tragedy Dungeon Guide - Throne & Liberty
Welcome to our Mansion of Tragedy dungeon guide for Throne & Liberty.
In this guide, we will walk you through all of the most notable mobs in the Mansion of Tragedy dungeon, as well as all bosses and their mechanics and the best strategy for defeating them.
Mansion of Tragedy is a +++ difficulty dungeon, the highest difficulty currently available in Throne & Liberty's Dimensional Circle. The minimum level to access this dungeon is level 55.
For more guides about a variety of topics in TL, please check our Throne & Liberty Guides Database.
First Area
In the first room of the Mansion of Tragedy, use the mirror on the left to advance to the first part of the dungeon.
In the first area of the dungeon, you will run into groups of Elite Scouts, Archers and Guards who are guarding each door. There's nothing complicated about fighting the mobs - the tank can gather them up and the group can DPS them down as normal.
You don't need to kill all of the mobs to open the door. It's only necessary to kill the Elite Guards to open doors, you can skip the other mobs if you want.
First Boss - Tree Knight
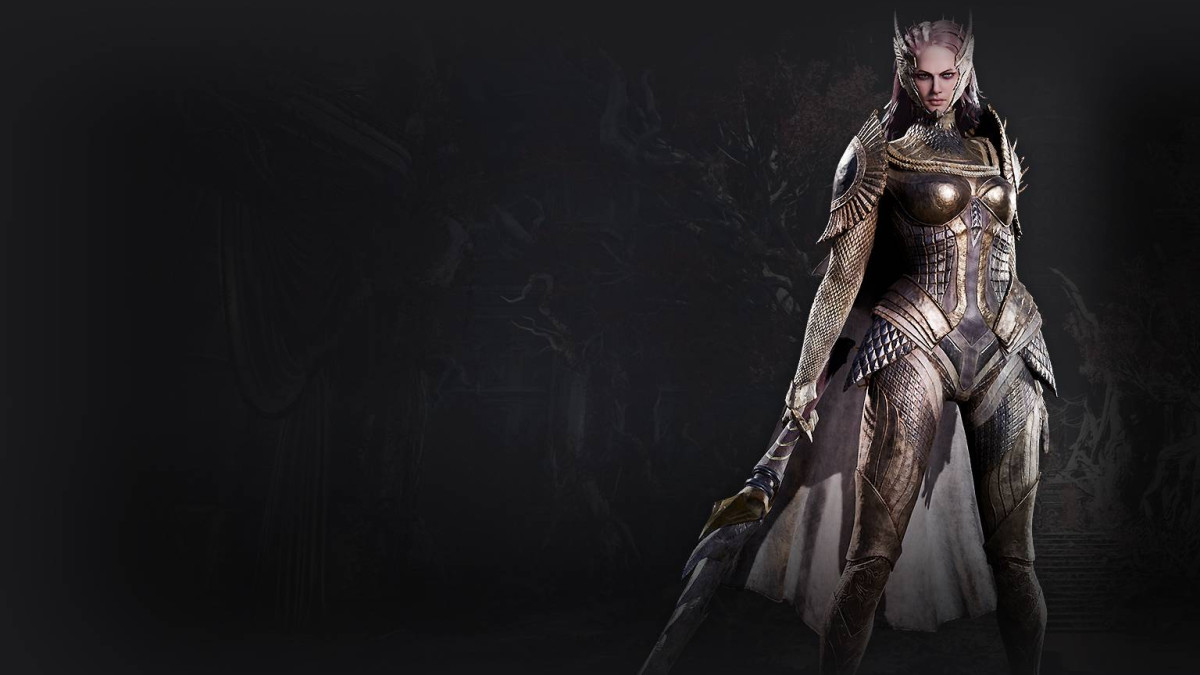
The Tree Knight is the first boss of Mansion of Tragedy. It has the following mechanics:
- Fury Attacks - Like most bosses in Throne & Liberty, the Tree Knight has Fury Attacks which need to be avoided with a well-timed block or dodge.
- Pull - The boss will attempt to pull ranged players to the middle of the room, stunning them in place for a few seconds and damaging them. The tank can prevent this by stunning the boss.
- Cleave - The boss does a wide conal cleave in the direction of the tank. This AoE stretches to the outer edge of the arena. The DPS and Healer should always stand behind the boss so they don't get hit.
Second Area
After the first boss, use the mirror to go back to the starting area. Then use the rightmost mirror to go to the second part of the dungeon.
In this area, you will find pairs of fountains that need to be activated at the same time. Split your group into two groups of three; a left group and a right group for each fountain.
The first fountains are close together. For the second fountain, you'll need to split up and go through a simple maze to find the fountain. Avoid the red plants along the way - they don't chase you, but they'll damage you if you get too close to them. This is also a preview of a mechanic in the next boss.
After activating the fountains, a door will open to the second part of the maze. Three mobs will spawn - it's up to you if you want to skip them or not. Complete the second part of the maze and activate the next fountains to open the exit doors. Climb the stairs and you will rejoin the rest of your team. Run across the bridge into the circular room, where you will find the second boss.

Second Boss - Rose Knight
The Rose Knight is the second boss of the Mansion of Tragedy. This boss has the following mechanics:
- Blood Roses - The Rose Knight summons the same red plants from the last section at a random player's location. This effectively acts as an AoE, draining HP from anyone who stands too close.
- Fury Shockwave - The boss unleashes a shockwave that damages the whole group. This is a Fury Attack that can be mostly mitigated with a well-timed block.
- Pull - The Rose Knight pulls all players to him. When this happens, back away so you don't get damaged.
After defeating the Rose Knight, head through the mirror to go back to the starting area. The middle mirror will now be unlocked, which takes you to the final area of the dungeon.
Final Boss - Limuny Bercant
After heading through the final mirror, turn the corner and you will face some more mobs. Kill them to open the door to the final boss room.
Limuny Bercant is the final boss of the Mansion of Tragedy. For a +++ difficulty boss, this is a mechanically simple fight. The main challenge here is that a very high amount of pressure is put on the tank - if you're the healer, make sure you look after them throughout the fight.
- Fury Attacks - This boss has a couple of different Fury Attacks. The first one is a heavy attack directed at the tank, which they can avoid with a well-timed dodge. The second Fury Attack is an AoE spin attack that damages the whole group - use a well-timed block to negate the damage.
- Tank Attacks - This boss has a series of powerful attacks aimed at the tank, including flurries of single-target attacks that should be blocked or dodged and conal cleaves that can also hit the group if the tank is in a bad spot. The tank should be well-geared and experienced. If it's their first time here, be patient, as they might need a few tries to learn these attack patterns and how to deal with them.
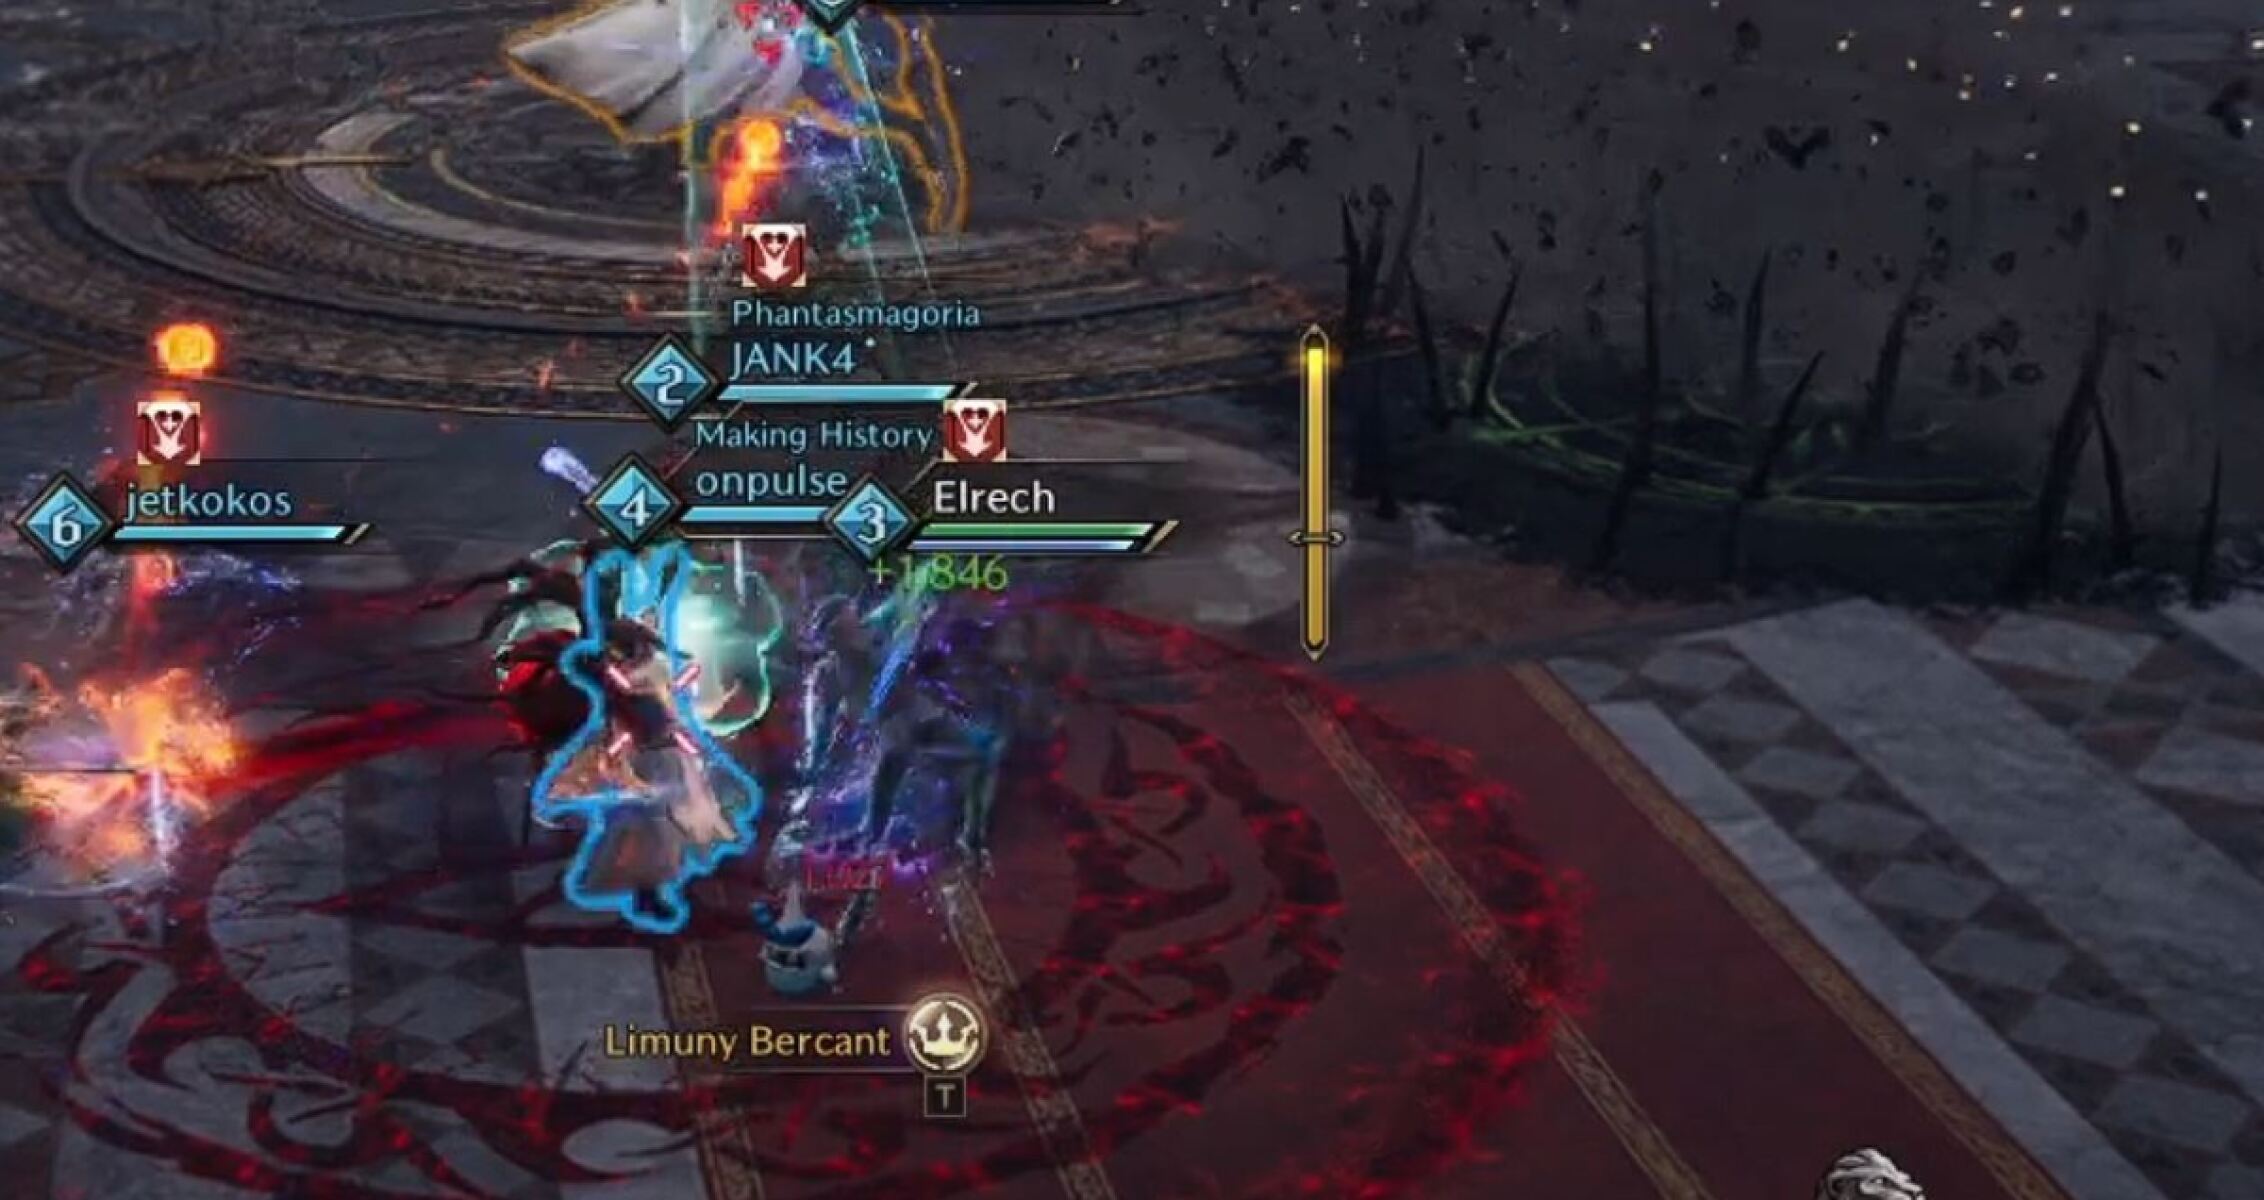
- Red Circle - One player gets a red circle dropped on them. This is a trick, because players usually associate red with damage AoEs. However, you need this circle for another mechanic and all players except for the tank should stand inside it (with one exception that we will mention below)
- Green Circle - One player gets a green circle that follows them. After a few seconds, this will erupt with thorns and stop following you. It will then deal heavy damage over time to anyone in the area. The player with the green circle must take it away from the group. When the green circle becomes static, they can return to stacking in the red circle. If the green circle is placed in the same place as the red circle, it can cause a wipe.
- Stone Transformation - The boss shouts a taunt, turns the group to stone, and then shatters them. This is fatal unless players are stacked in the red circle mentioned above. The damage will be spread out evenly between all players standing in the circle, making it survivable if enough players are there. This is especially tricky for the tank. They need to listen for the taunt, dash to the red circle before they turn to stone, and then run back to the boss again after the shatter.
- Below 50% HP - The boss will put a green circle on two players at a time, instead of one. The red circle also becomes purple; we don't know why this happens, but it doesn't seem to change anything.

We hope you liked this guide about the Mansion of Tragedy in Throne & Liberty.
About the Author: Andrew

