Valley of Slaughter Dungeon Guide - Throne & Liberty
Welcome to our Valley of Slaughter dungeon guide for Throne & Liberty.
In this guide, we will explain all of the bosses and notable mobs and mechanics in Valley of Slaughter, and the best strategy for beating them.
For more guides about a variety of topics in TL, please check our Throne & Liberty Guides Database.
First Boss - Orc Shadow Elder
The first boss of Valley of Slaughter is the Orc Shadow Elder.
This boss spawns two special mobs, and each one casts a different type of laser spell:
- Blue Laser - The blue laser makes the boss and the mob immune to damage. To overcome this, crowd control the mob casting the laser and then DPS them down.
- Red Laser and Sheep - The other mob targets a red laser at the closest player. At the same time, an exploding sheep will spawn. The player should use the red laser to damage the sheep to prevent the explosion.
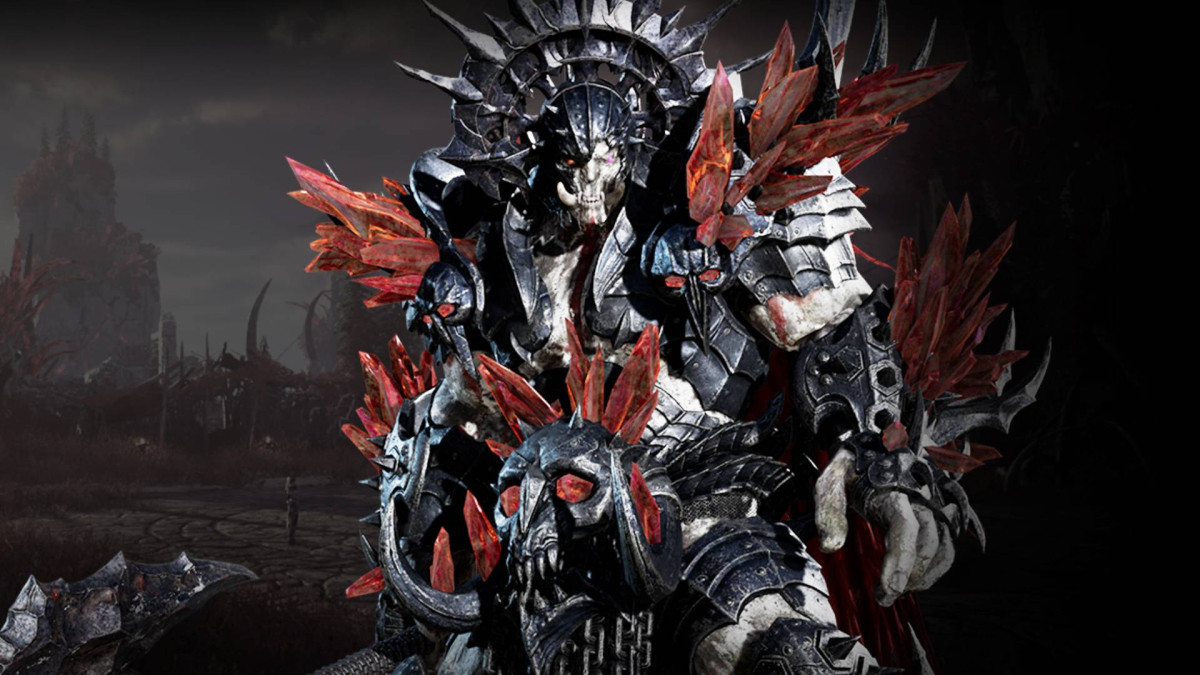
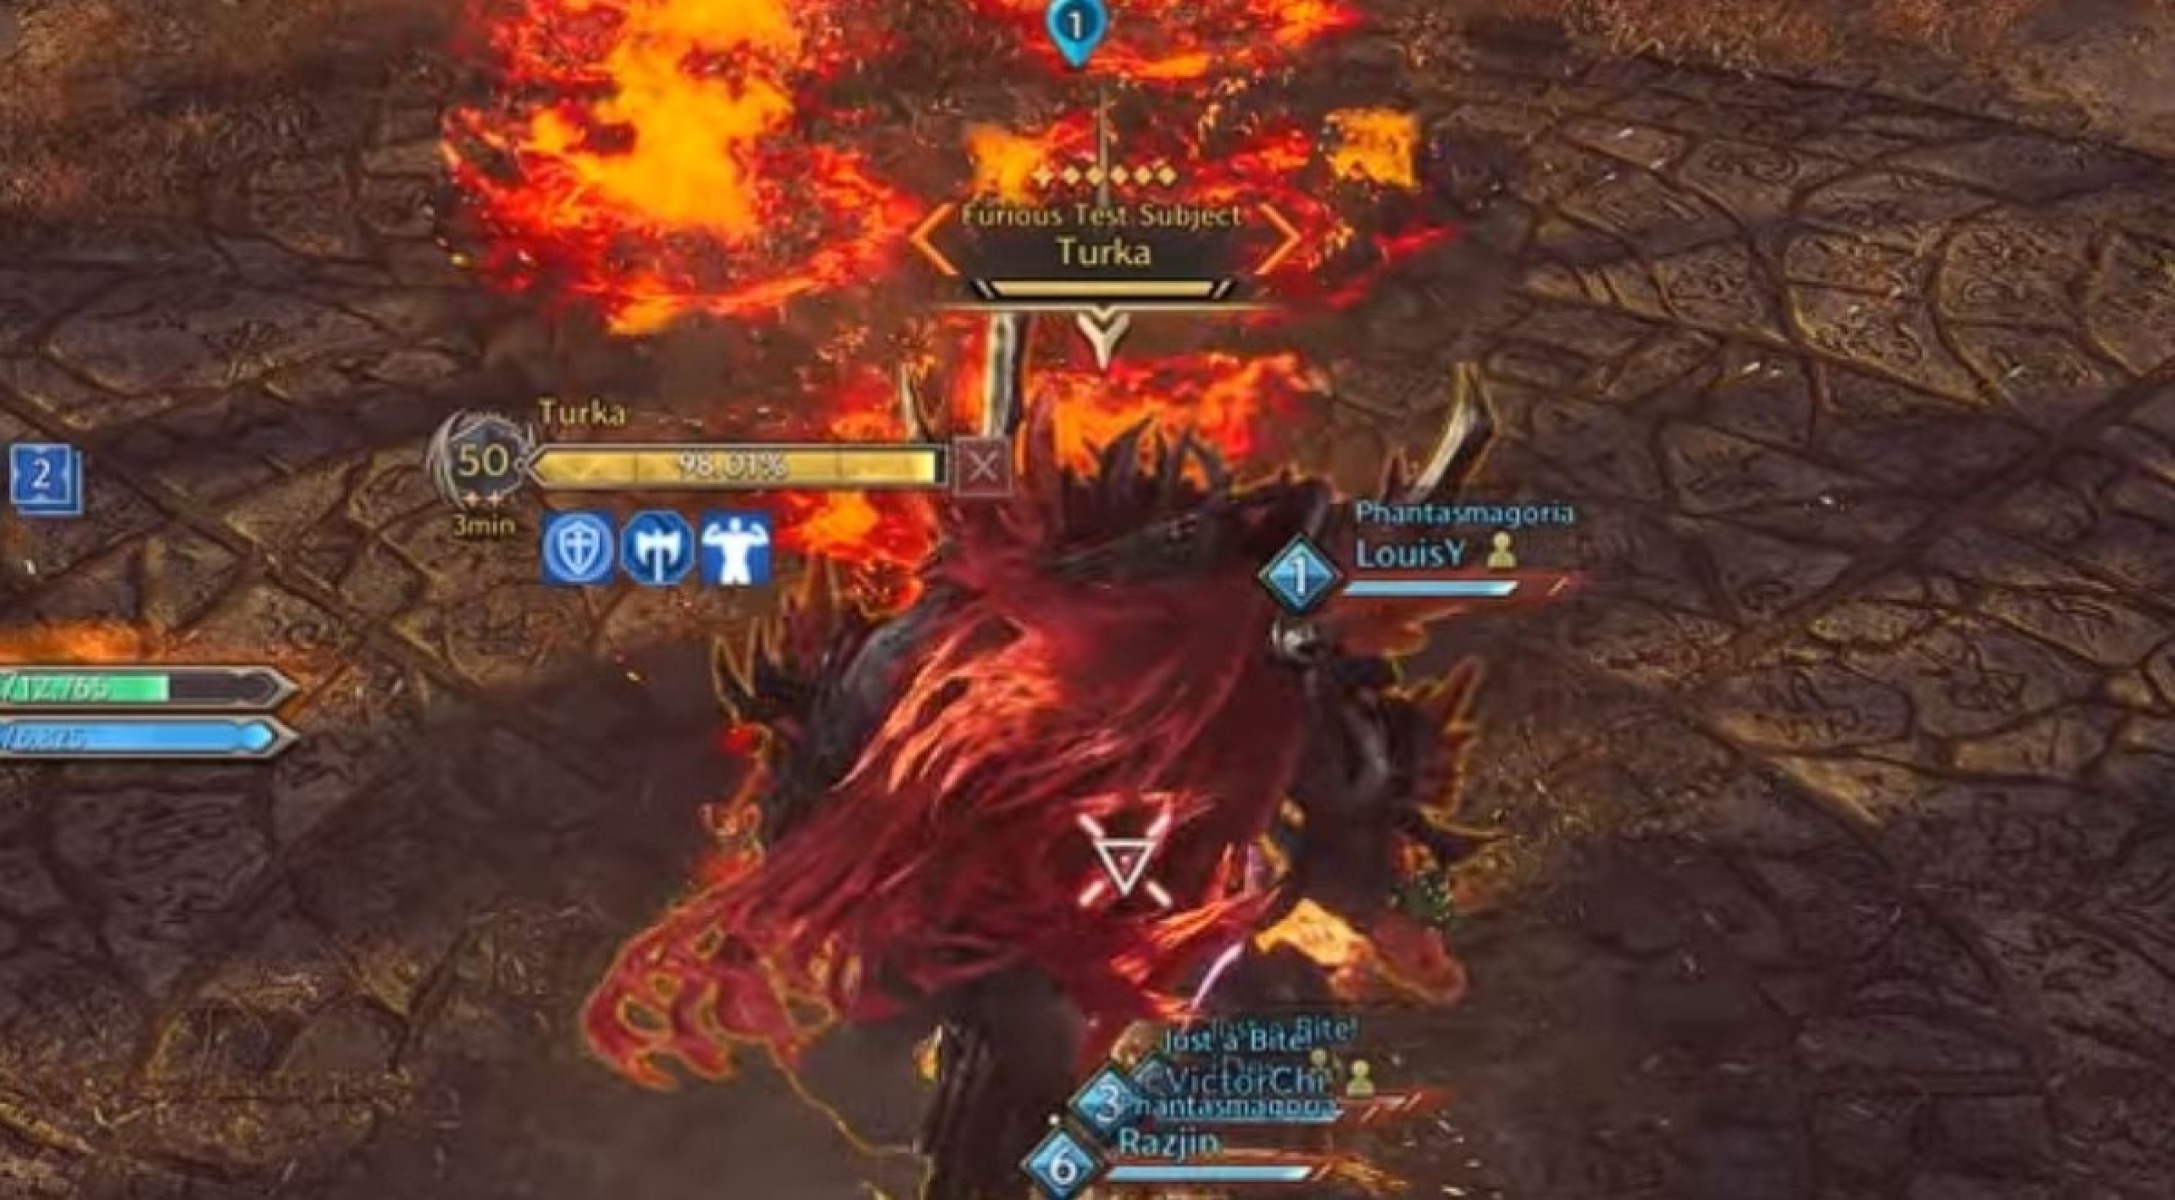
Valley of Slaughter Final Boss – Turka
Furious Test Subject Turka is the main boss of the Valley of Slaughter dungeon in Throne & Liberty. It is one of the more difficult dungeon bosses in the game currently – good coordination and positioning are especially important.
Turka has the following mechanics:
Lava Cone Cleave
The boss will slam the ground toward the tank, sending out a cone of lava that deals heavy damage to anyone in the way. The tank’s main job is to keep this under control and ensure the lava doesn’t go near the group.
The rest of the group should be stacked up in the same spot behind the boss for easy healing (unless a mechanic or attack forces them to temporarily move).
Shockwaves
The boss regularly does unavoidable AOE shockwaves that damage the whole group heavily. It is recommended that everyone has around 12k HP or more to ensure you have no problems surviving this, and people need to stay stacked as much as possible so they can be quickly healed after each shockwave.
Fire Grooves
The grooves on the ground will become red hot for a few seconds. To avoid damage, stand between them until they return to normal.
Meteors
The boss will drop meteors from the sky. Move away from them to avoid getting hit.
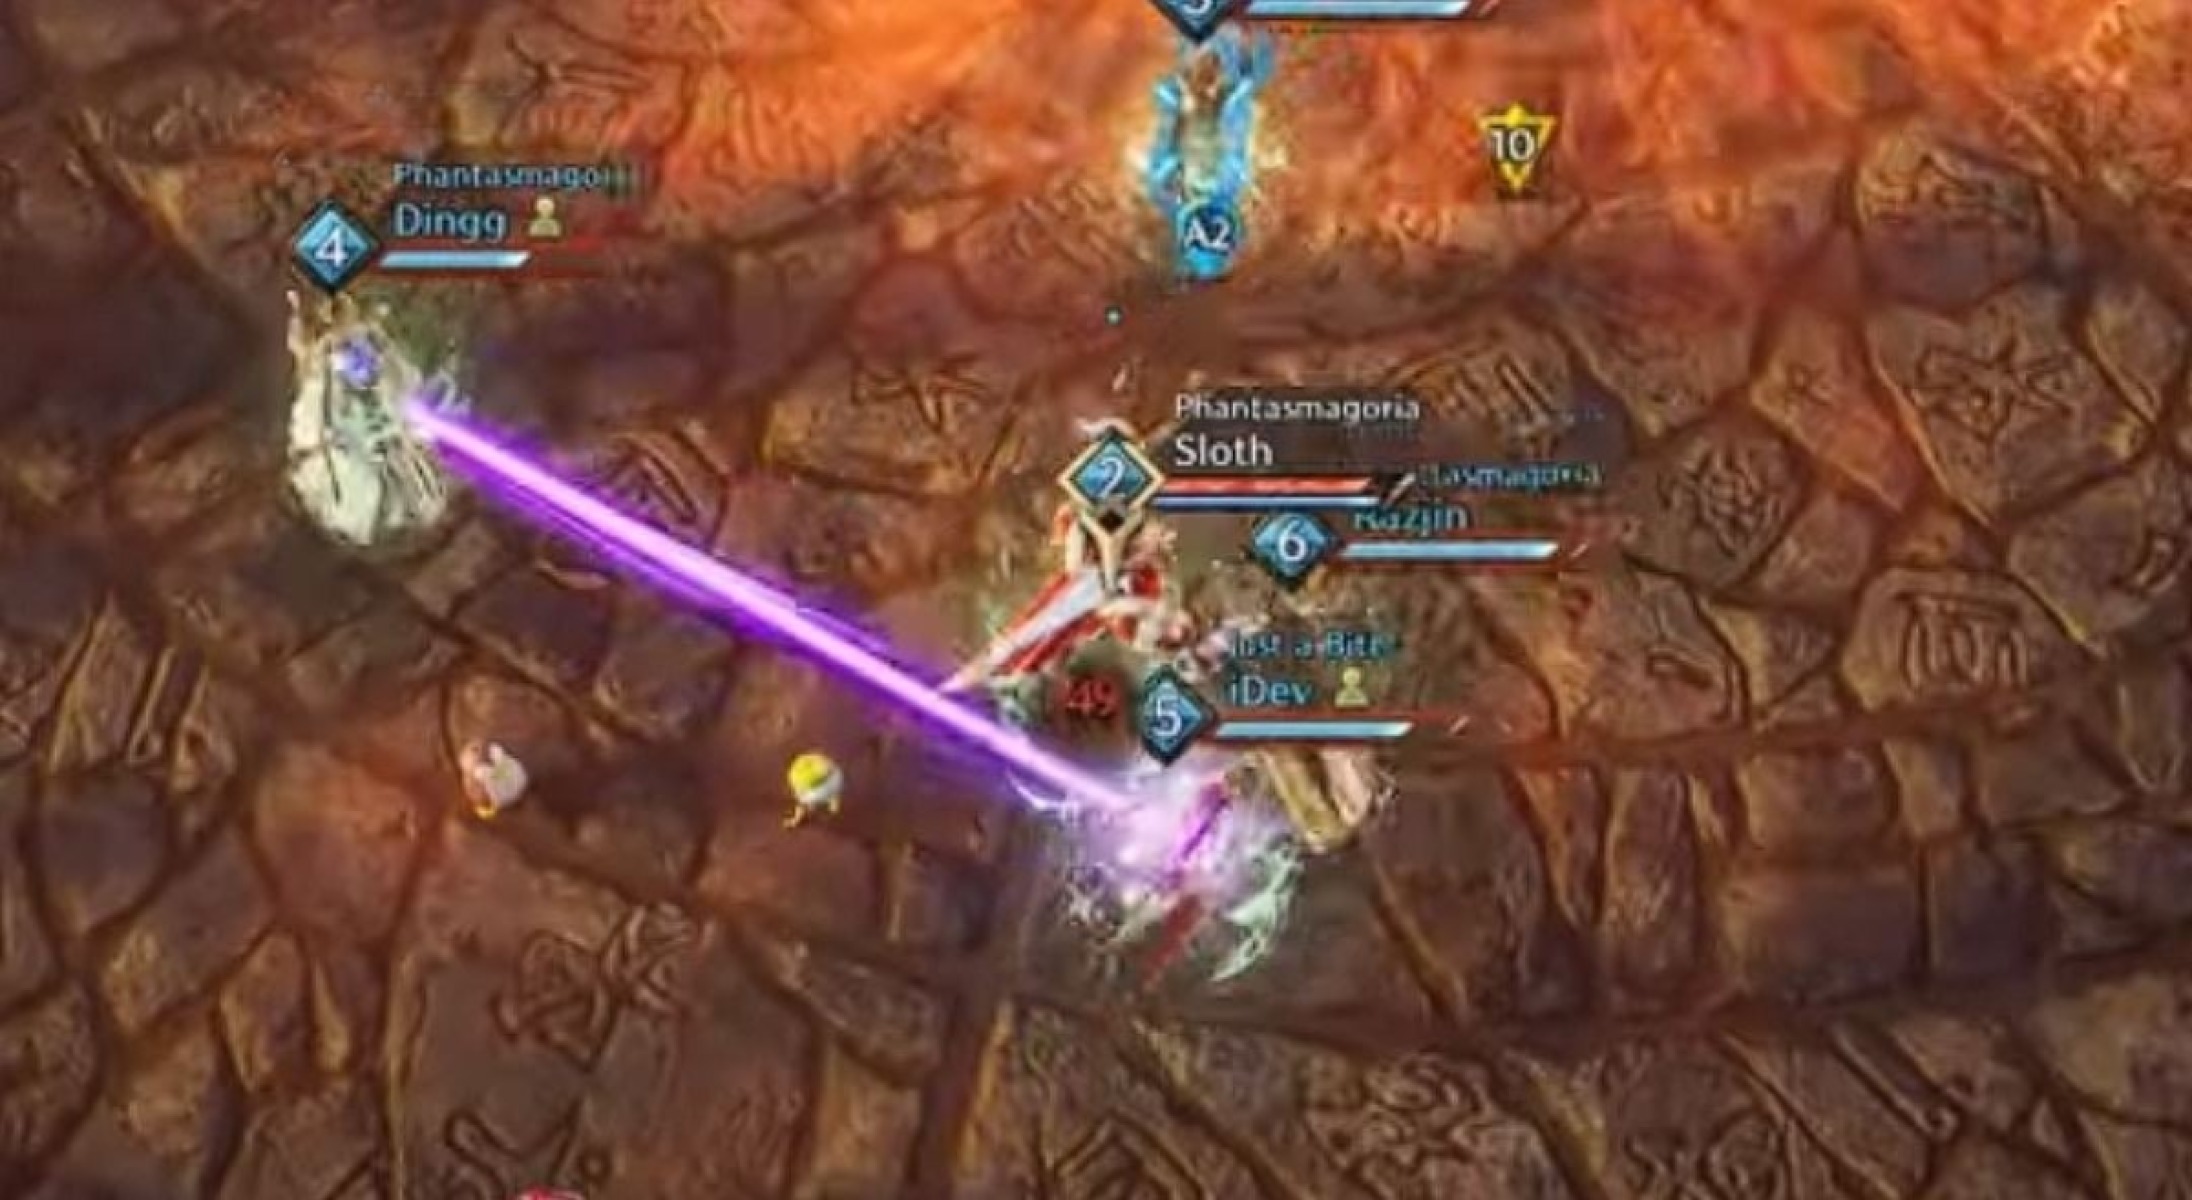
Explosive Death Sentence
After doing all of the above mechanics, the boss will slam the ground, knocking everyone back and dealing AOE damage in the process. Two players will receive a debuff called “Explosive Death Sentence”, which can be identified by a red pillar around your character. These two players are initially stunned, but one will be released and tethered to another player who doesn’t have the debuff.
The players with the tether need to move it so that it touches the player who is still stunned, which will rescue them.
The player with the tether will see a large red circle around them. This indicates the range limit of the tether – if the player on the other end of the tether moves outside the circle, the tether is broken. However, only one player can see the red circle, so you need to coordinate to ensure the tether is not broken. You will need the tether for the next mechanic, so even after rescuing the sentenced player, you still need to keep the tether intact.
Sheep
The boss will spawn six sheep adds. The best way to deal with them is to keep them stacked up and cross over them with the tether. All of the sheep need to be killed, as they will drop a special object (seen as a tiny gold circle that displays an interact prompt). You don’t need it just yet, but it is required to survive the next mechanic.
Important: It is vital that no meteor is dropped on top of the object, as this will destroy it and make it impossible to survive the next mechanic. Everyone needs to be careful where they drop meteors, and don’t stand on top of the object until it’s time to use it.
Below 50% HP: At low HP, the boss will spawn eight sheep instead of six. This makes this part slightly harder, but you can deal with it in exactly the same way.
Ground Slam
After dropping some more meteors, the boss will raise his arms and start to charge up a ground slam. When you see the boss doing this, it’s time to use the object that was dropped from the sheep – everyone needs to do this. It will give you a shield that allows you to survive the ground slam attack. Anyone without a shield will die.
The boss will be stunned for a few seconds after this happens, giving you a good window to deal some easy DPS.

Explosive Sheep
When below 40% HP, the boss will spawn an explosive sheep. It has a lot of health, but it needs to be everyone’s absolute priority – if the sheep is not killed quickly enough, it will explode, wiping the group.
After this point, the fight is basically just a rerun of the previous mechanics until he dies.
We hope you liked this guide about the Valley of Slaughter in Throne & Liberty.
About the Author: Andrew
