Carmine Rage Island Dungeon Guide - Throne & Liberty
Welcome to our dungeon guide about Carmine Rage Island in Throne & Liberty.
In this guide, we will walk you through the Carmine Rage Island dungeon, explaining the attacks and mechanics of each boss, and the best strategy for defeating them. Carmine Rage Island is a ++ difficulty dungeon, making it a good challenge for more experienced players.
For more guides about a variety of topics in TL, please check our Throne & Liberty Guides Database.
Mob Mechanics
There are some mechanics that the regular mobs have in Carmine Rage Island. It's important to understand these, otherwise you can suffer party wipes.
- Red Eye - In some trash fights, one player in the party will get a red eye symbol above their character. This player will see a red glow on one of the enemies. They need to tell their team which enemy is glowing red, and the team needs to focus on that enemy and make sure it dies before any other enemy. Killing any other enemy before the glowing one will cause an explosion.
Red Goblin Shaman - First Boss
The Red Goblin Shaman is the first boss in Carmine Rage Island. It has the following mechanics:
- Six Pillars - There are six pillars around the edge of the arena. When you activate the boss, the pillars will briefly glow with a colour. The colours will go out, and then shortly after, each player will get a colour over their head. You need to go to the pillar that had the same colour as you and interact with it to get a shield. If you don't have a shield, the boss will damage you heavily when he spawns. At 50% HP, the boss will repeat this mechanic.
- Ground AoEs - The boss spawns red AoEs on the ground around him throughout the fight. Make sure you don't stand on them.
- Self-Heal - The Goblin Shaman uses magic to heal himself during the fight. This can be a problem if your group has low DPS.
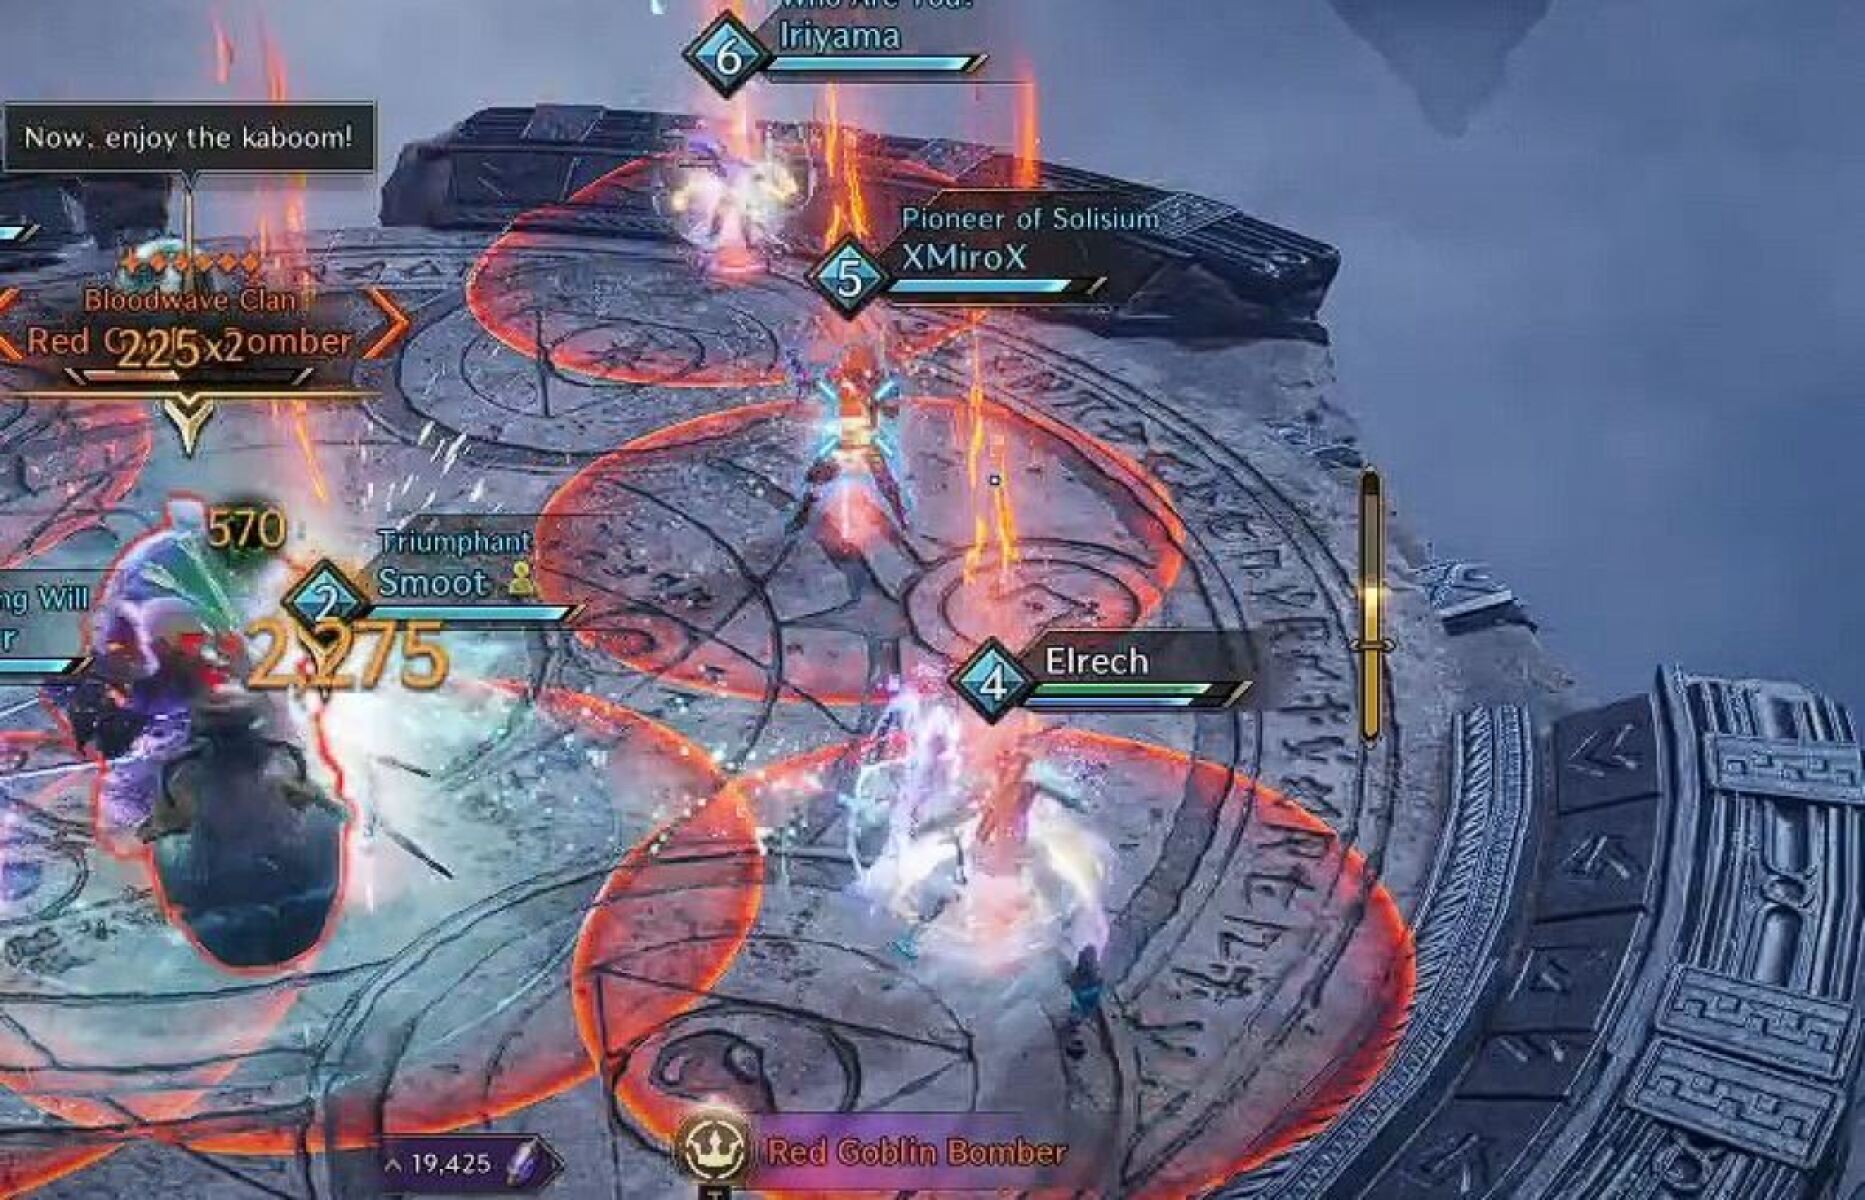
Red Goblin Bomber - Second Boss
The Red Goblin Bomber is the second boss in Carmine Rage Island. To start the fight, use your glide morph to fly to the platform he is standing on. There are two other identical platforms nearby, which he will jump to as the fight progresses. This boss has the following mechanics:
- Homing Bombs - All six players get a red AoE that follows their character. After approximately three seconds, these will explode, damaging you and anyone else in your AoE. To safely survive this mechanic, your party should spread out so the AoEs do not overlap, then block the explosion.
- Explosive Jars - The boss drops large explosive jars on the ground. These need to be pushed off the platform's edge using light attacks. Otherwise, they will explode after a few seconds, damaging everyone on the platform.
- Flame Breath - The boss directs a flame breath attack at the tank. This is a Fury Attack that should be dodged (use your block skill while moving to the side). The other players should always stand behind the boss to avoid getting caught up in this.
- Platform Jump - The boss will jump to another platform at 66% and 33% HP. Before jumping, a large red AoE begins to fill the platform, exploding and killing anyone left behind. Use the grapple to pull yourself in the air, then jump to the next platform, using your glide morph if needed.
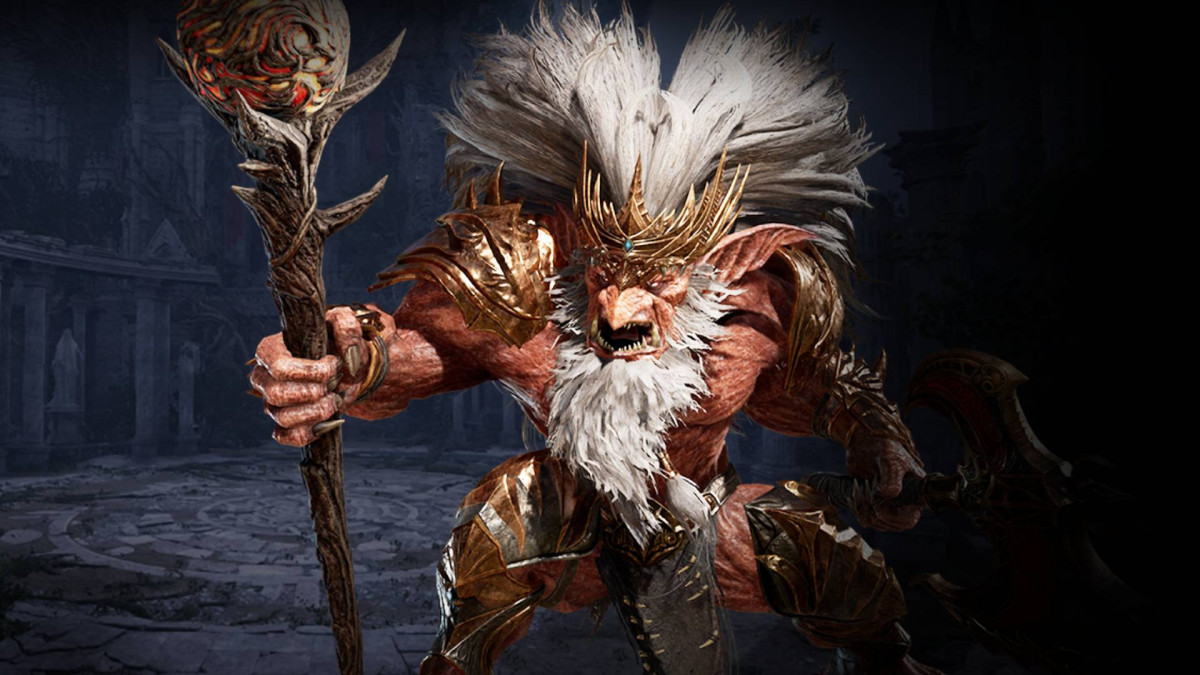
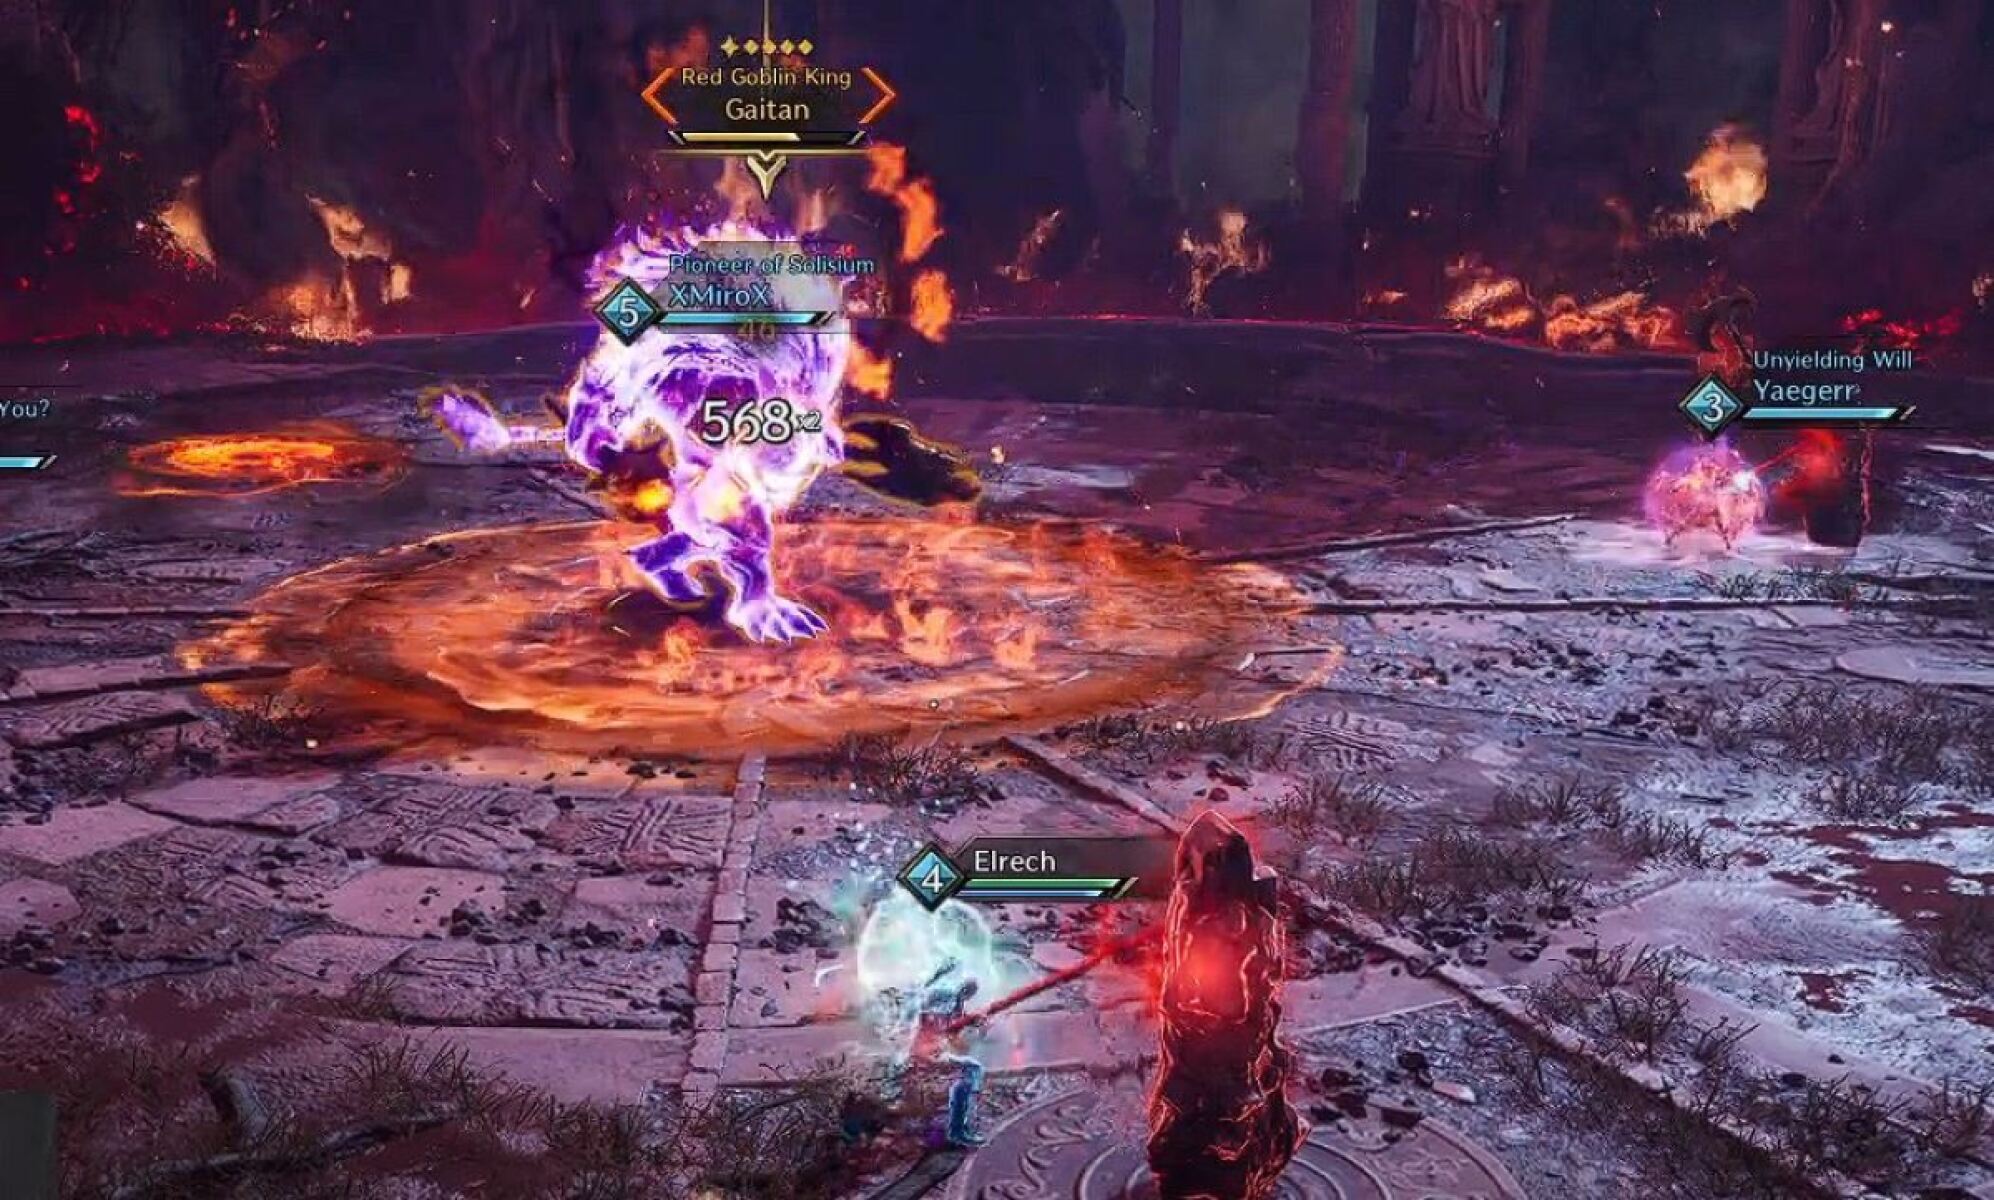
Carmine Rage Island: Final Boss – Gaitan
Red Goblin King Gaitan is the final boss of the Carmine Rage Island dungeon in Throne & Liberty.
Gaitan is a mechanically intense boss that requires good group coordination and communication. When everyone in the group knows how the fight works, it can become a fairly easy affair, but if even one player is inexperienced or doesn't know the mechanics, this fight can become very tricky.
The mechanics of Gaitan are explained below.
- Frontal Cleave – The boss has a large sweeping frontal cleave attack. Therefore, the tank should aggro the boss and face them away from the group. The rest of the group should make sure they are not standing in front of the boss.
- Shockwave – Gaitan punches the floor three times, sending out directional shockwaves. Stand between the shockwaves to avoid the damage.
- Charge – The boss will periodically charge at the furthest player, crashing into anyone who gets in the way. To help counteract this, one player should be stood away from the rest of the group either to the left or the right, towards the edge of the arena. This player must always ensure they are the furthest player from the boss, and be ready to get out of the way when the boss charges them. After charging the furthest player, the boss charges into the group, and then charges back to the tank. The charge counts as a Fury Attack, and the targeted player needs to block it. Kiting the first charge allows you to control this mechanic and make it predictable, but the rest of the group must still be ready to block the second charge.
- Whirlwind – The boss does a whirlwind attack – you will see this as a dark red circle around the boss. Stand as close to the boss as possible to minimise the damage from the attack. Being tightly packed together also makes it easier for your healer.
- Tether and Axe – This mechanic (or more accurately a set of mechanics) is by far the hardest and most complicated part of the boss fight. It begins after the boss has done the Whirlwind attack for the second time – the boss will then teleport to the middle and begin the tether mechanic. This mechanic has a lot of stages, so we made a separate section to explain it fully, found just below.
Gaitan Tether and Axe Mechanic Explained
Soon after teleporting to the middle, the boss will apply a tether to four players that stops them from moving and deals gradual damage, while a fifth player will be assailed by a magical axe until the end of the fight. If the player with the axe dies, they drop a permanent AOE that damages everyone, making the fight much harder. While it is possible to get through this mechanic without any real organisation if your group is good enough, it is much easier for most groups to plan and coordinate their roles – you can control which players get the tether and which gets the axe.
When the boss teleports to the middle, the Axe debuff will be given to either the second furthest player from the boss, or the tank. After this, the four furthest players will be pulled to pillars around the boss and tethered. The tethers deal damage over time, and moving away from the tether greatly increases the damage.
It is imperative that the player with the Axe debuff does not also get the tether, or they will have a tough time surviving. Therefore, as soon as they have collected the axe debuff, they must immediately run to the middle of the room to avoid getting the tether.
The healer should also go to the middle as they need to stay mobile to heal the player with the axe and the tethered players. Having a tethered healer makes the fight much harder.
After the tethers are applied, the player with the axe needs to move towards the edge of the room and focus on kiting the axe to avoid the damage – survival is very important as if you die, you will drop an AOE that damages everyone for the rest of the fight.
The healer's first priority should be keeping the axe player alive. The second priority is looking after the tethered players and healing them when needed.
There is one other element to this phase. After tethering the players, the boss will launch cleave attacks towards each tethered player. At this point, you must quickly run away from the pillar to the left or the right to get out of the AOE. When the boss cleaves the pillar you were tethered to, the tether will break, but you will then be stunned for about 5 seconds, meaning it’s possible to be stunned and caught in the next shockwave if you ran in the wrong direction.
We hope you liked this guide about Carmine Rage Island in Throne & Liberty.
About the Author: Andrew
