Throne & Liberty Siege Guide
Welcome to our Siege Guide for Throne & Liberty. In this guide, we will explain how the Castle Sieges work in TL, including how you can participate in Sieges, how they progress and how to win them.
For more guides about a variety of topics in TL, please check our Throne & Liberty Guides Database.
What Are Sieges in Throne & Liberty?
Sieges are a special type of PvP event in Throne & Liberty where guilds and alliances compete against one another to capture the throne in Stonegard Castle.
The attacking side's objective is to gain entrance to Stonegard Castle and usurp the current ruler. The defender's objective is to prevent this from happening. The combat phase of the Siege lasts 45 minutes. If the attacker fails to usurp their opponent by the end of this time, they will lose the siege.
Sieges in Throne & Liberty involve some unique PvP game mechanics that are not otherwise available, such as Siege Golems. There are multiple paths the attackers can take to attempt to gain access, promoting the use of strategy to outwit and surprise the defenders.
The winner of the siege will gain (or retain) control of Stonegard Castle, giving them a portion of the Siege Tax to be distributed amongst their Guild and Alliance members. The victorious guild will have management rights over the castle, able to purchase various items and manage the castle tax rate.
Siege Timings
The Siege is divided into three stages, outlined below.
Preparation Phase
Begins at 21:00 server time, and lasts for 15 minutes. PvP is not allowed during this phase - it's a time when guilds can plan their strategy. The NPCs in the Castle disappear at the start of this phase, and will not respawn until the end of the Siege, so be sure to buy everything you need beforehand.
Siege Phase
At 21:15, PvP is enabled, and the Siege begins. Members of the defending alliance are transported inside the Castle at the beginning of the Siege.
This phase lasts 45 minutes. If the Throne is uncontested at the end of the Siege, the current holder of the Throne will win the Siege. However, if the Throne is contested, the Siege will enter the Overtime Phase.
Overtime Phase
If the Throne is contested at 22:00, a three minute extension is applied to the Siege timer. The attacking side must capture the Throne within the three minutes, or they will lose the Siege and the current holders will retain control.
Siege Mechanics and Objects
We will now explain the various mechanics, objects and buildings that are relevant to the Siege, and how you can use them.
Ruins
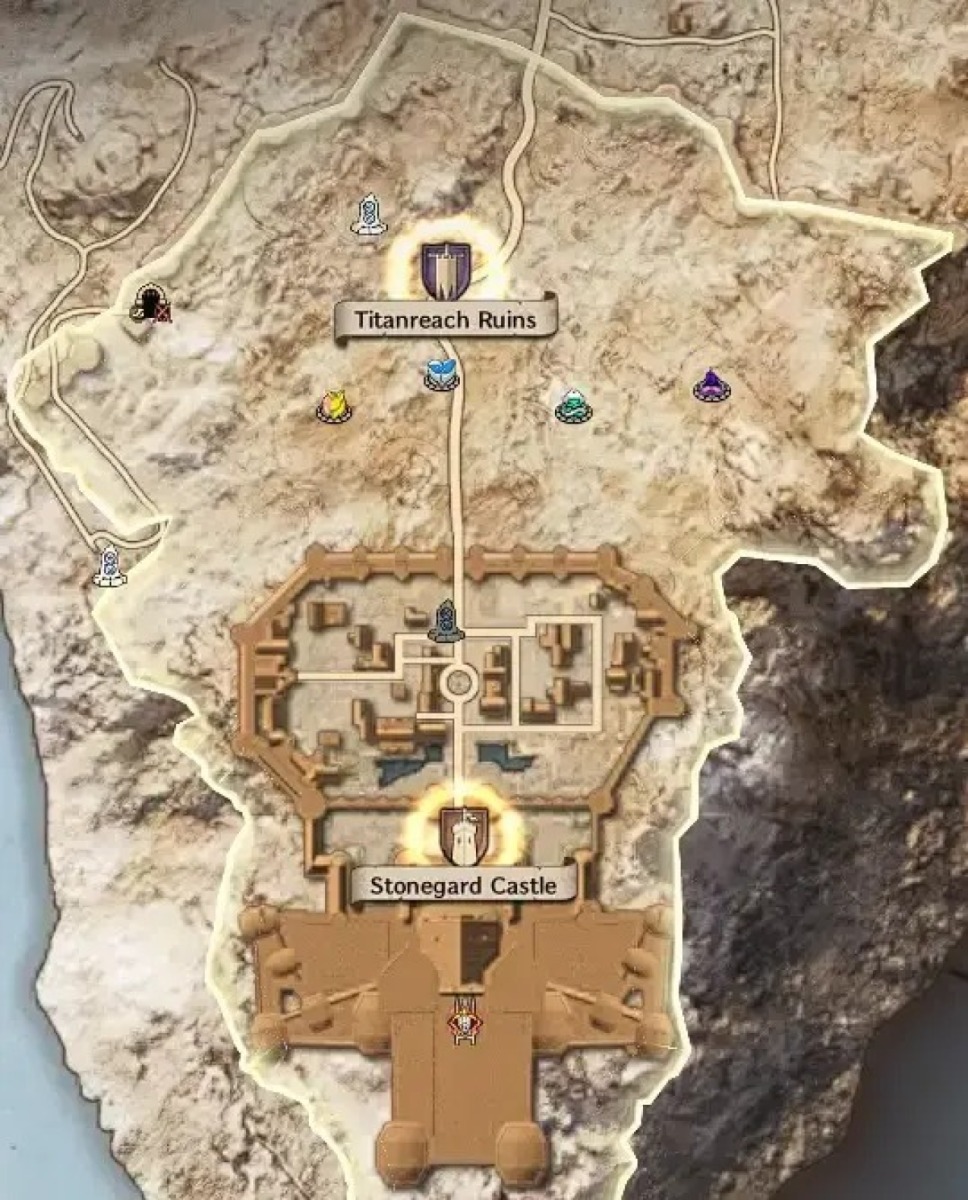
There are four Ruins located in fairly close proximity to the castle. These are vital pieces of infrastructure that need to be controlled by the attacking side to have a good chance of carrying out a succesful siege.
These Ruins act as a forward base, allowing players to resurrect there if they die. Each of the four ruins is also associated with a type of Siege Golem (explained below); capturing the Ruin allows you to activate the Siege Golem Statue nearby. These Golems are essential for gaining access to the Castle, and cannot be created without control of the Ruins.
Standing at the Capture Point of a Ruin for 5 seconds is enough to capture the Ruin, unless interrupted by a CC or forced out of the area.
It's easy for the attackers to capture the Ruins at the start of the Siege, because the defenders will be teleported into the Castle at 21:15, and the attackers start the battle closer to the Ruins. However, the defending alliance may choose to send sorties of players to capture the Ruins, disrupting the attackers and slowing them down.
While the Defenders can capture the Ruins and use them for respawns, only the attackers can use them to summon Siege Golems.
Siege Golems
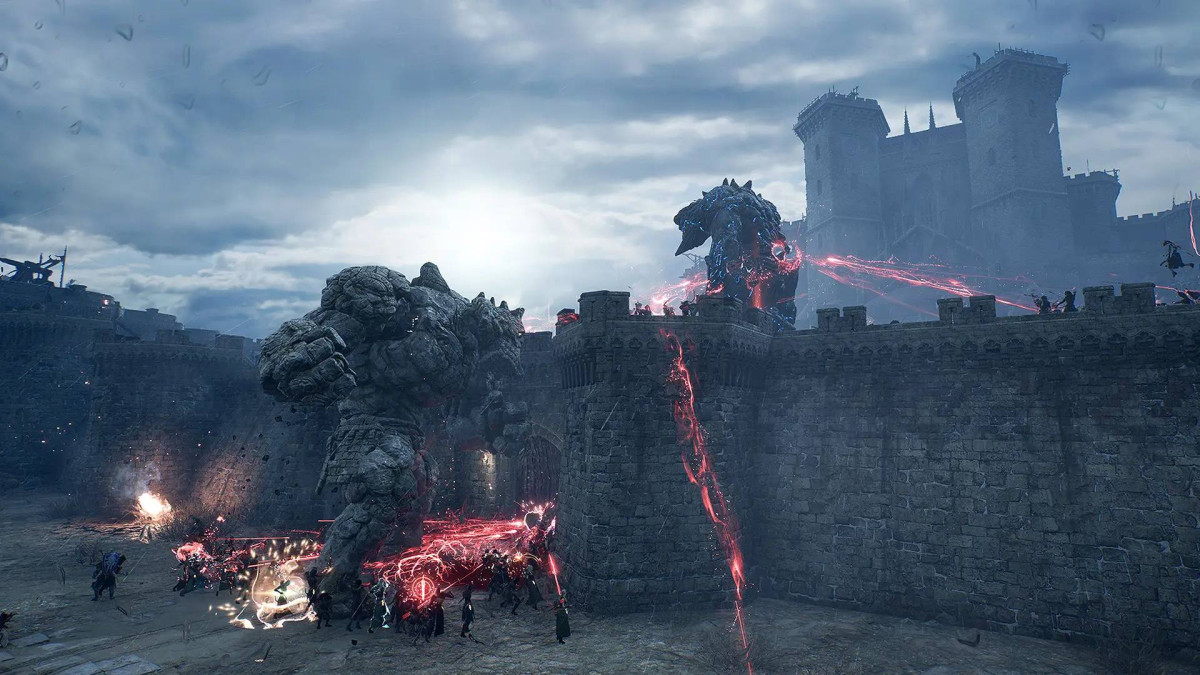
There are four types of Siege Golem available in Throne & Liberty Sieges. Some of the Golems are tied to a specific Ruin. To summon a Siege Golem, a guild must have control of at least one Ruin.
To summon a Golem, you must use a Golem Slate, which can be purchased from the Guild Supplies Merchant in your Guild Base. Each Golem has its own Slate which can only summon that Golem type. Be sure to bring plenty to the Siege so you don't run out.
Each Golem is controlled by a player.
The four Golem types in Throne & Liberty are explained below:
- Stone Crasher - The Stone Crasher Golem is located at the Blue Siege Ruin. They can be summoned after 5 minutes of the Siege Phase have elapsed. They can be used to pull enemies off walls and are also good at breaking down walls, towers and gates. They remain active for 5 minutes and will then despawn.
- Battle Carrier - Located at the Teal Siege Ruin, the Battle Carrier can be summoned immediately when the Siege Phase begins. This Golem cannot attack players or buildings - its sole purpose is to lift and transport allies onto the wall. The Battle Carrier lasts for 5 minutes.
- Gate Hammer - The Gate Hammer is located at the Teal Siege Ruin. It can throw molten balls of stone at the fortifications to break down gates, walls and towers. These projectiles also deal fairly heavy AoE damage to players. It can apply a Damage Reduction buff to itself and nearby allies.
- Jump Attacker - While the other Golems specialise in attacking or bypassing the castle's fortifications, the Jump Attacker is designed for attacking enemy players. It is located at the Yellow Siege Ruin. The Jump Attacker's attacks are electric, making them more potent in rainy weather as the damage can spread to other nearby enemies. This Golem can also apply an Evasion buff to itself and nearby allies.
Resurrection Stones
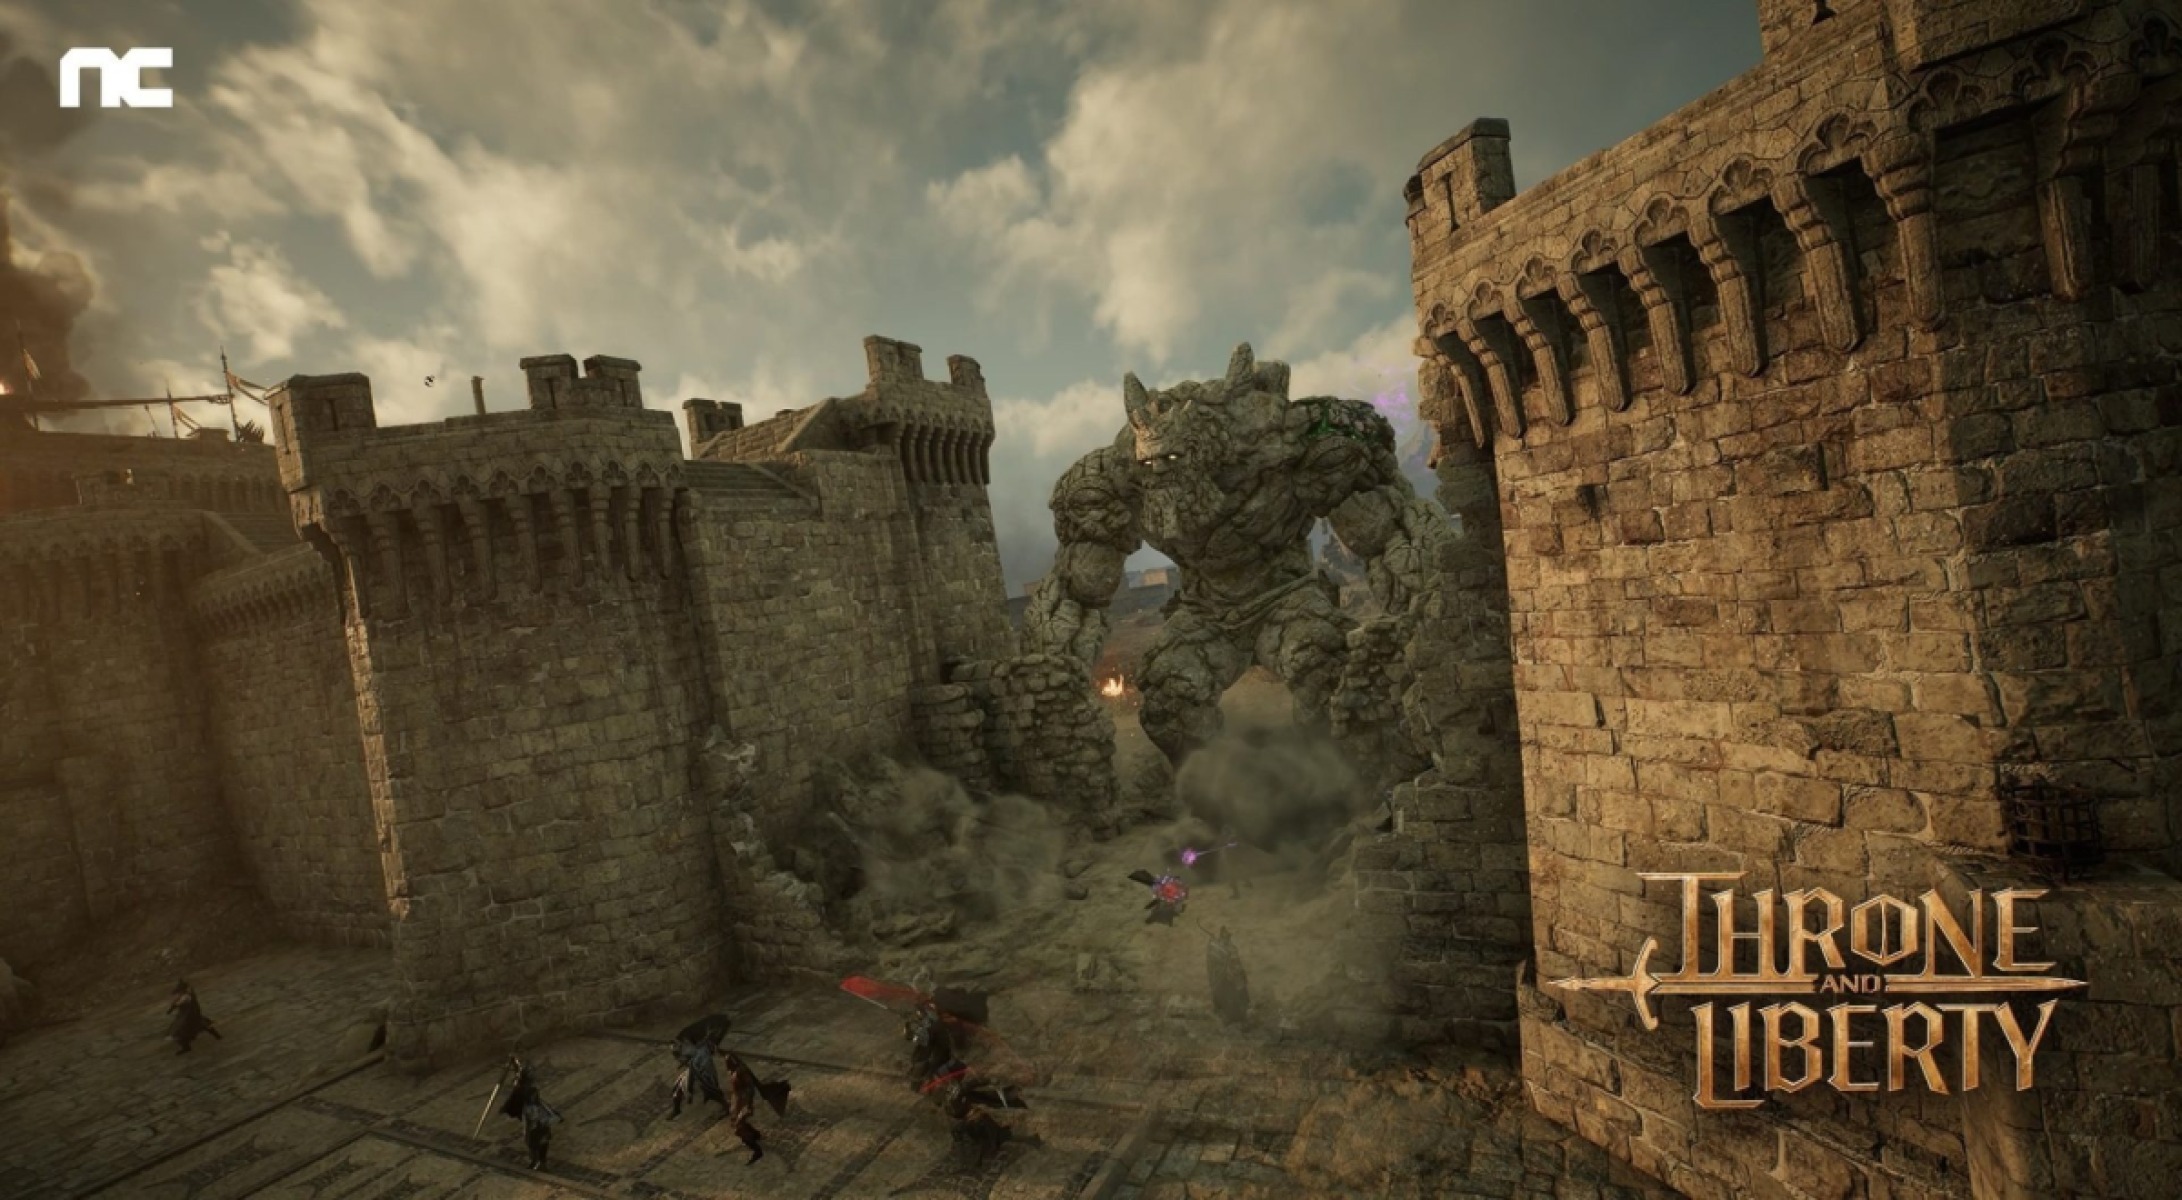
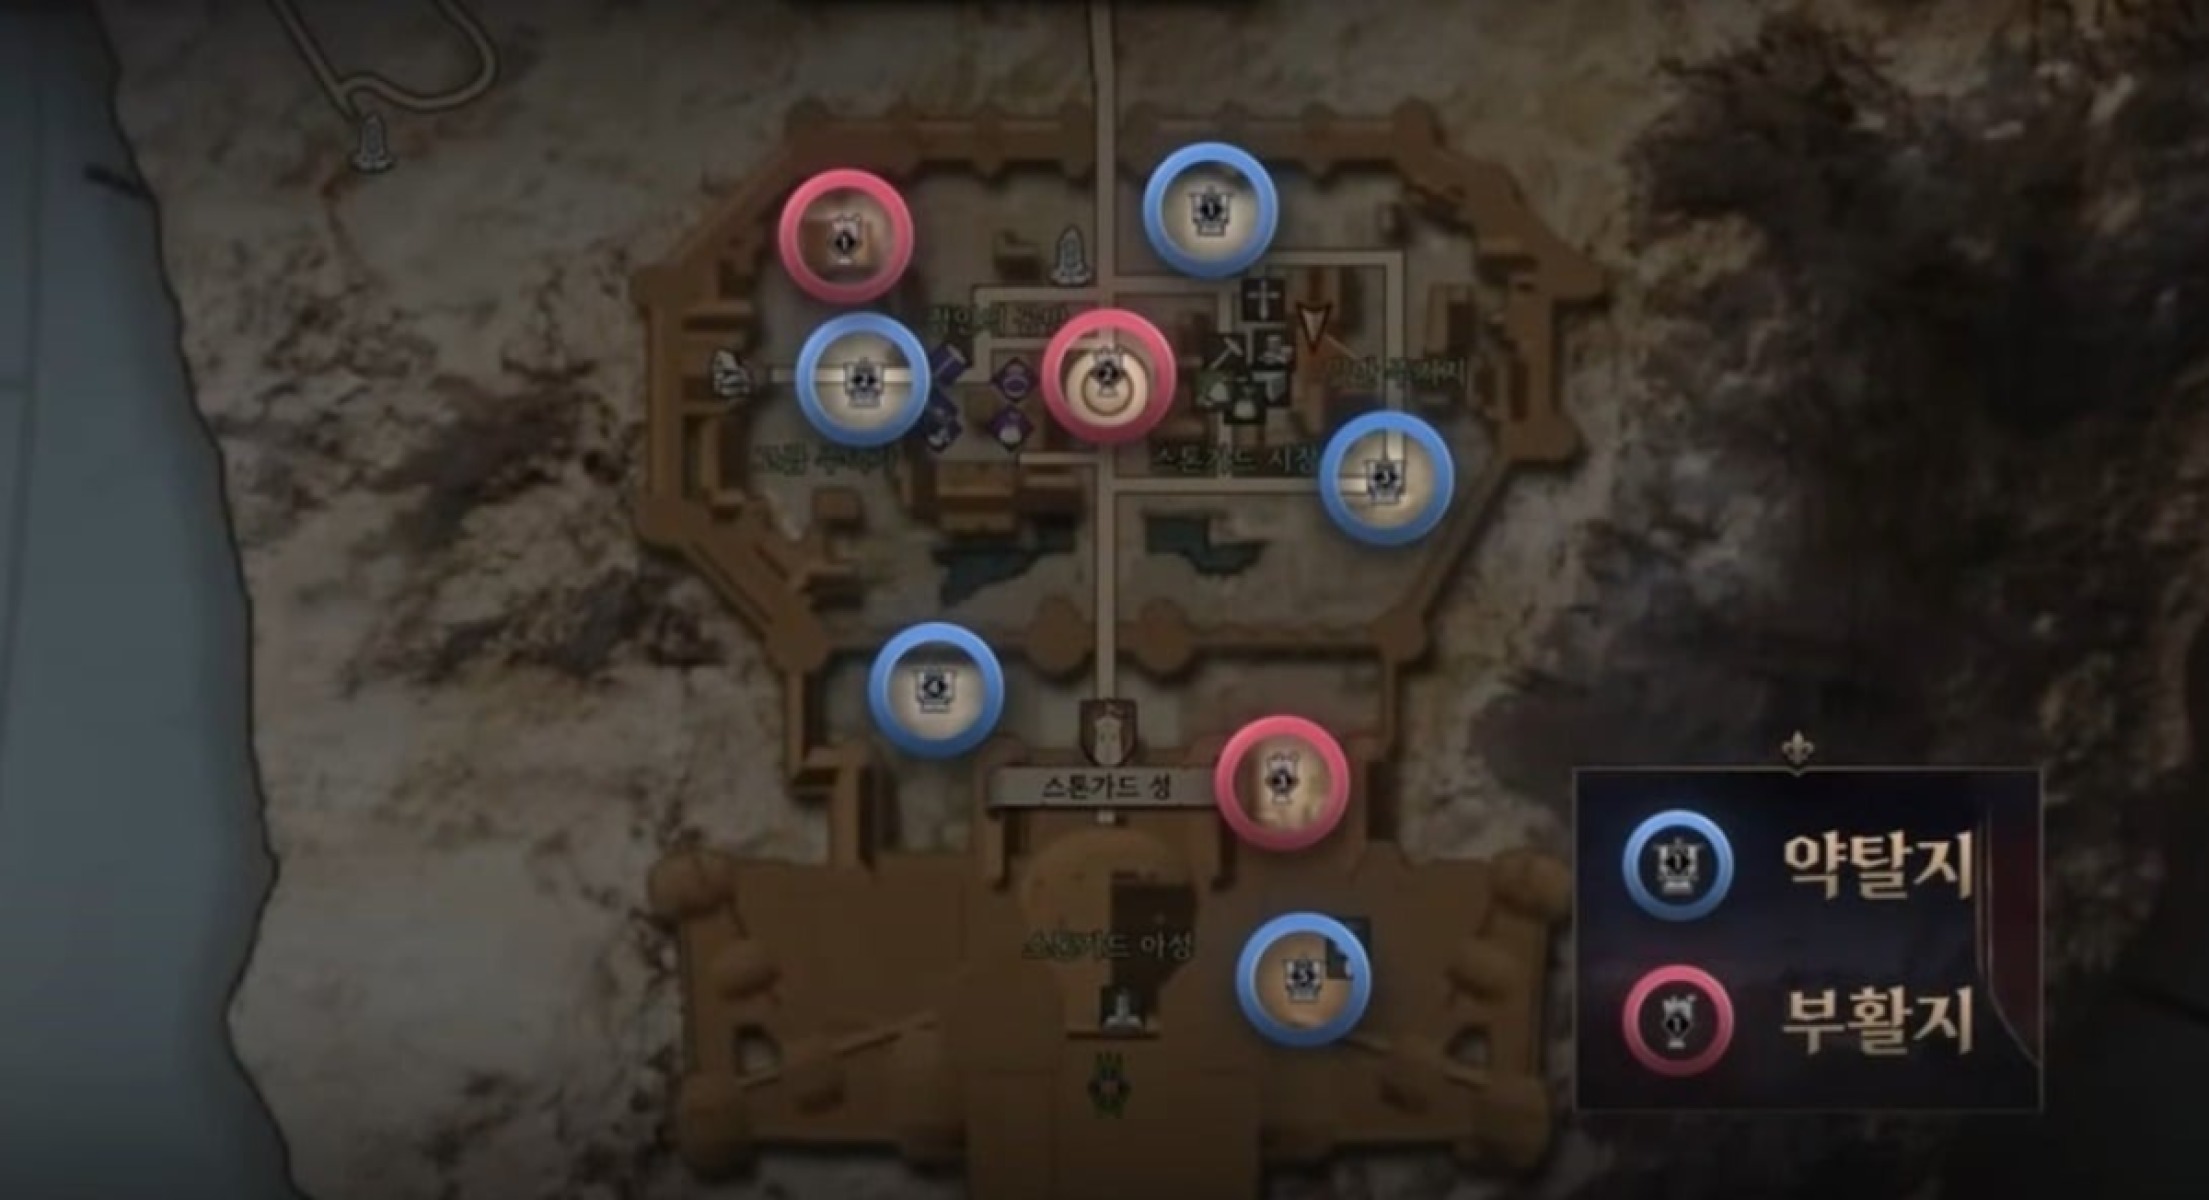
There are three Resurrection Stones within the Castle Walls. The guild that controls a stone can use it to respawn. Enemy players can attempt to capture the Stone by standing at the capture point. Any player can capture the stone, but players with Guardian rank or higher in their guild will enjoy a capture speed bonus.
The Resurrection Stones have a cooldown timer to prevent players from constantly resurrecting.
Pillage Stones
There are five Pillage Stones, also located within the Castle. These have no effect if controlled by the defending guild. However, the attacking guild can take control of them to pillage the Castle Vault, gaining a portion of the stored Sollant and Lucent every 5 minutes. The amount pillaged depends on how many Pillage Stones are controlled.
This makes it possible to raid the castle's stored wealth if the attacking guild believes ultimate victory is unlikely in the siege, either due to time constraints or insufficient strength. Attackers can still get a reward from the Pillage Stones even if they fail to capture the castle.
The defenders must decide how much effort they want to put into defending these Pillage Stones. While they are tactically useless in the Siege, neglecting their defence can cause the guild to lose considerable sums of Sollant and Lucent.
Throne Room
The Throne Room is the final battleground of a Siege in Throne & Liberty. The defenders ideally want to prevent the invader from reaching the Throne Room in the first place, but if the attackers manage to reach the Throne Room, there is one more chance to stop them.
The leader of the attacking guild must reach and interact with the Throne to become a Usurper. The Usurper becomes morphed into a large knight and is harder to kill. The Usurper must remain alive and inside the Capture Zone of the Throne Room for 3 minutes to take ownership of the Castle. They cannot use any morphs while they are Usurping.
If the Usurper dies or leaves the Capture Zone, the attempted capture will fail and must be started again.
The Siege does not end with a Capture, it will still continue until 22:00, so there may be time for the usurped guild to rally and take the Throne back.
If there are multiple guilds with capture contribution at 22:00, the Siege enters the 3 minute Overtime phase.
Whoever controls the Throne at the end of the Siege will now own the Castle and have management rights until the next Siege occurs, when it will be their turn to defend Stonegard Castle.
Siege Environmental Tactics
There are several objects and environmental features in and around Stonegard Castle that can be used to gain the upper hand on the opposing side. These are listed below - try to learn them and be in the lookout for opportunities to use them to surprise or outwit the enemy alliance.
Sewers
There are two Sewers that allow players to bypass Castle Fortifications. There is an Outer Sewer on the eastern wall that bypasses the outer wall, and an Inner Sewer to the west of the Inner Gate, which can bypass the Inner Wall and lead attacking players close to the Throne Room entrance.
The Sewers are protected by a grate. Players equipped with Daggers can use Shadow Strike on a Rat inside the Sewer to bypass the grate, and then proceed into the castle to attempt an ambush.
Door and Gate Levers
There are three Doors and Gates in the Castle that can be open or closed by pulling two levers simultaneously. Any players can pull the levers, regardless of rank or allegiance. The following Gates can be opened or closed in this manner:
- Northern Outer Gate
- Western Outer Gate
- Inner Gate
While not an easy feat, it's possible for players who sneaked in via the sewer to open the gates using these levers. The defenders may want to assign players to defend the levers.
Gigantrite
Gigantrite flies by the Stonegard Castle, and players can use it to gain access to the interior.
We hope you liked this guide about Sieges in Throne & Liberty.
About the Author: Andrew
