Table of Contents
Introduction
Equipment Setups
Equipment
- Hit Chance
- Heavy Attack Chance
- Max Health
Show Runes
-
 Rare Attack RuneBuff Duration
 -
 Rare Defense RuneMax Health
 -
 Rare Support RuneCollision Chance


- Hit Chance
- Heavy Attack Chance
- Critical Hit Chance
Show Runes
-
Rare Attack RuneHit Chance
-
Rare Support RuneMana Cost Efficiency
-
Rare Defense RuneMax Health
- Max Health
- Skill Damage Boost
- Buff Duration
Show Runes
-
 Rare Defense RuneMax Health
 -
 Rare Support RuneStun Resistance
 -
 Rare Attack RuneHit Chance


- Max Health
- Skill Damage Resistance
- Debuff Duration
Show Runes
-
 Rare Attack RuneHeavy Attack Chance
 -
 Rare Support RuneSkill Damage Resistance
 -
 Rare Defense RuneMax Health


- Max Health
- Skill Damage Boost
- Buff Duration
Show Runes
-
 Rare Support RuneStun Resistance
 -
 Rare Attack RuneCritical Hit Chance
 -
 Rare Defense RuneMax Health


- Mana Regen
- Skill Damage Boost
- Buff Duration
Show Runes
-
Rare Support RuneStun Resistance
-
Rare Attack RuneCritical Hit Chance
-
Rare Defense RuneMax Health
- Max Health
- Skill Damage Resistance
- Debuff Duration
Show Runes
-
 Rare Support RuneSkill Damage Resistance
 -
 Rare Defense RuneMax Health
 -
 Rare Attack RuneHit Chance


Stat Points


Setup Guide
Freely switch your weapons depending on the scenario:
- SnS/Dag - when soaking damage is critical; shield block chance wit damage reduction and dagger off-hand weapon activation for extra damage.
- Dag/SnS - when damaging is more important; for faster DPS and weaken stacks on targets.
Status Points priority is on Dexterity for the Maximum Evasion stack possible and Critical Hit Chance, while also putting points on Strength and Perception for Defense and Hit Chance.
For Tier 2: either use a Full Forgotten's Gear set, or mix it with First Light.
Equipment
Stat Points
Equipment
- Hit Chance
- Heavy Attack Chance
- Max Health
Show Runes
-
Rare Attack RuneBuff Duration
-
Rare Defense RuneMax Health
-
Rare Support RuneCollision Chance
- Hit Chance
- Heavy Attack Chance
- Critical Hit Chance
Show Runes
-
Rare Attack RuneHit Chance
-
Rare Support RuneMana Cost Efficiency
-
Rare Defense RuneMax Health
- Max Health
- Skill Damage Boost
- Buff Duration
Show Runes
-
Rare Defense RuneMax Health
-
Rare Support RuneStun Resistance
-
Rare Attack RuneHit Chance
- Max Health
- Skill Damage Resistance
- Debuff Duration
Show Runes
-
Rare Attack RuneHeavy Attack Chance
-
Rare Support RuneSkill Damage Resistance
-
Rare Defense RuneMax Health
- Max Health
- Skill Damage Boost
- Buff Duration
Show Runes
-
Rare Support RuneStun Resistance
-
Rare Attack RuneCritical Hit Chance
-
Rare Defense RuneMax Health
- Mana Regen
- Skill Damage Boost
- Buff Duration
Show Runes
-
Rare Support RuneStun Resistance
-
Rare Attack RuneCritical Hit Chance
-
Rare Defense RuneMax Health
- Max Health
- Skill Damage Resistance
- Debuff Duration
Show Runes
-
Rare Support RuneSkill Damage Resistance
-
Rare Defense RuneMax Health
-
Rare Attack RuneHit Chance
Stat Points
Setup Guide
Freely switch your weapons depending on the scenario:
- SnS/Dag - when soaking damage is critical; shield block chance wit damage reduction and dagger off-hand weapon activation for extra damage.
- Dag/SnS - when damaging is more important; for faster DPS and weaken stacks on targets.
Status Points priority is on Dexterity for the Maximum Evasion stack possible and Critical Hit Chance, while also putting points on Strength and Perception for Defense and Hit Chance.
Skill Setups
Skills
Weapon Mastery - Sword & Shield
Weapon Mastery - Daggers


Weapon Specialization
Skills
Sword & Shield
Daggers
Artifacts


Guide
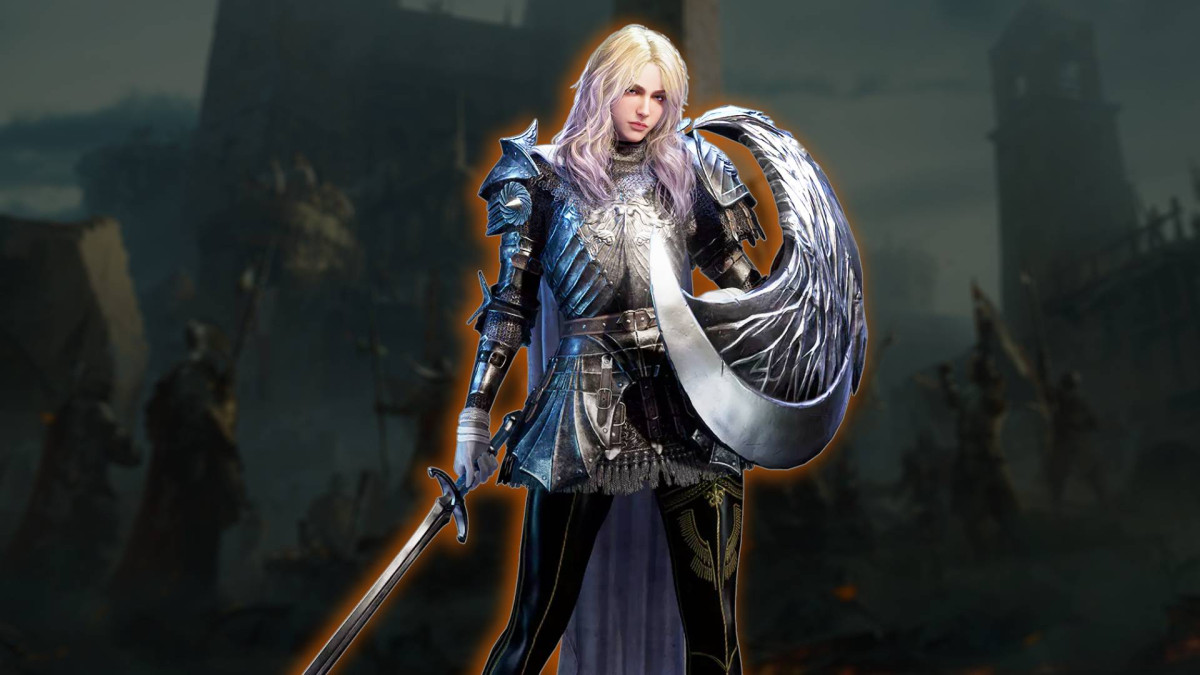
Disclaimer: This build, Insidious Berserker, is created with a personal Tri-Weapon (Sword/Dagger/Wand) preference in the character game-play.
Build closely compared to a Bruiser or even more accurately a Tank Assassin play style. Diving into enemy lines and creating havoc while also being able to easily deflect or disengage from a fight.